Tools and Materials
Gold metal leaf
Metal Leaf Spray Adhesive
Transparent Electrical Tape
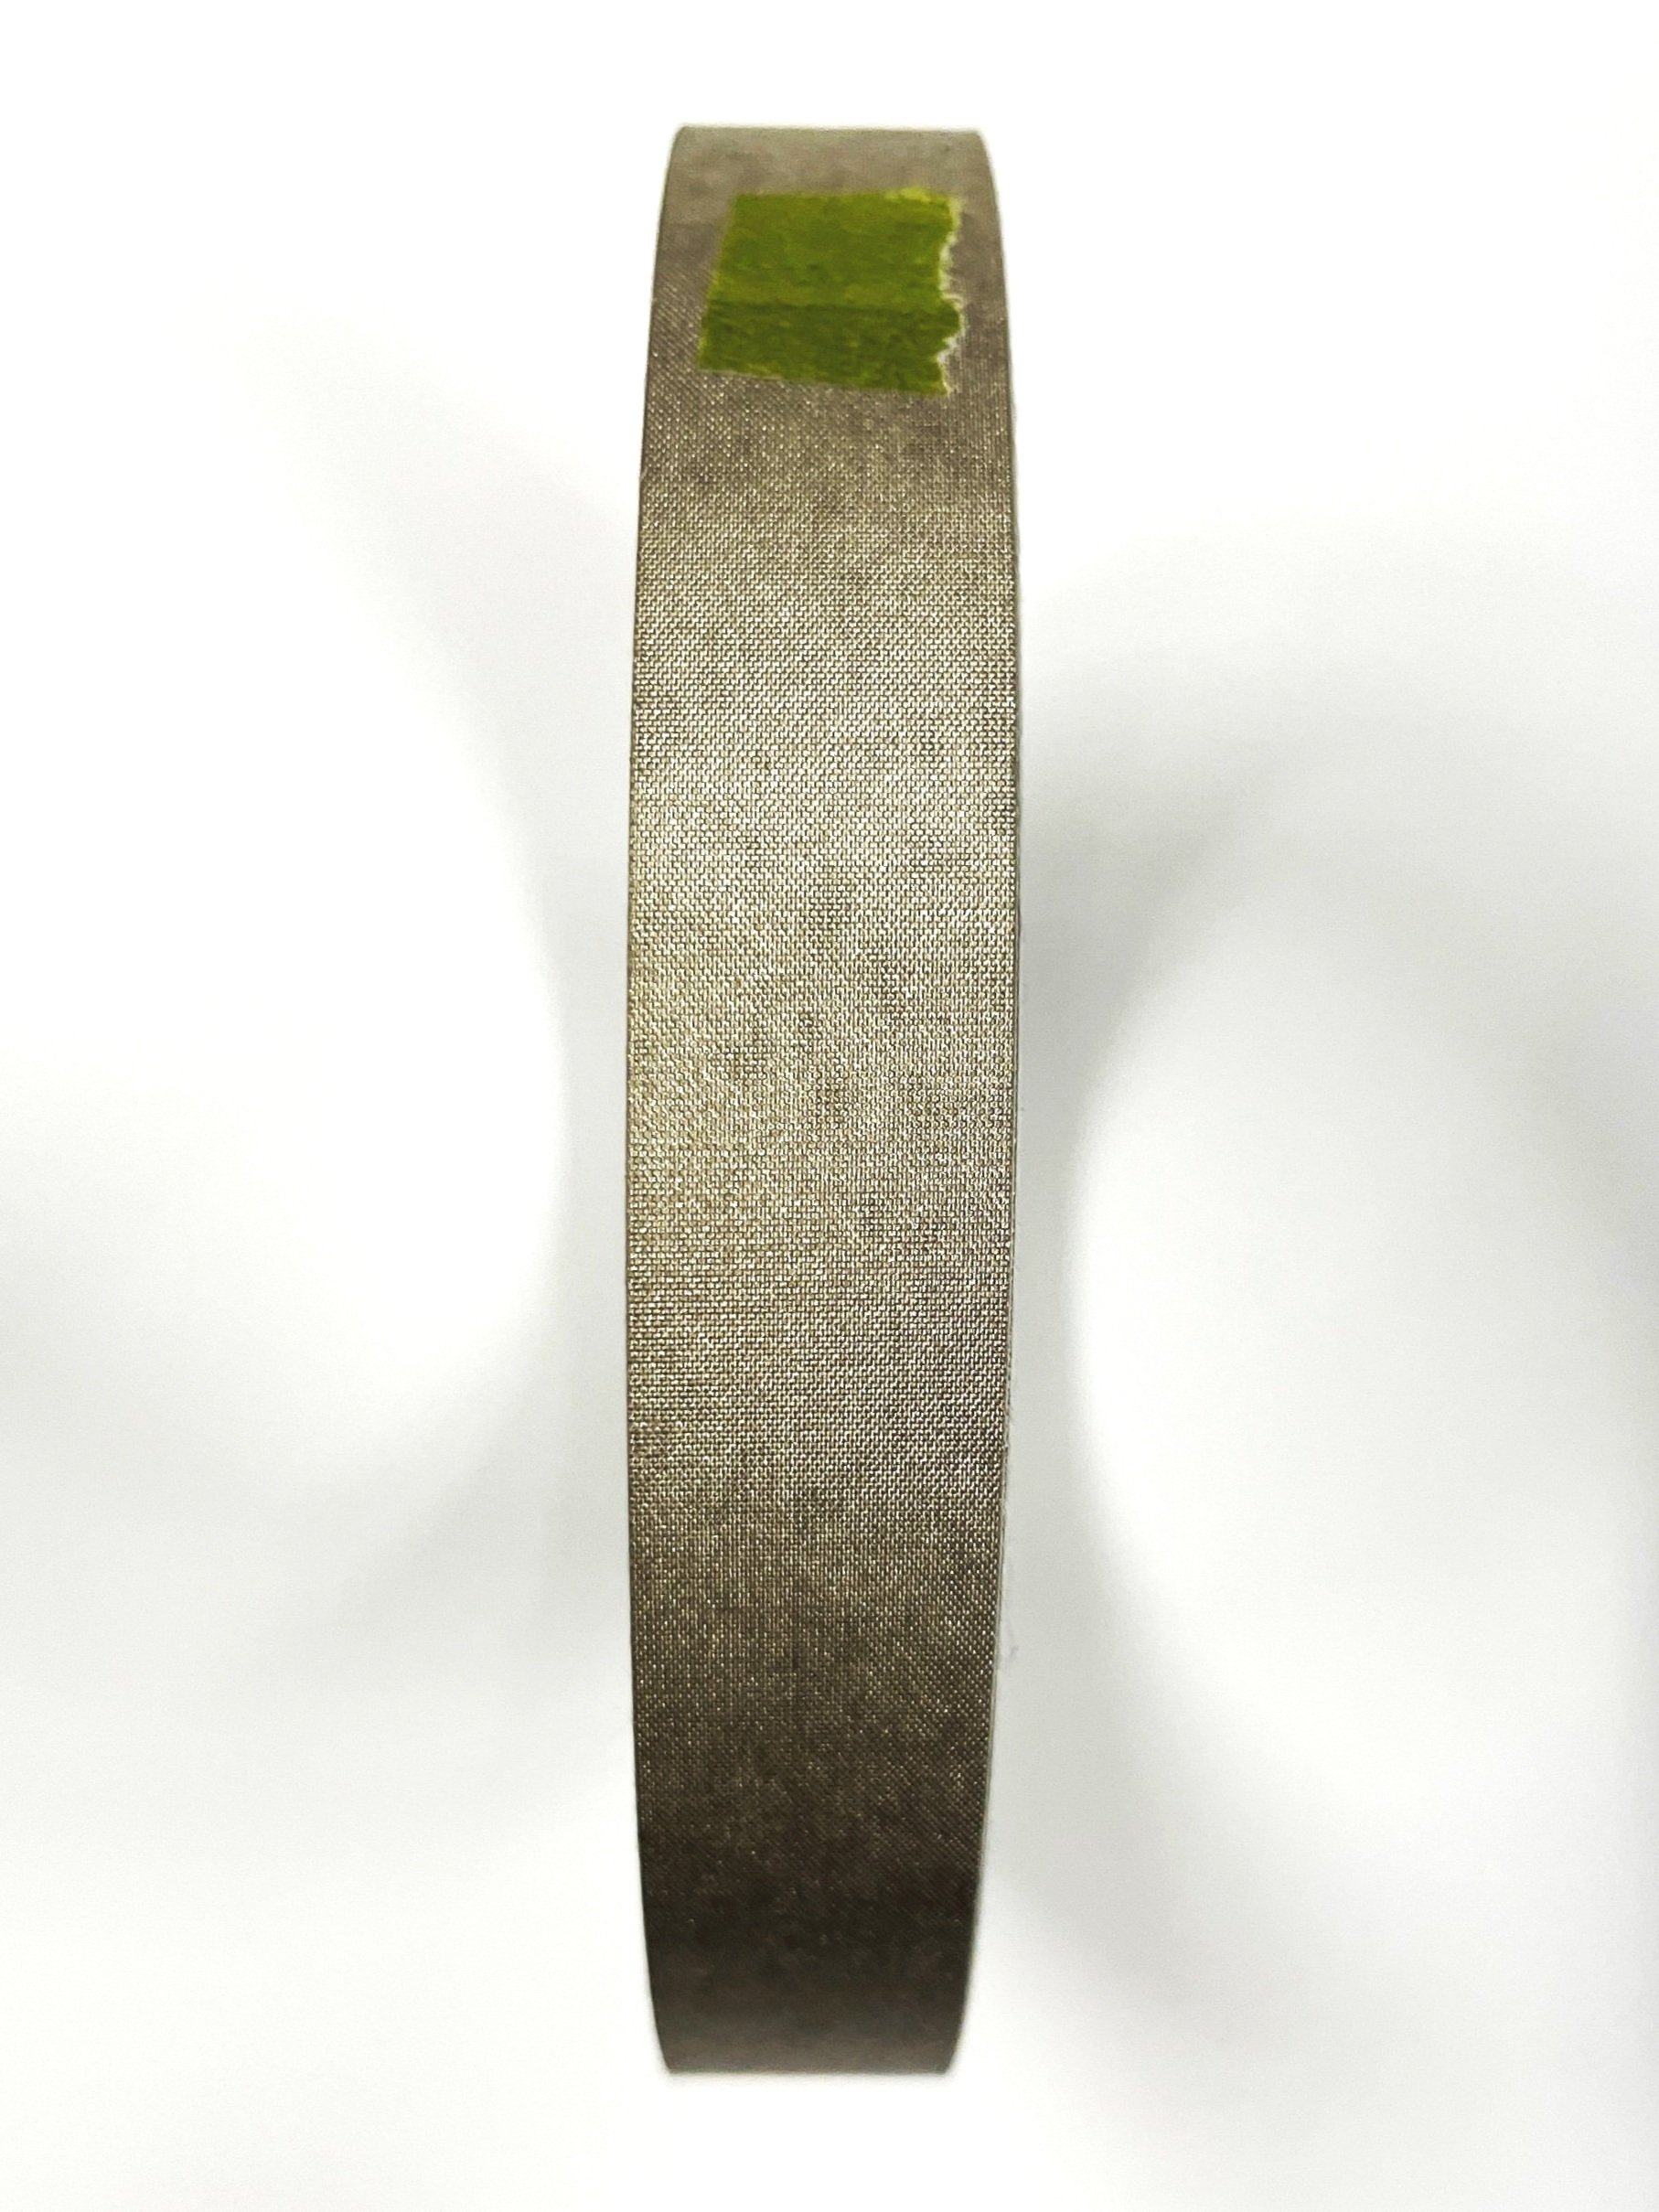
Conductive Fabric Tape
Metal leaf sealer
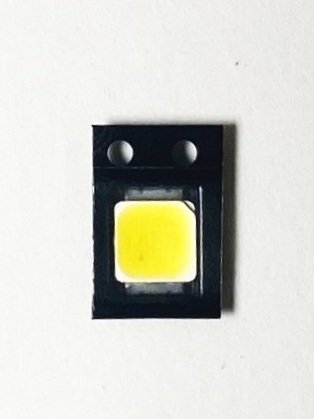
Surface mount LED
Exacto knife
Paintbrush
Foam brush
Tweezers
Sponge or tissue paper
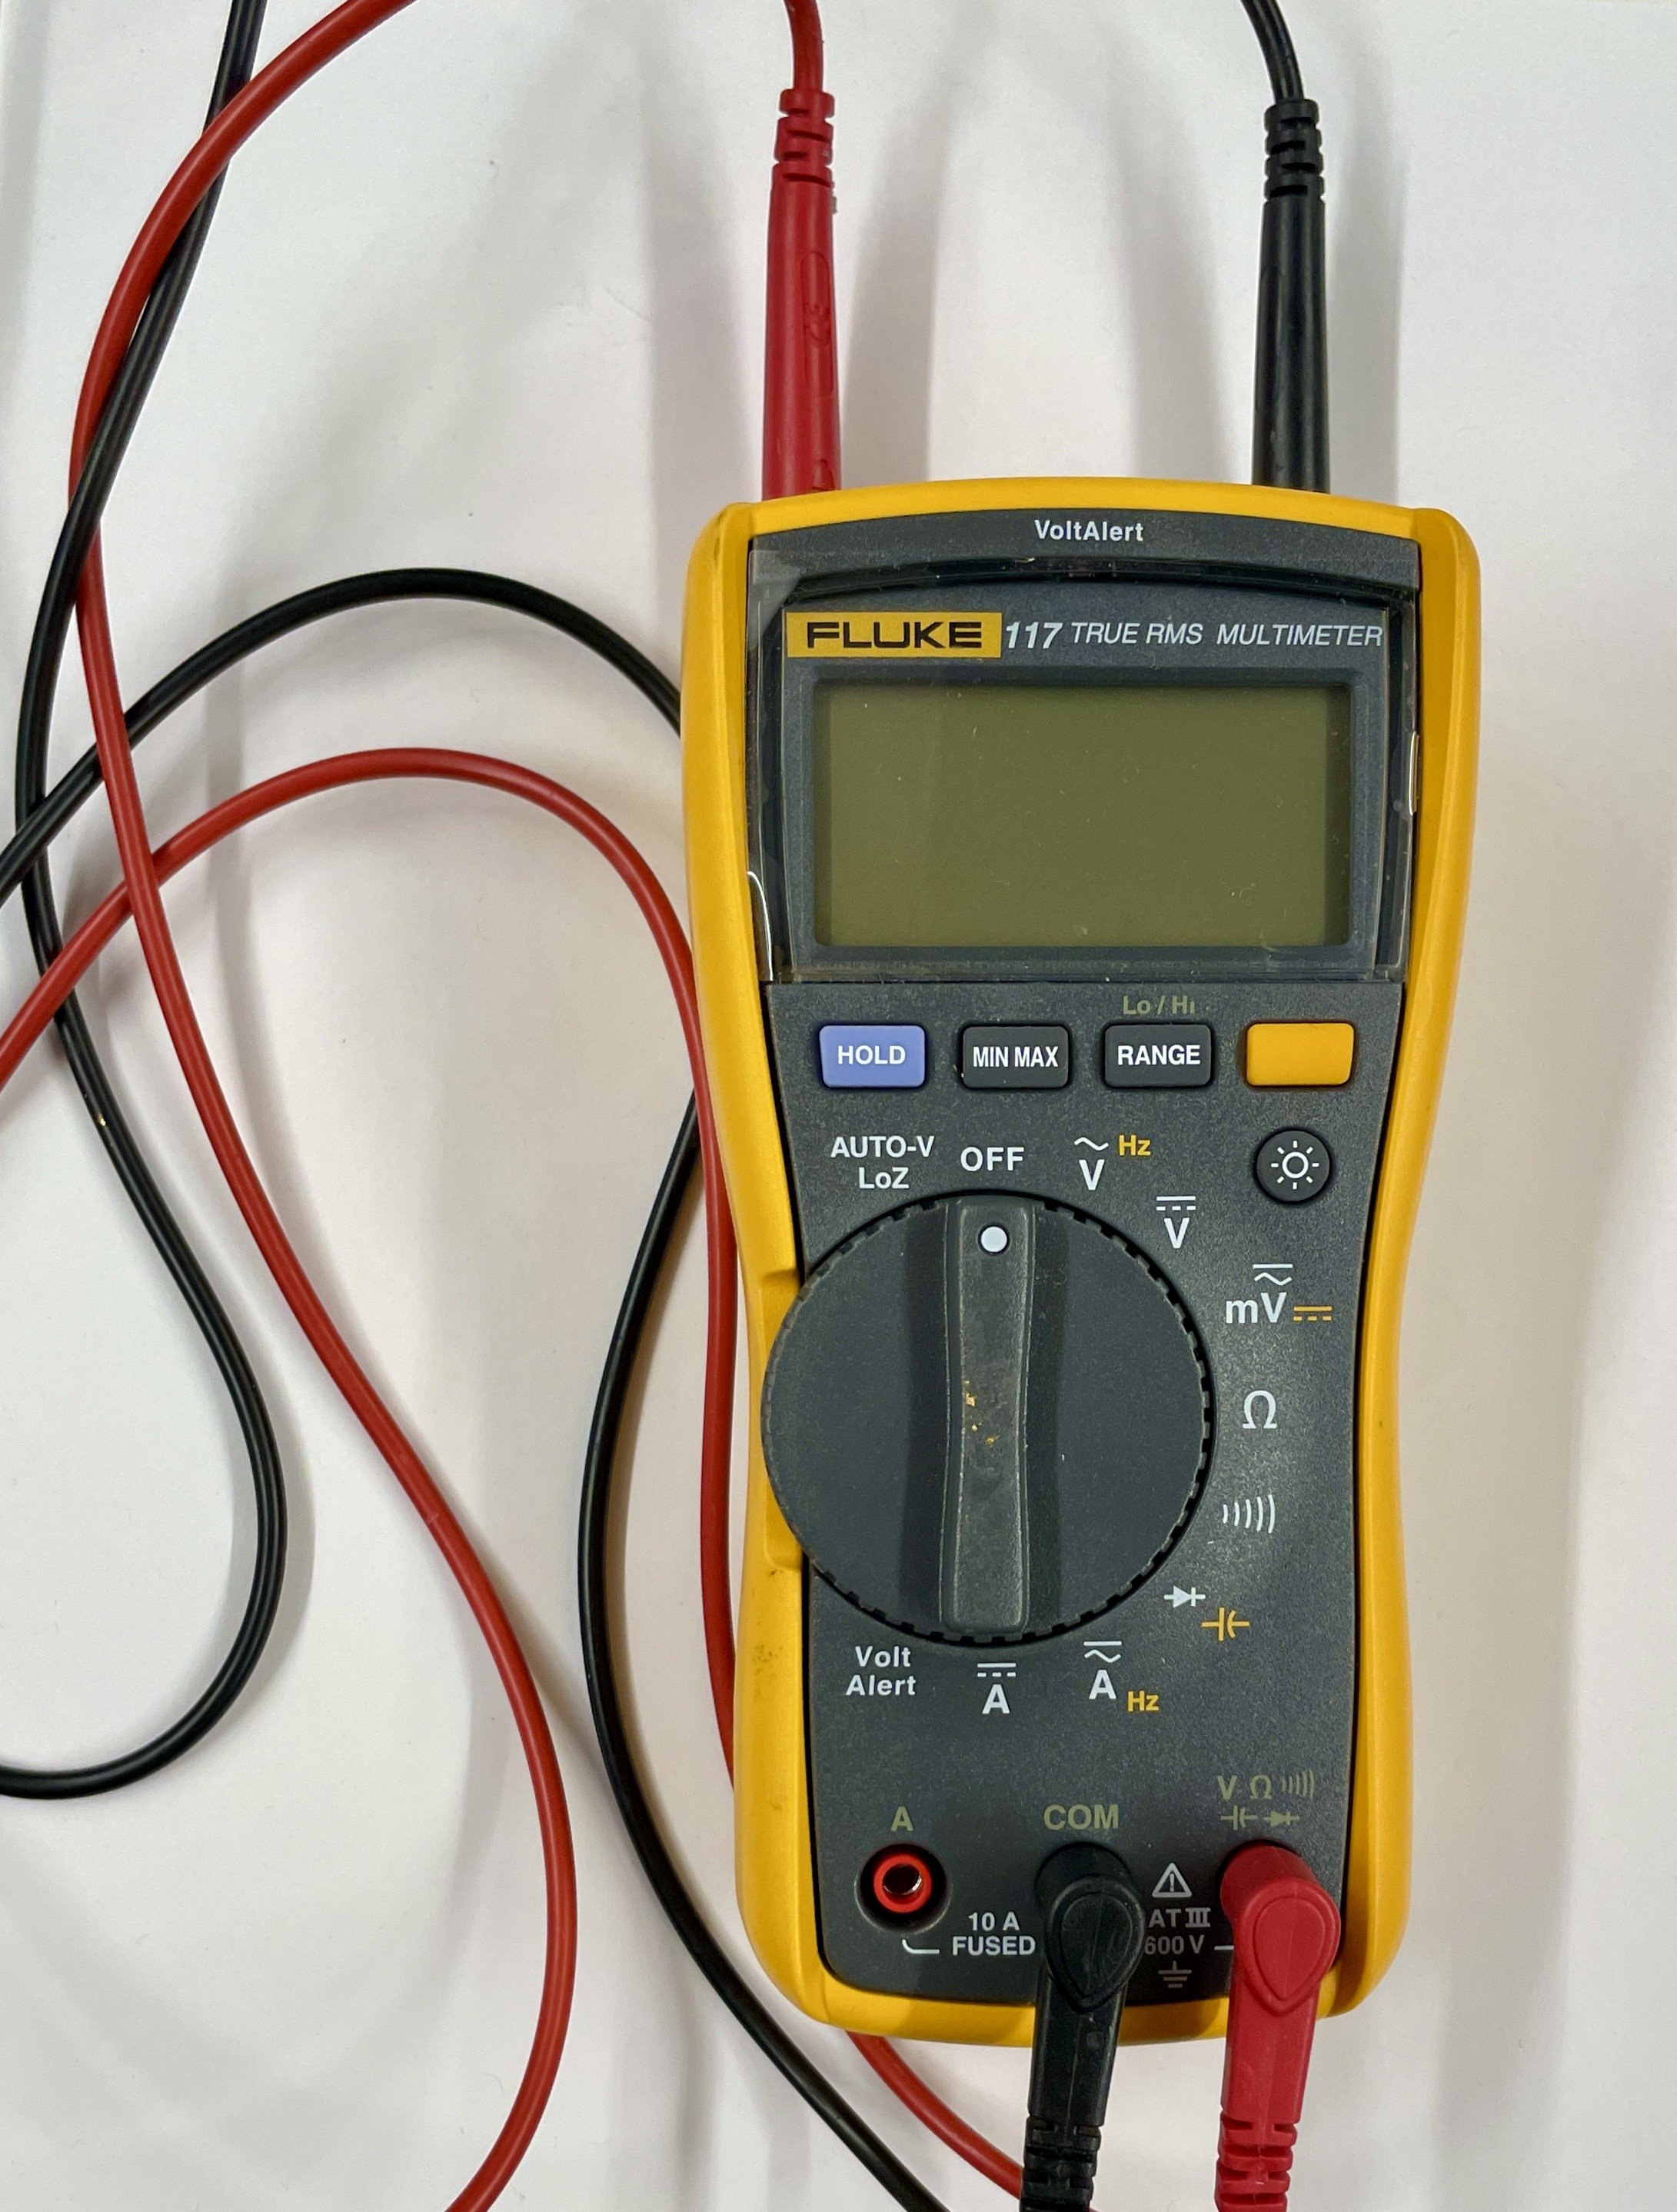
Multimeter (how to use)
*Pre-cut temporary tattoo paper with vinyl LED circuit stencil
Silhouette America Tattoo Paper (if you are designing your own)
Silhouette America Adhesive Film


CONSTRUCTION STEPS
Construct a DuoSkin LED circuit. Expand positive and negative sides as creatively as you want, as long as they do not touch, and there is a path of conductivity from the power source to the LED.
***If you are using a pre-cut temporary tattoo paper with vinyl circuit stencil, skip steps 1-10

Example of Tattoo Design
DESIGN & VINYL PREP
1. Use a vector rendering program to create desired tattoo design (example: Adobe Illustrator)
Make sure there is a complete path of reasonable conductivity for the traces (minimum 2-3mm)
2. Export design as .dxf so that it can be opened by the Silhouette Studio application. Adjust size and placement of design on grid schematic provided.
3. Use a piece of Silhouette America Tattoo Paper that is a considerable amount larger than your tattoo. Cut a piece of Con-Tact vinyl adhesive slightly larger than your tattoo paper.
4. Remove an edge of the Con-Tact vinyl backing and line up the vinyl, sticky side down, with the shiny side of the tattoo paper, with a bit of the Con-Tact Paper hanging over the edge.

Set Up Vinyl Cutting with Cameo
5. Slowly apply the vinyl onto the tattoo paper as you peel off the backing, smoothing out the vinyl so that there are minimal air bubbles.
6. Using the excess Con-Tact around the edges of the tattoo paper, create a secure bond between the tattoo sheet and the Silhouette America Light Tack Cutting Mat.
Be sure to align the sheet with the grid on the cutting mat, which corresponds to the grid visible in the Silhouette Studio software. Put the Con-Tact side up.
7. Turn the Silhouette America Cameo Electronic Cutting Machine on and insert the cutting mat by selecting “load mat” on the LCD Touchscreen.
Make sure the black arrow on the cutting mat is aligned with the center black ring on the machine and that the mat is loaded in straight.
8. Via USB, connect your computer with the Silhouette Studio Application open to the cutting machine.
9. Adjust Cut Settings in the menu provided on the right hand side of the application window. Set “Cut Style for Selected Shape” to “Cut Edge” and set “Material Type” to “Vinyl.”
This will allow the blade of the machine to cut the design through the layer of Con-Tact paper but only graze the tattoo paper below.
10. Select “Send to Silhouette” in the bottom right corner of the application window to begin cutting.
FABRICATION
Adding the Gold Leaf

Gold Leaf Adhered to the Tattoo Paper
1. Now that the Con-Tact paper is cut, use a tweezer to remove the positive space of the design from the tattoo paper (where you want the gold foil to adhere).
It may be helpful to trim the tattoo paper before executing this step to allow finer control while peeling the vinyl (and the gold leaf later on).
2. Spray the sheet with a light layer of the Metal Leaf Spray Adhesive. Spray from about 12-15 inches away in a sweeping to ensure even coverage.
Don’t spray too much glue! A thin layer is important.
3. Wait approximately 30 seconds for the adhesive to get tacky. Place the tattoo paper, glue-side down, onto a sheet of gold foil, press down, and then carefully remove your design from the gold foil.
4. Dab a soft high density sponge (foundation sponge) to reinforce the bond between the foil and the paper.
Extra pressure should be applied around the edges of the design.
5. Repeat the previous three steps for the desired number of gold leaf layers (usually 2-4)

Peeling process of the vinyl
Peel Vinyl
5. Using tweezers, carefully peel off the negative space of the vinyl (part that doesn’t adhere onto skin), leaving only the gold traces of the tattoo.
Go slowly, keep your tweezers close to the paper, and pull parallel to the edge you’re peeling the vinyl off of.
Be extra careful around sharp turns and corners!
Note: It may be helpful to score the temporary tattoo corners to reveal the vinyl.
FUNCTIONALITY
Adding LED to Circuit


1. Before attaching the LED, you can check the continuity of your design using a multimeter. This will ensure that you have working traces.
2. Make a small cut the size of the LED, just enough for the light to not get out, but not the LED lead.
3. Push the LED so that the light will be on the other side.
The LED will be facing the otherside since the current front-facing side will be attached to the skin
Take note of which side of the LED to be positive and negative (this can be done with a multimeter)
4. Add a small strip of conductive tape on each lead of the LED onto the tattoo to secure the connection

Add Conductive tape extensions. Battery is bottom side UP
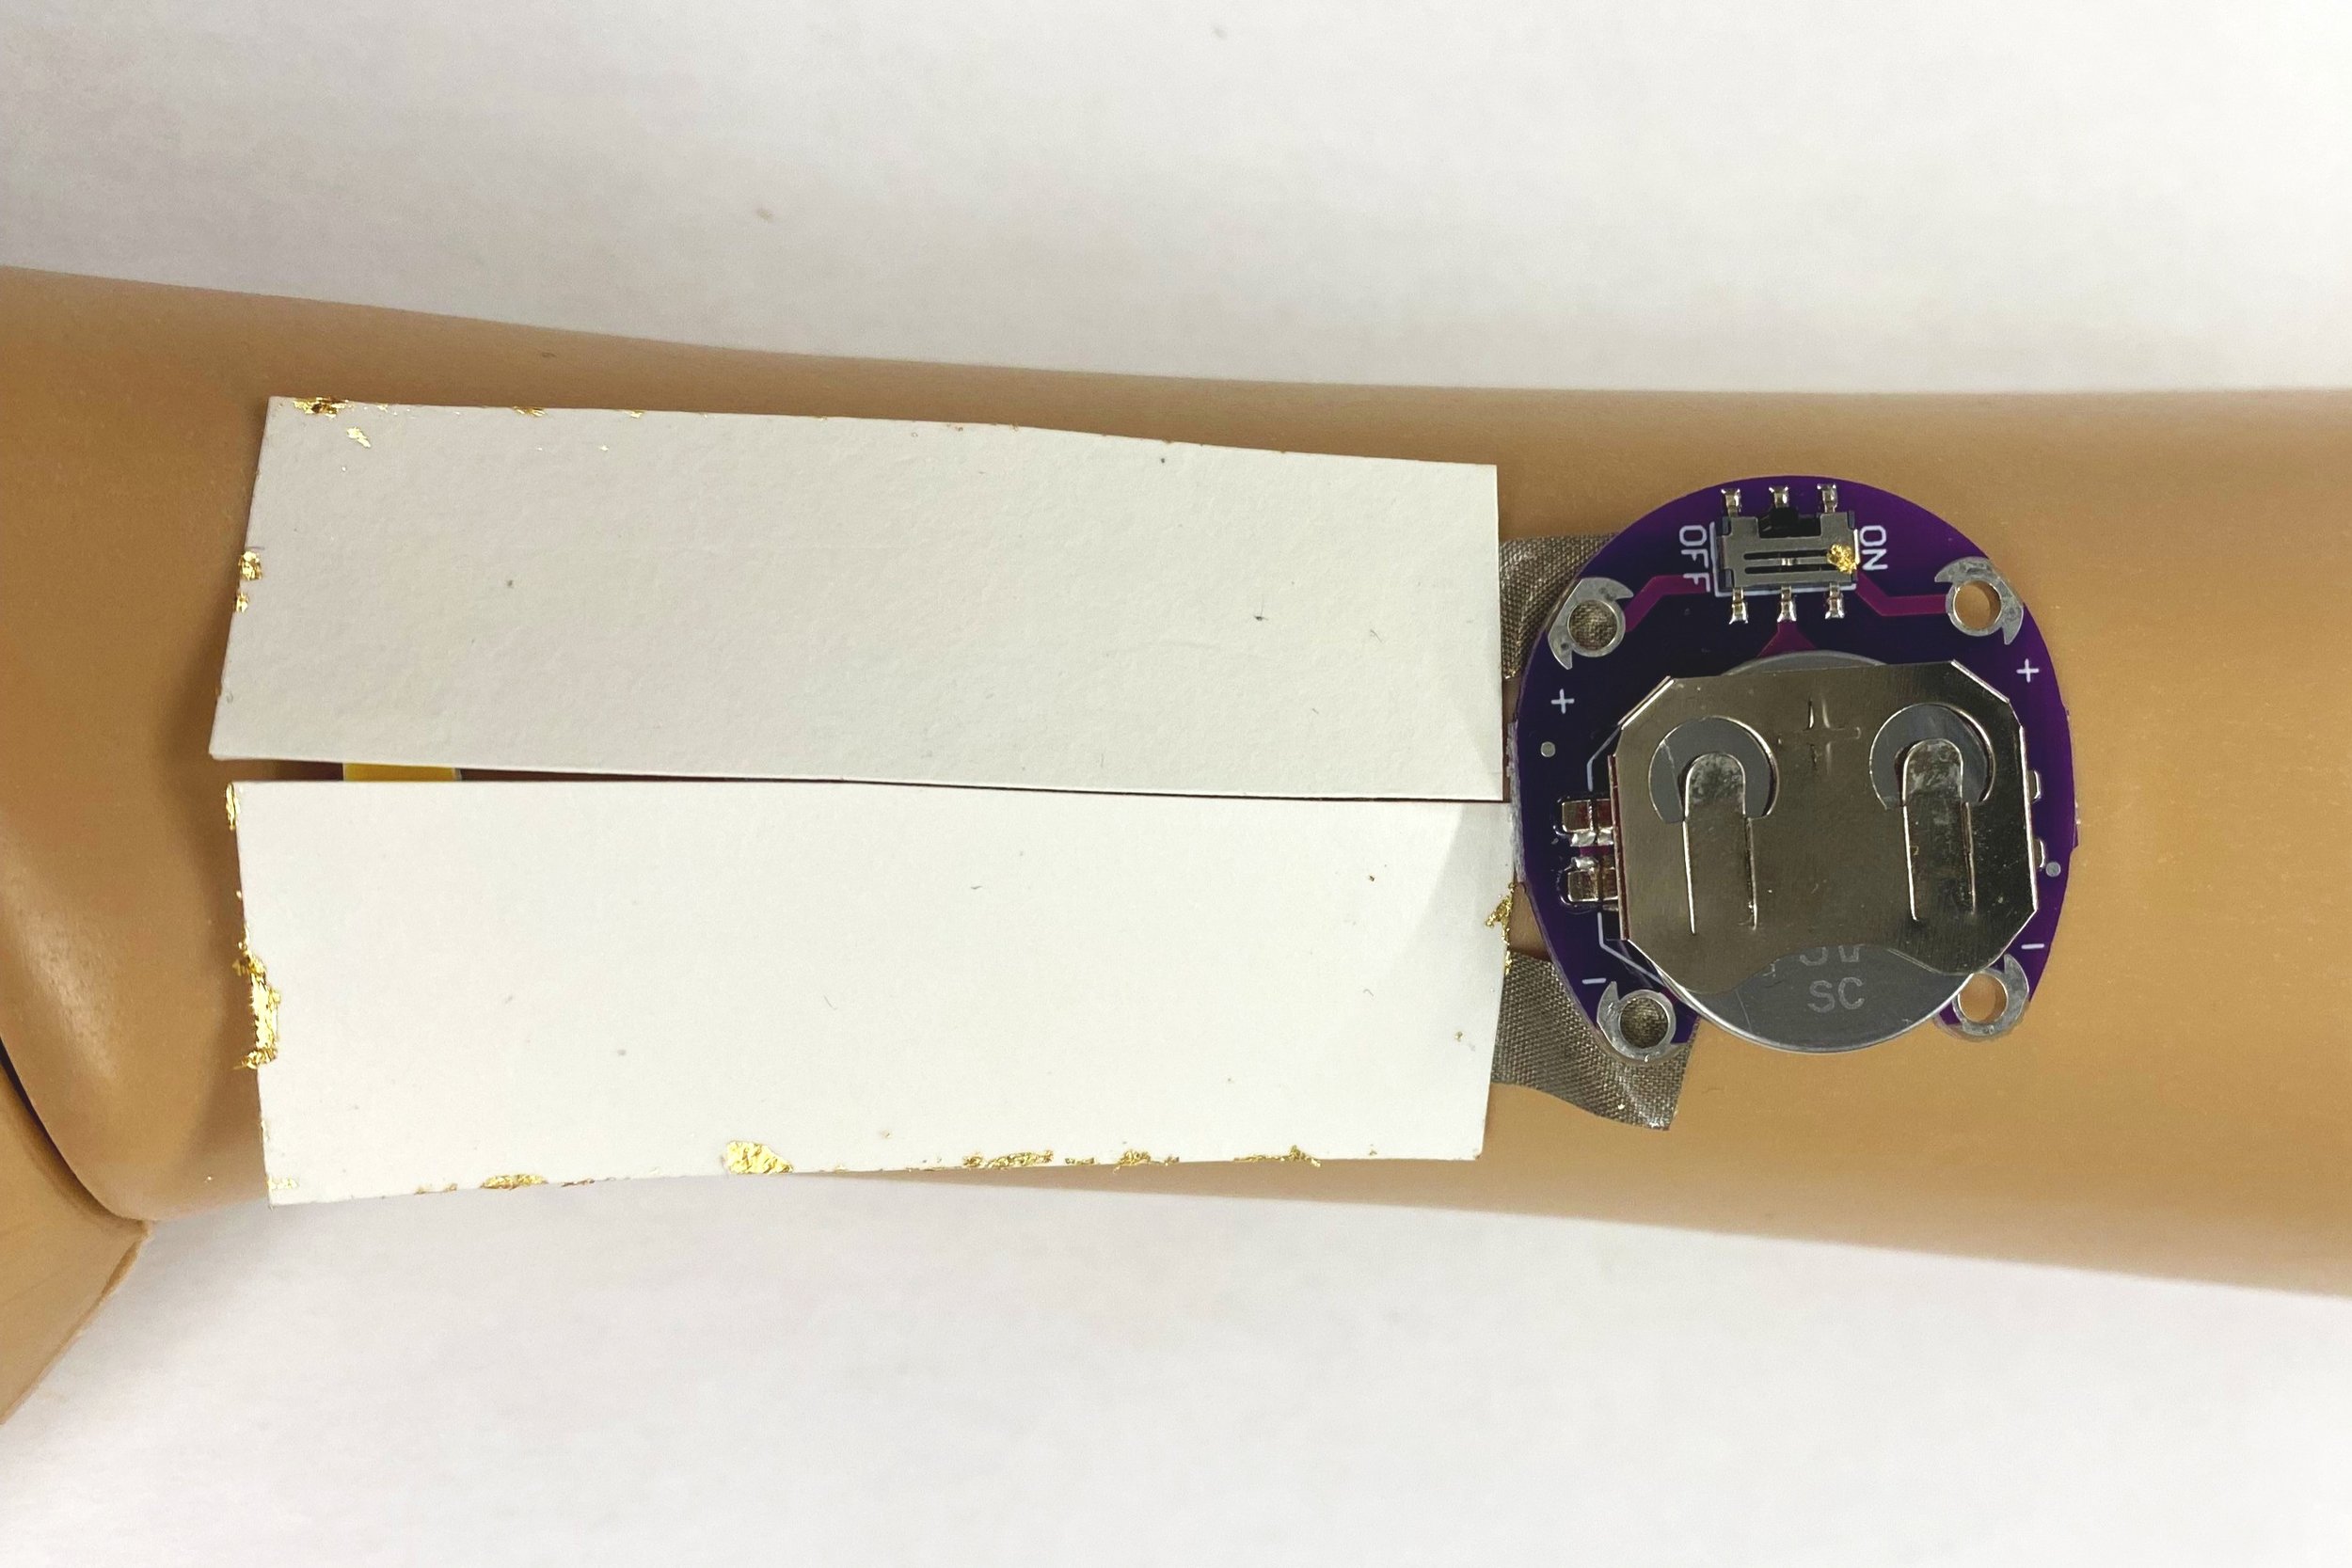
Adding the Battery
1. Add conductive fabric tape extension to the gold leaf connections to the battery
2. Test the battery by placing it on the extended conductive fabric leads.
Note: the battery should be bottom side up; it will be attached directly to the skin
3. Test that the connection works (the LED will lite up)!

Seal it in
Seal It In
4. Apply a thin layer of sealer with the paintbrush over all the gold leaf traces (fine to cover the fabric tape too).
5. Wait for it to dry.
It will no longer be sticky when it is fully dried.
Skin Application
1. Add an adhesive film by Silhouette America, pictured below. Use your fingernails or a credit card to press it down into the tattoo paper real good

You will add the adhesive onto the side you want to adhere on the skin.
2. When ready, peel clear adhesive backing off, attach to skin with LED facing up, and lightly pat a wet paper towel over the tattoo. Remove the paper backing

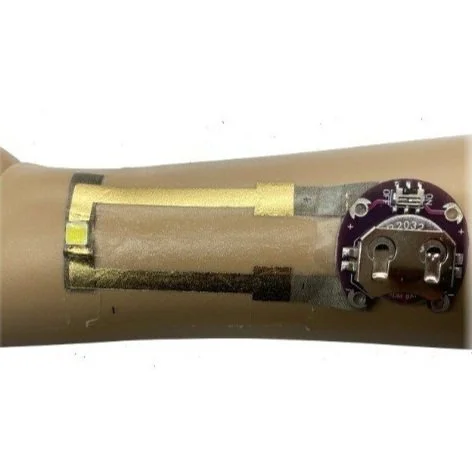
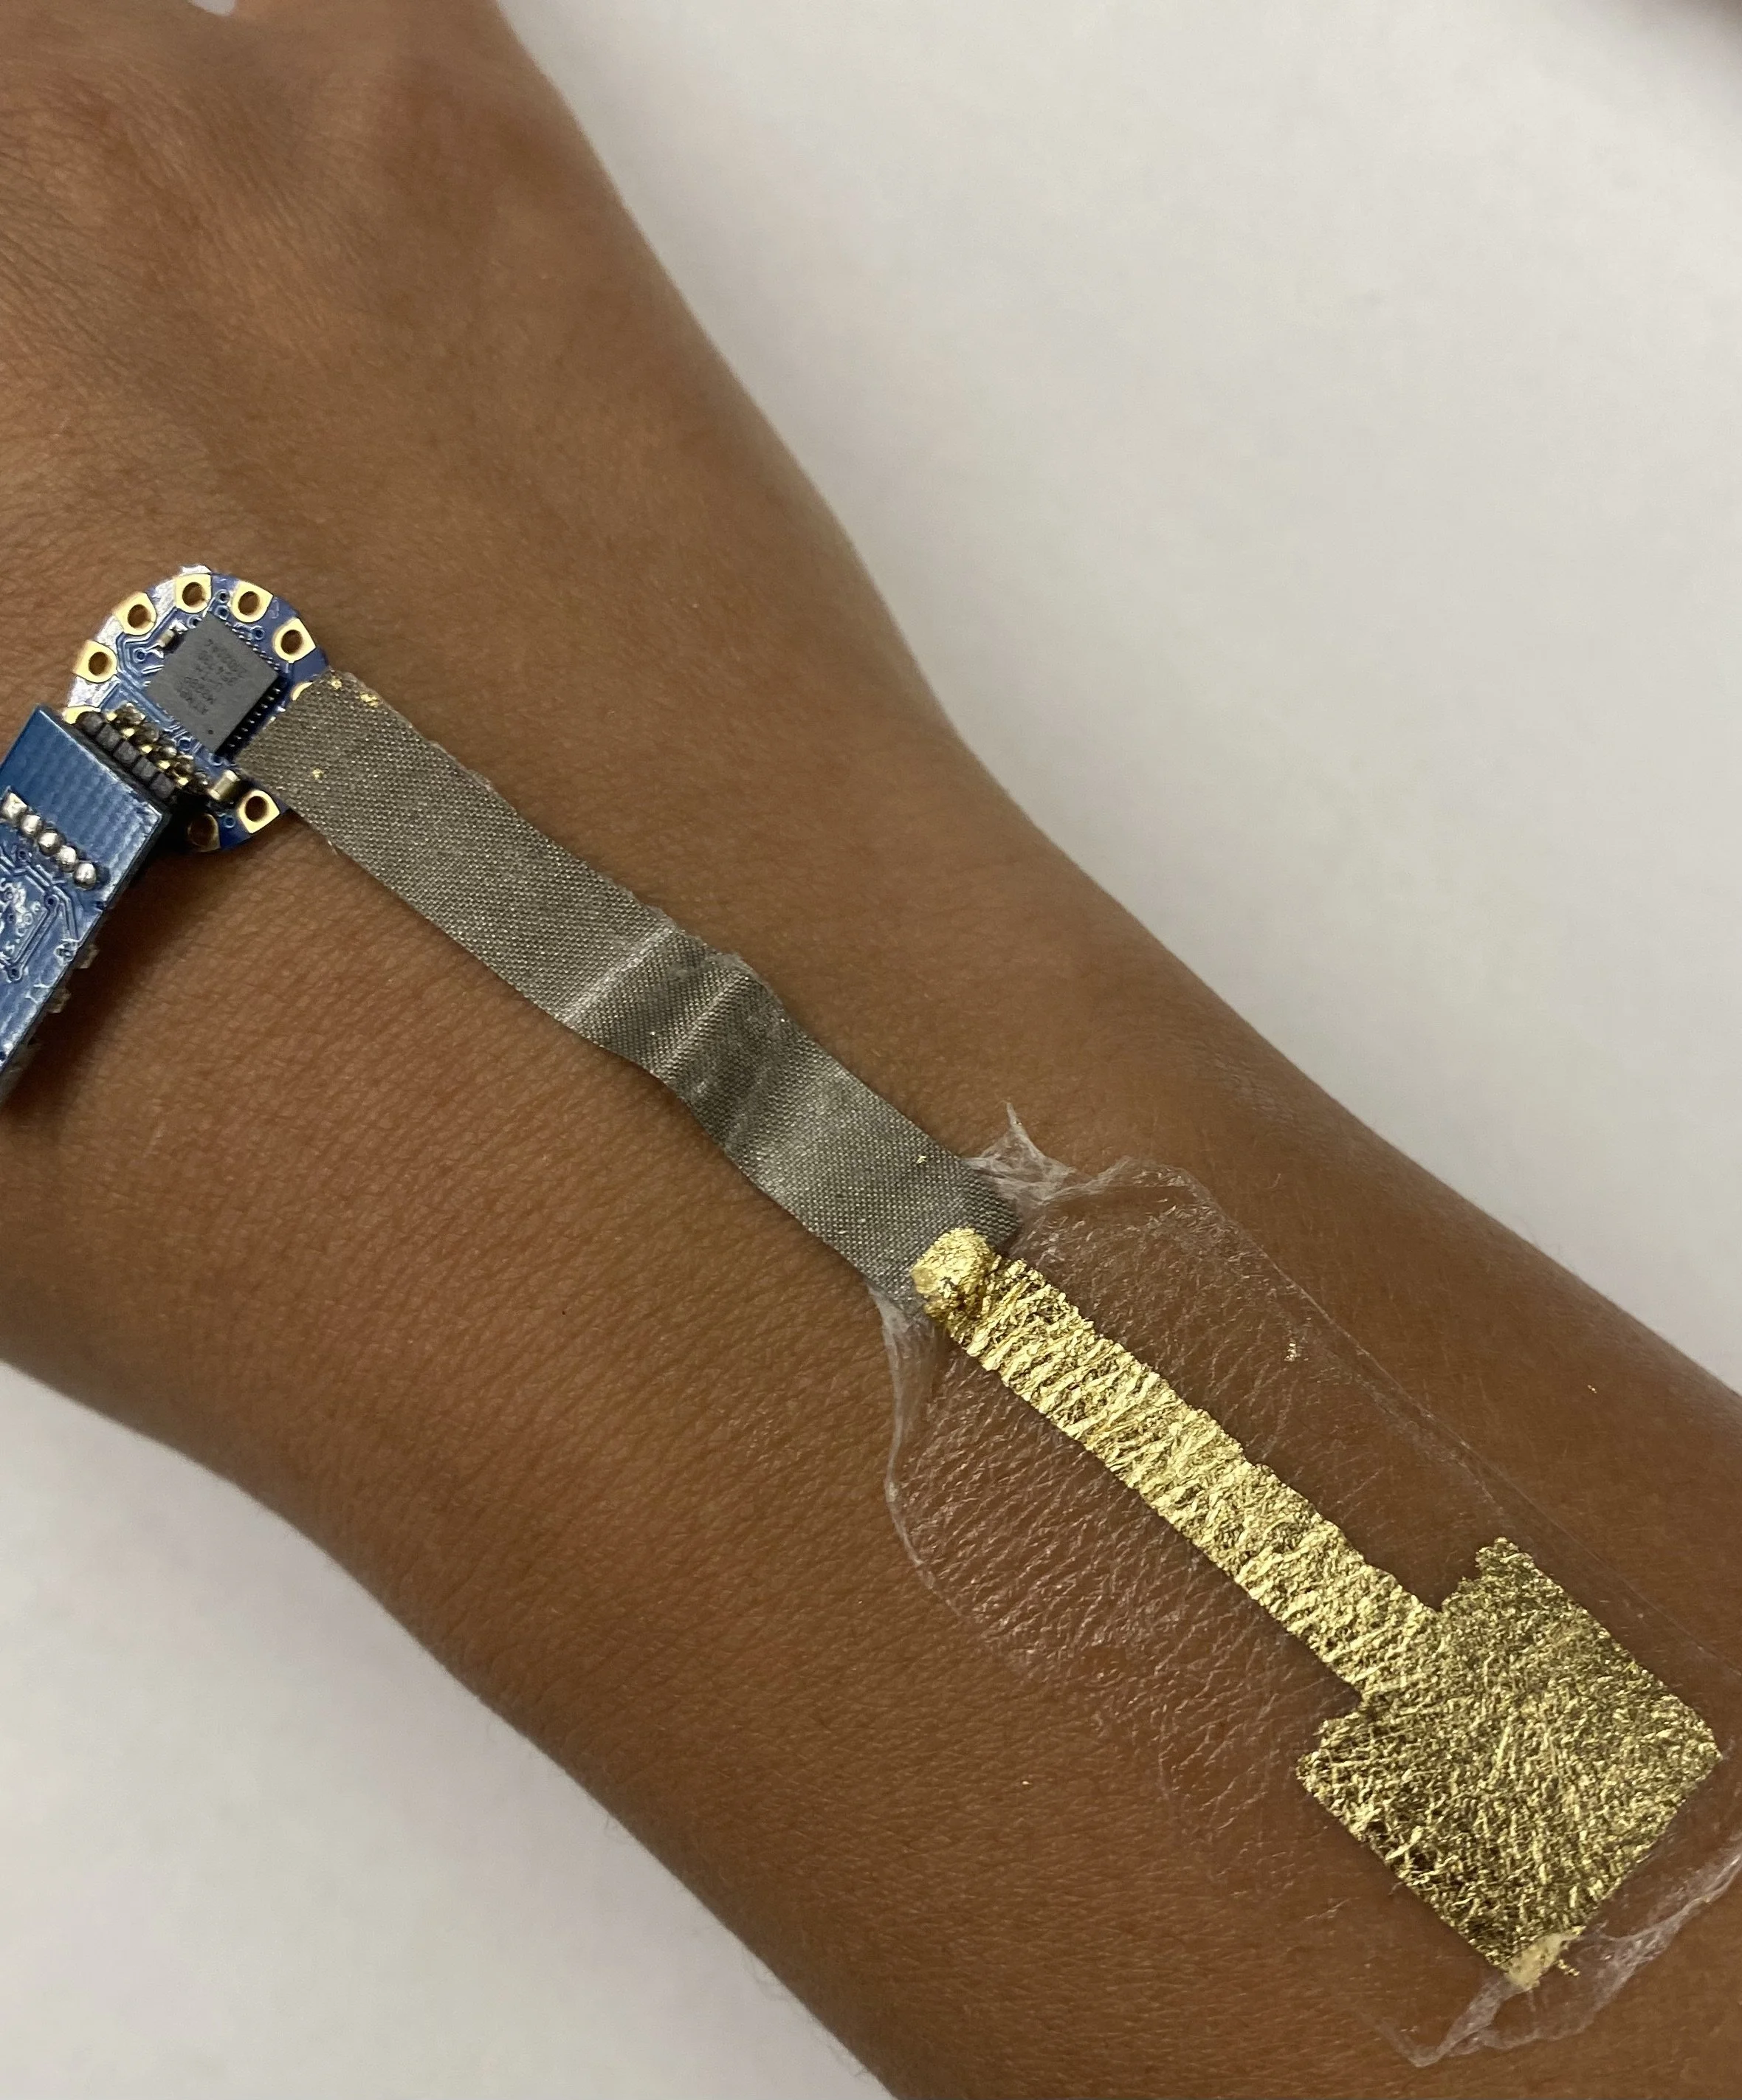
3. Then, attach a power source or signal to the conductive fabric leads - keeping in mind the positive and negative side of the tattoo and watch it glow!

An example from 2022 FA class.
Reflection Questions
How would you compare the LED circuit we made here, with the one made last week with conductive fabric tape?
Which step of the fabrication process did you find most challenging?
For your Lab 2 submission, construct a DuoSkin LED circuit and a DuoSkin NCF tag (with the coil connected to either the NFC chip or the Chibitronics LED). Post a photo of each onto the Canvas discussion board, with a 100-word description of what you made, responses to the reflection questions, and any challenges you encountered on the way.
Note: if you are already an experienced electronics builder you are encouraged to expand the project to match your skillset.