Tools and Materials
Conductive Fabric Tape
Chibitrornics LED
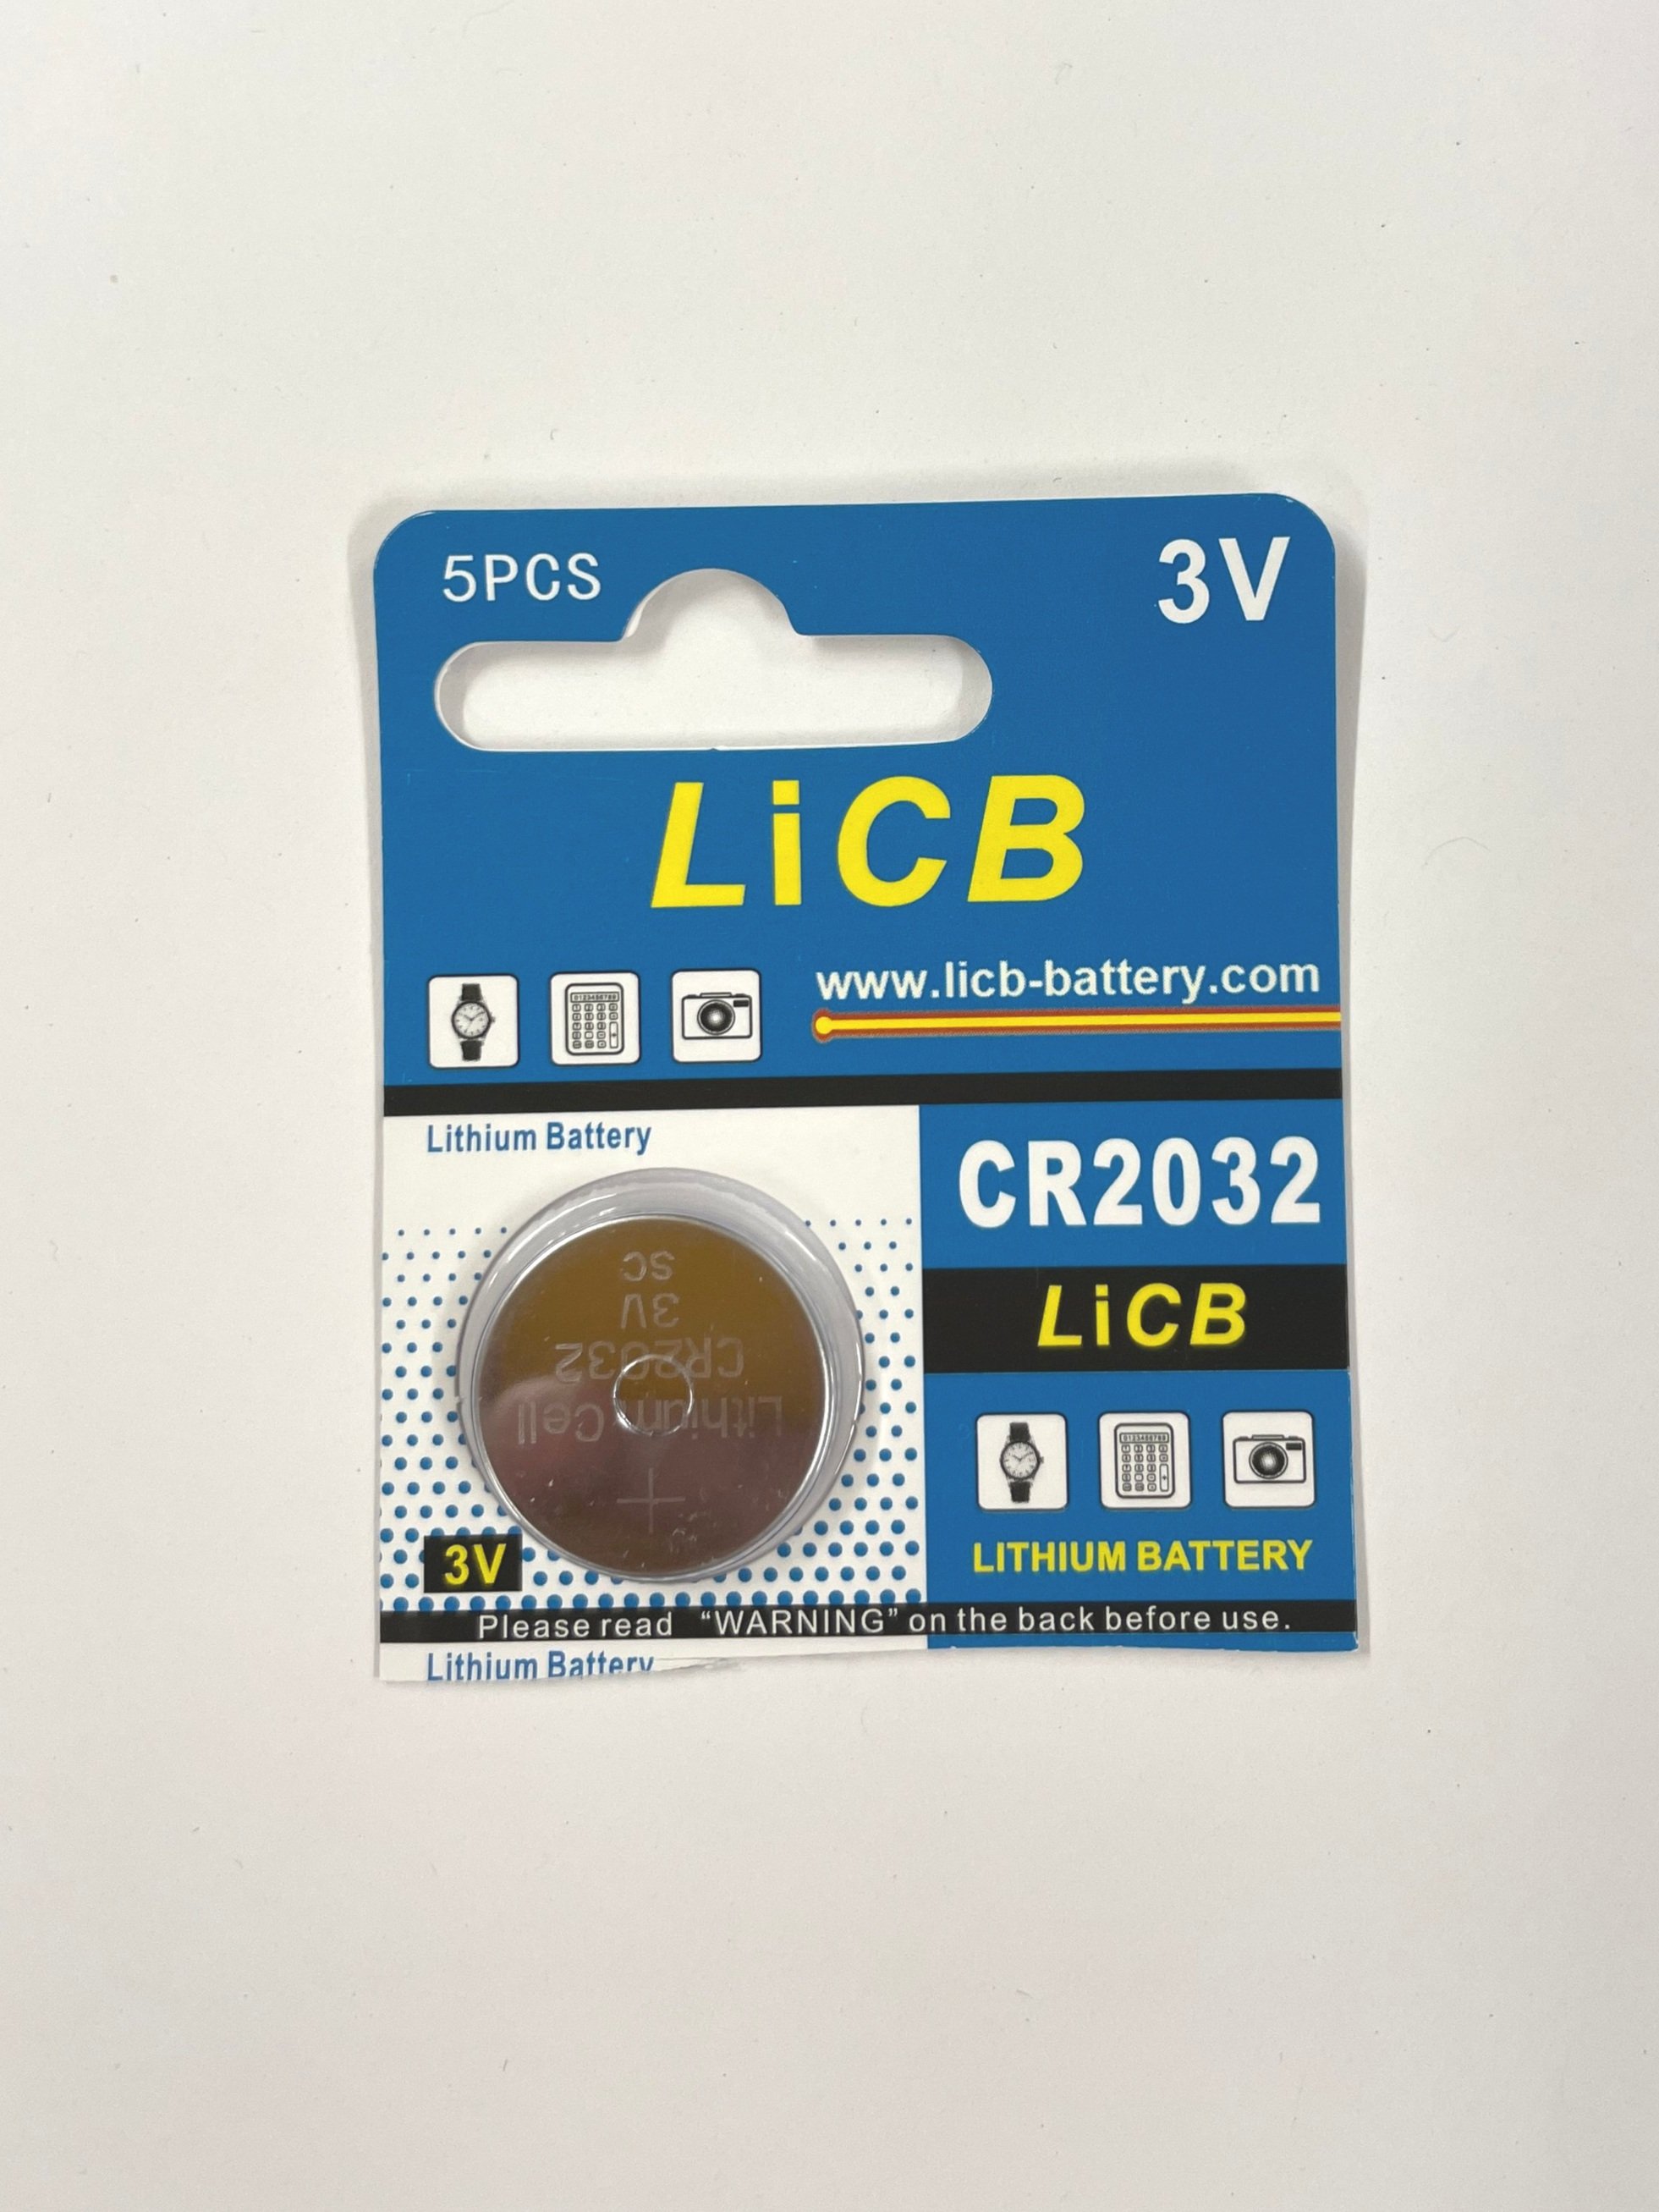
Coin Cell Battery
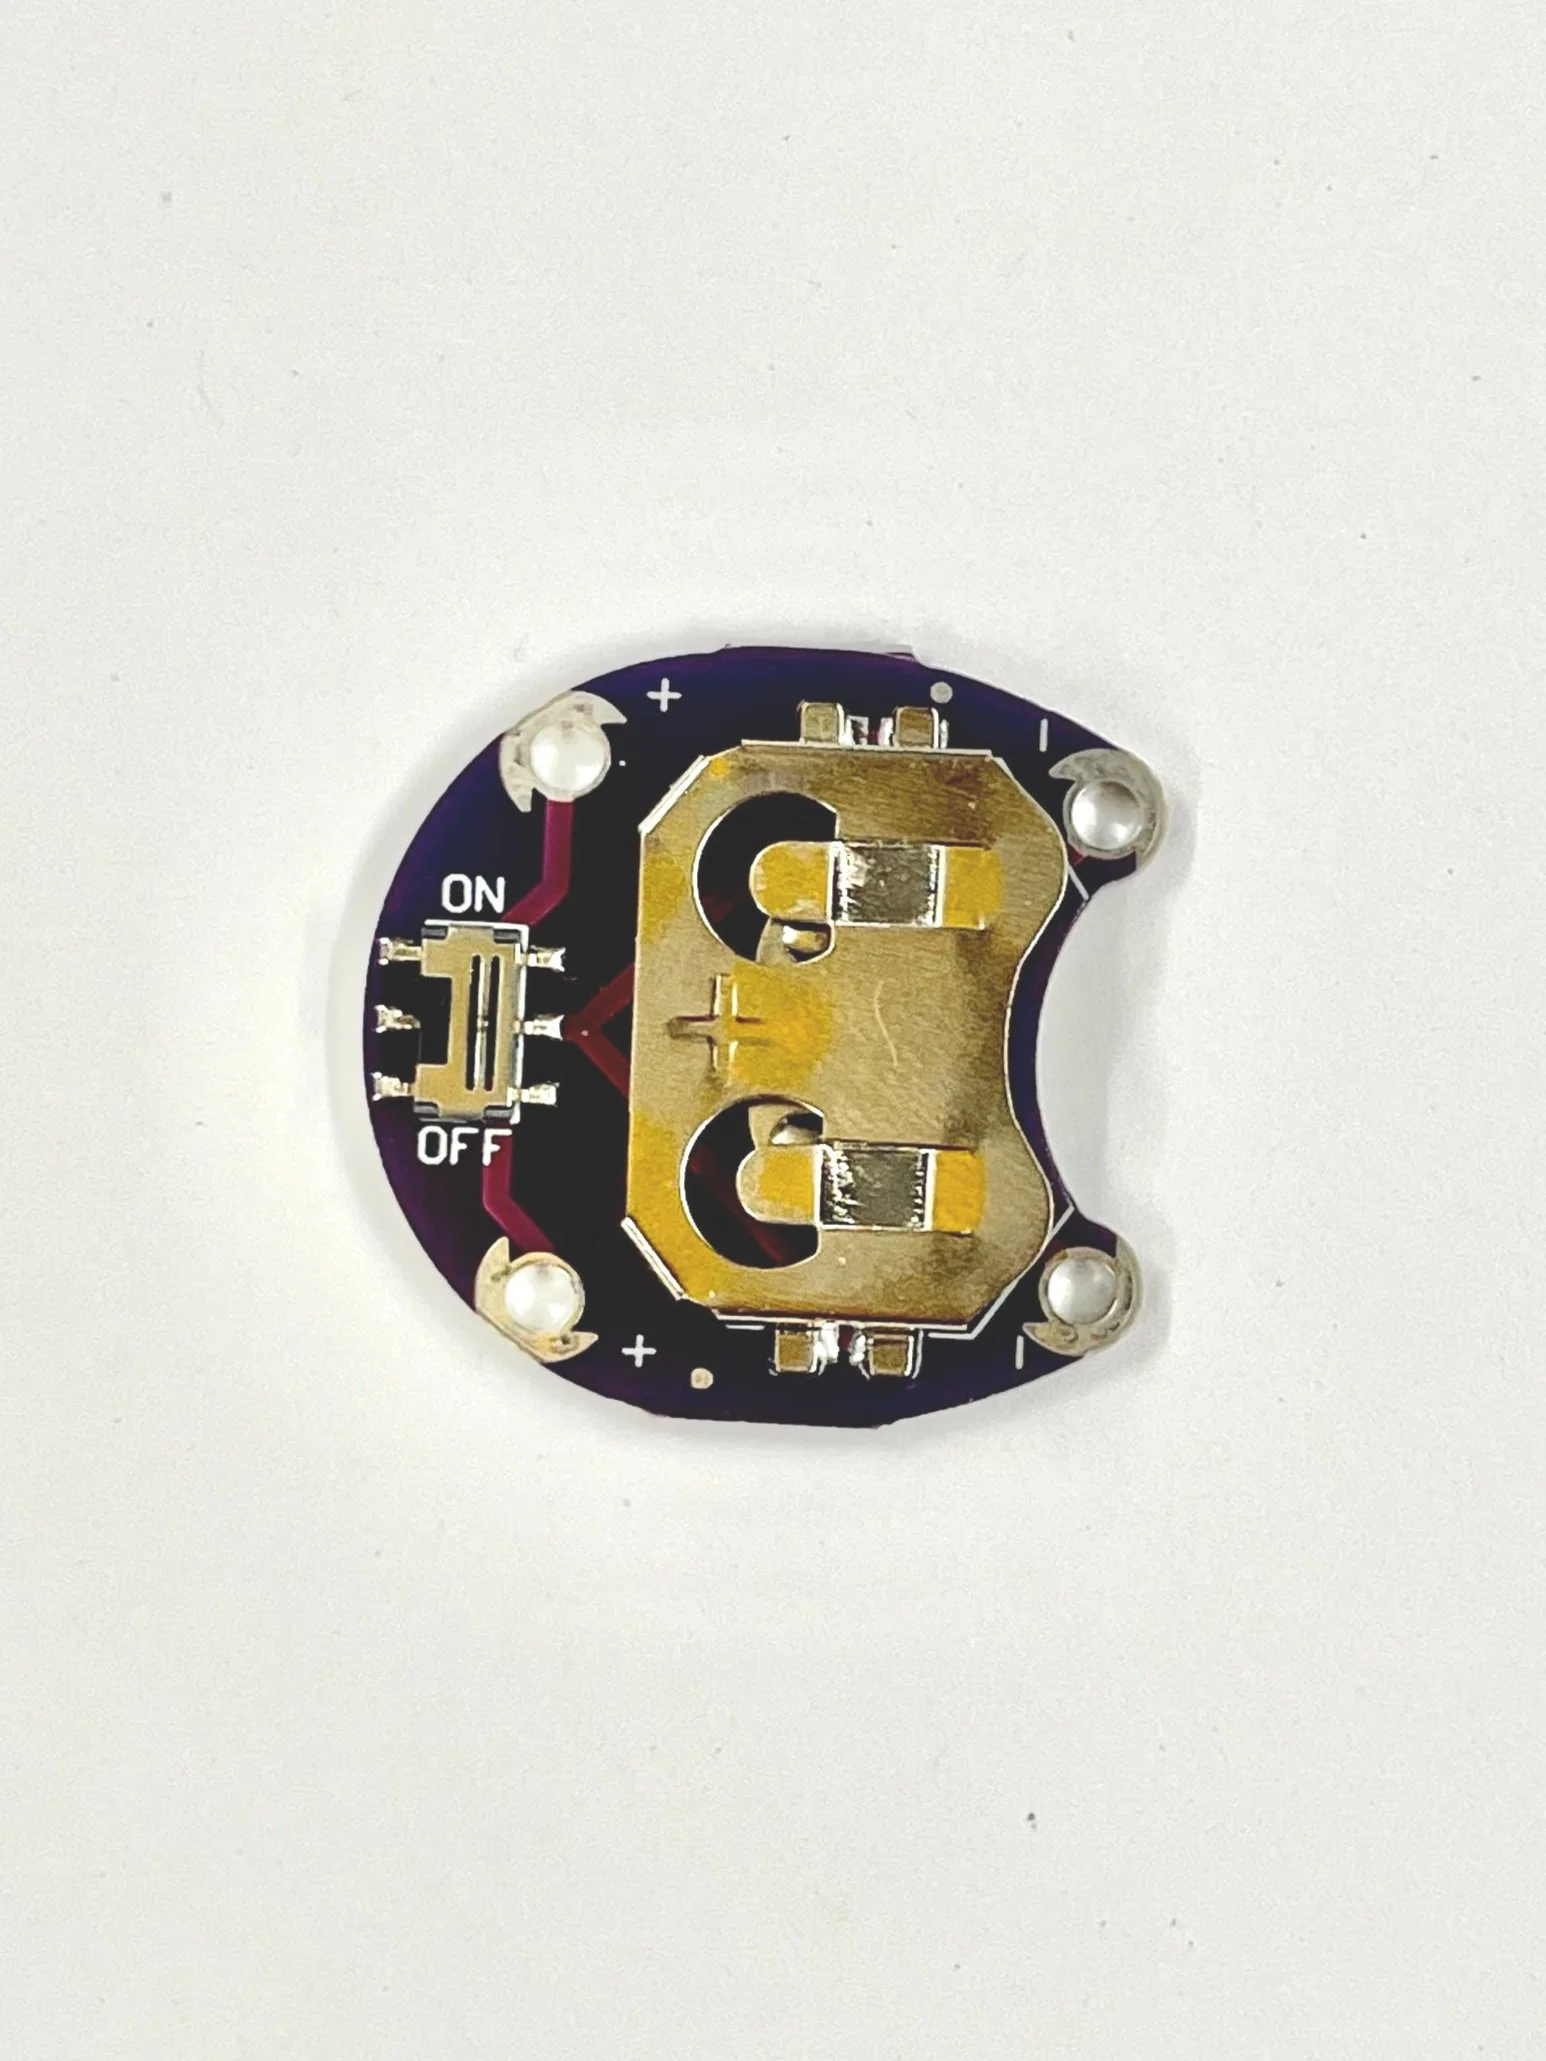
Coin Cell Battery Holder
Agitator Clips
Mannequin Arm
Multimeter (how to use)
Scissors


Construction Steps
Construct a simple on-skin circuit using conductive fabric tape. Start by following the example below of constructing a simple LED circuit.
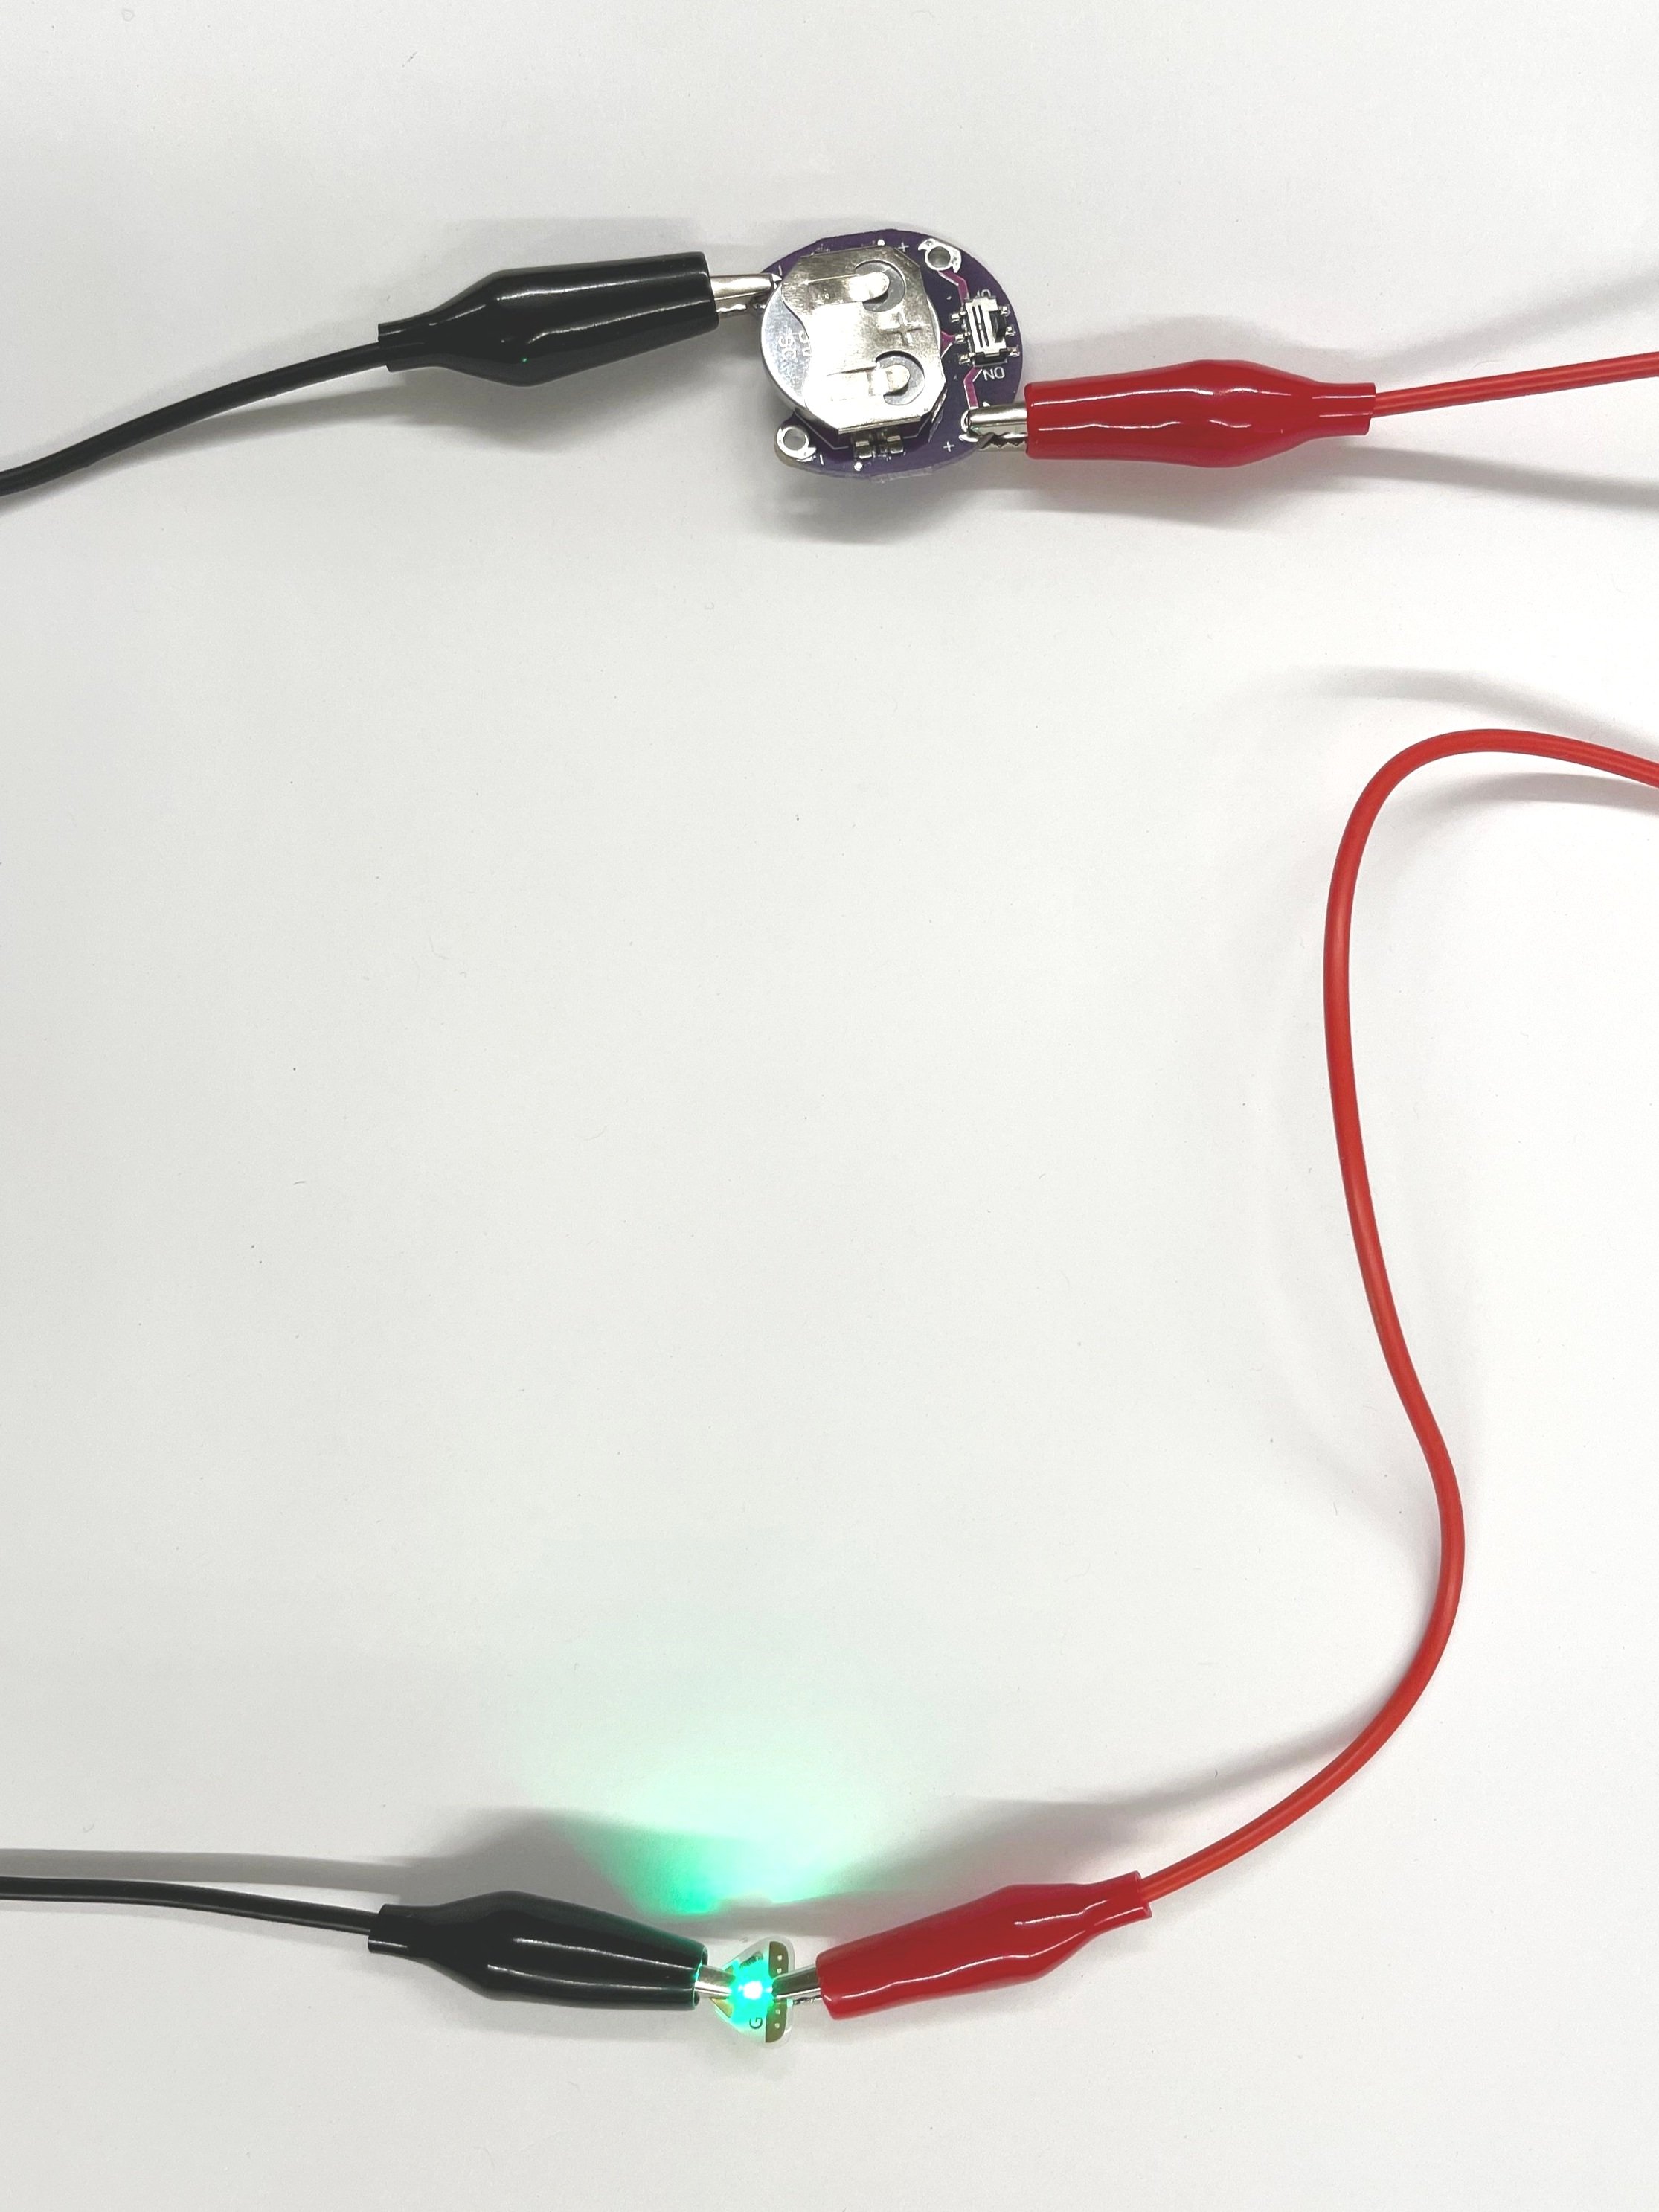

1. Layout the necessary components on your table and use alligator clips to confirm the LED circuit
Note that this battery holder needs to be switched on for the light to flash
Agitator clips attach to holes on the battery holder

2. Replace alligator clips with conductive tape that will be conformable for the skin. Using scissors, cut a ~3 inch strip of conductive fabric then cut in half for two 3-inch strips.
Each strip should be a neat, clean cut with no jagged edges as illustrated.
3. Remove the backing of each strip and connect the LED and the battery with the strips.
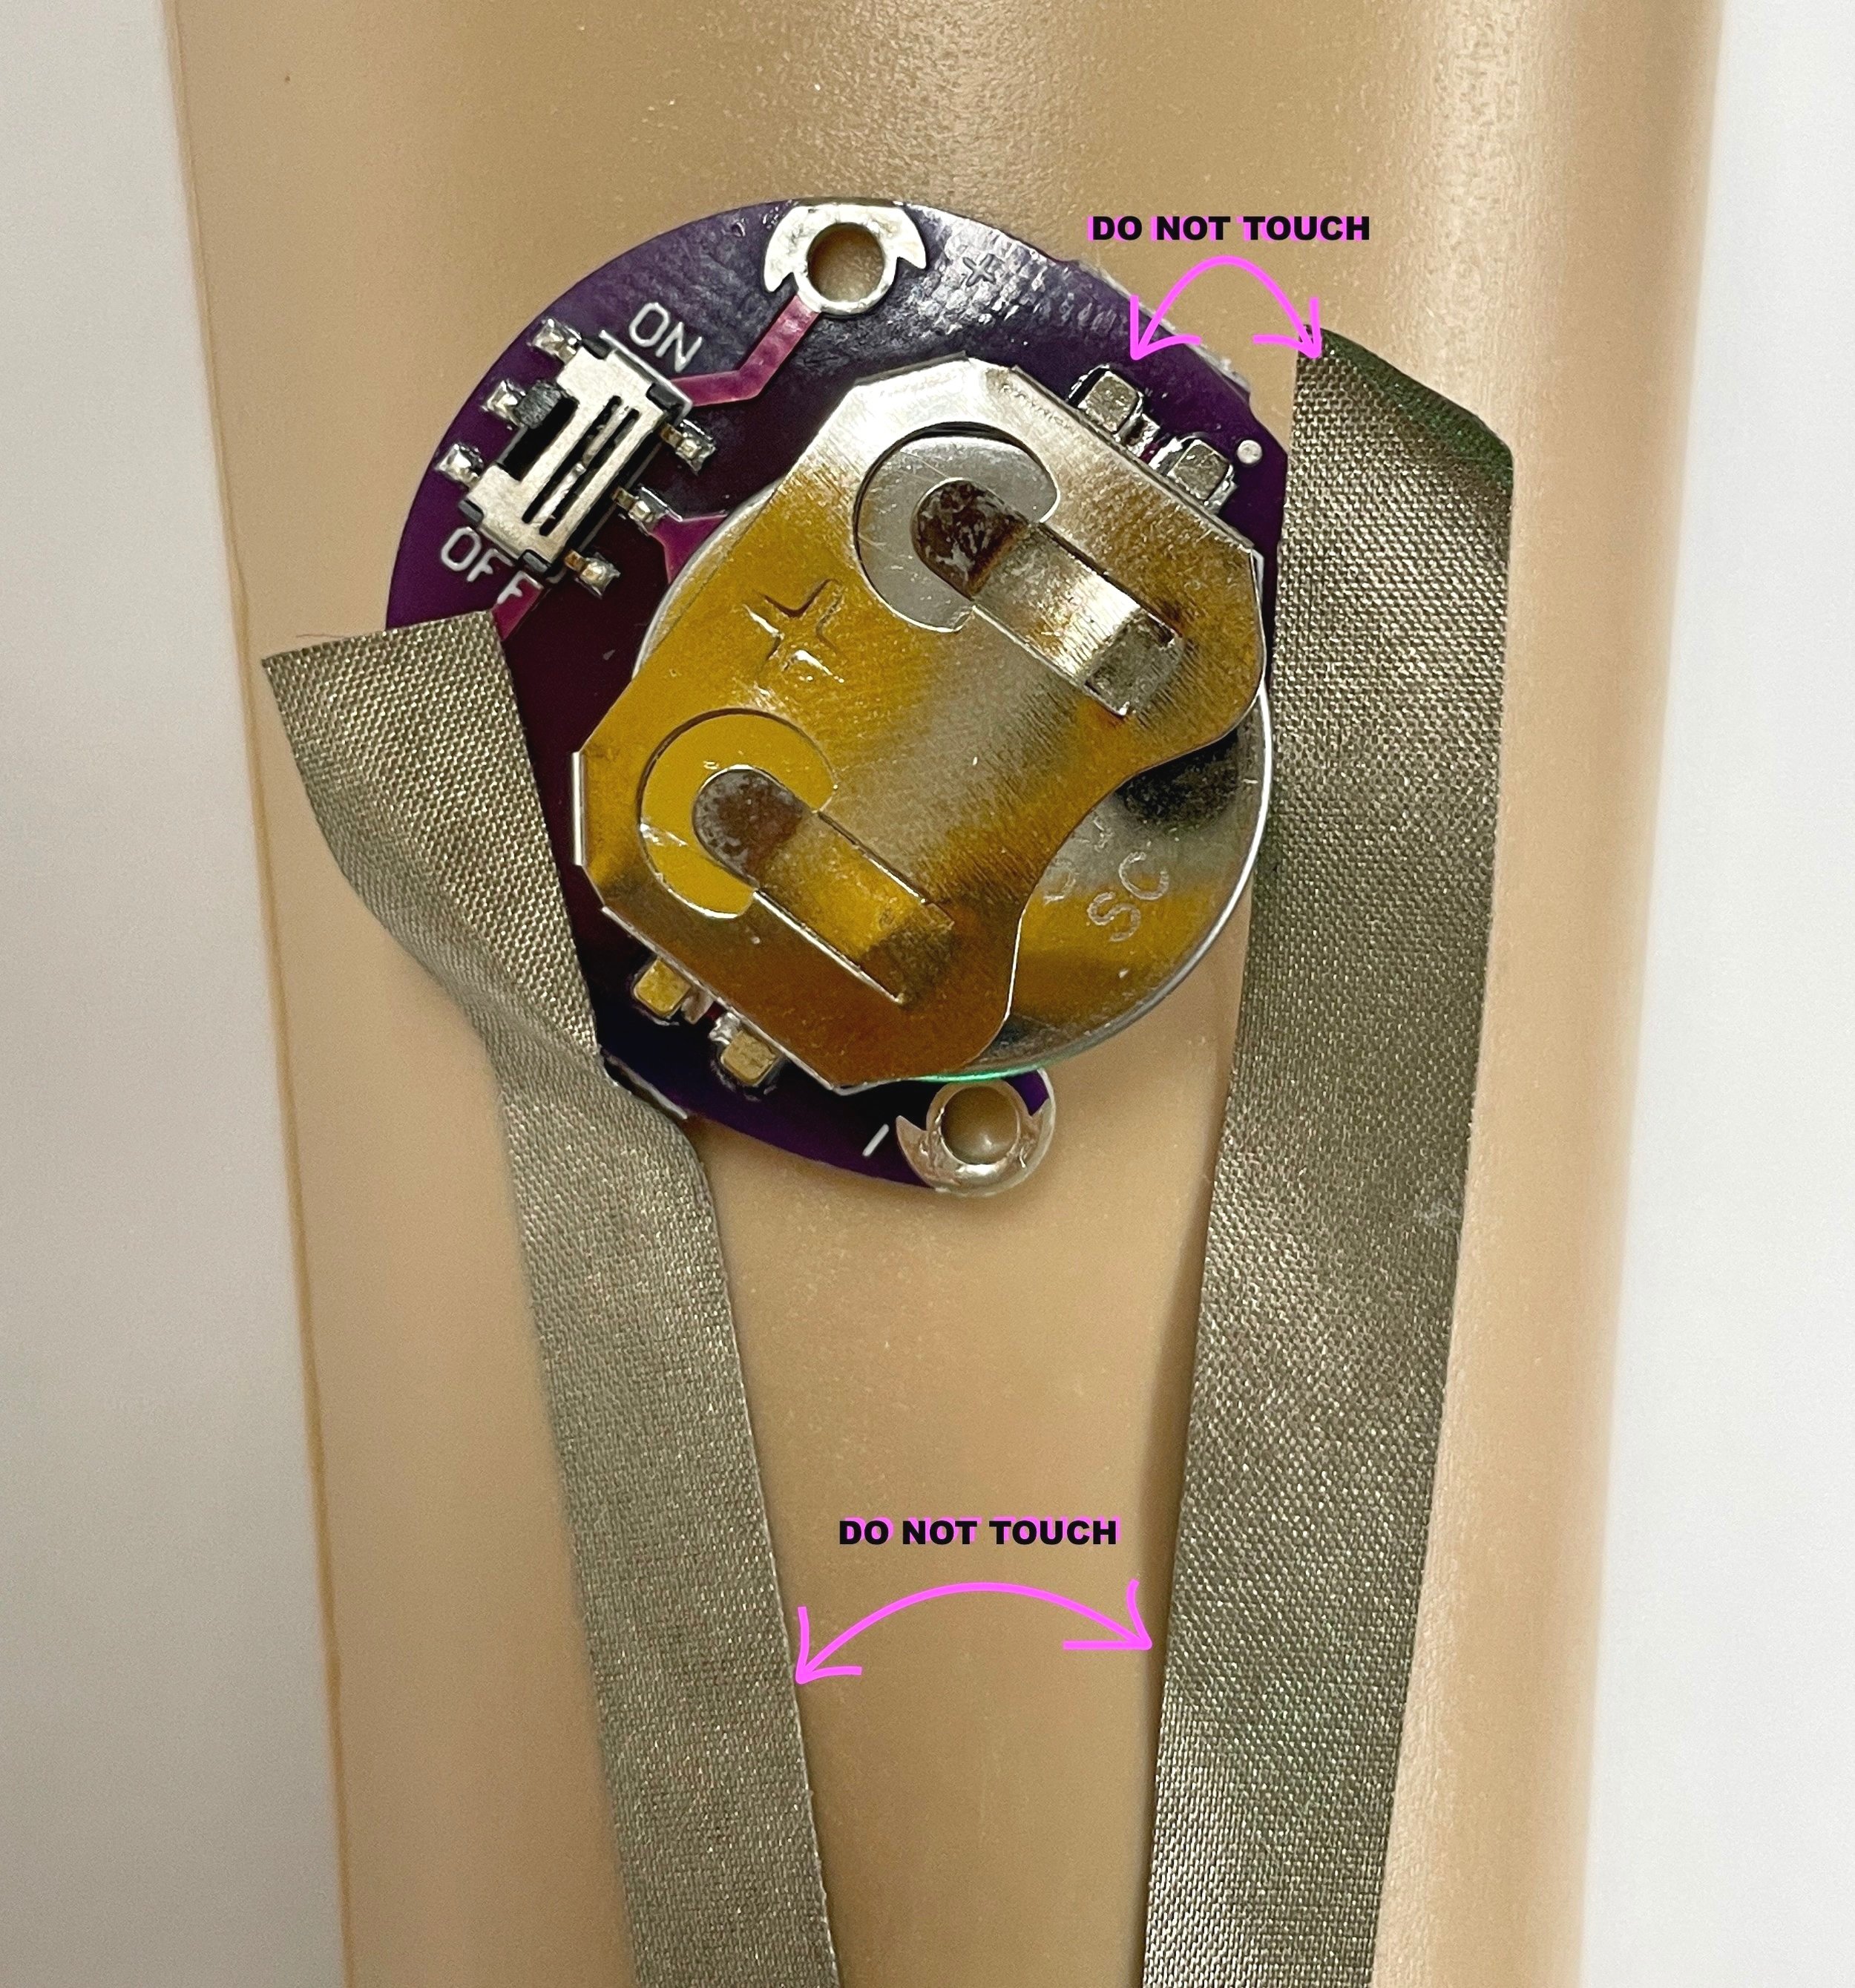
Note that you do NOT want to short the circuit: make sure that the cathode does not touch the anode in the coin cell battery, strips of tape should NOT touch either.
Note that tape needs to be firmly pressed in order for the light to turn on
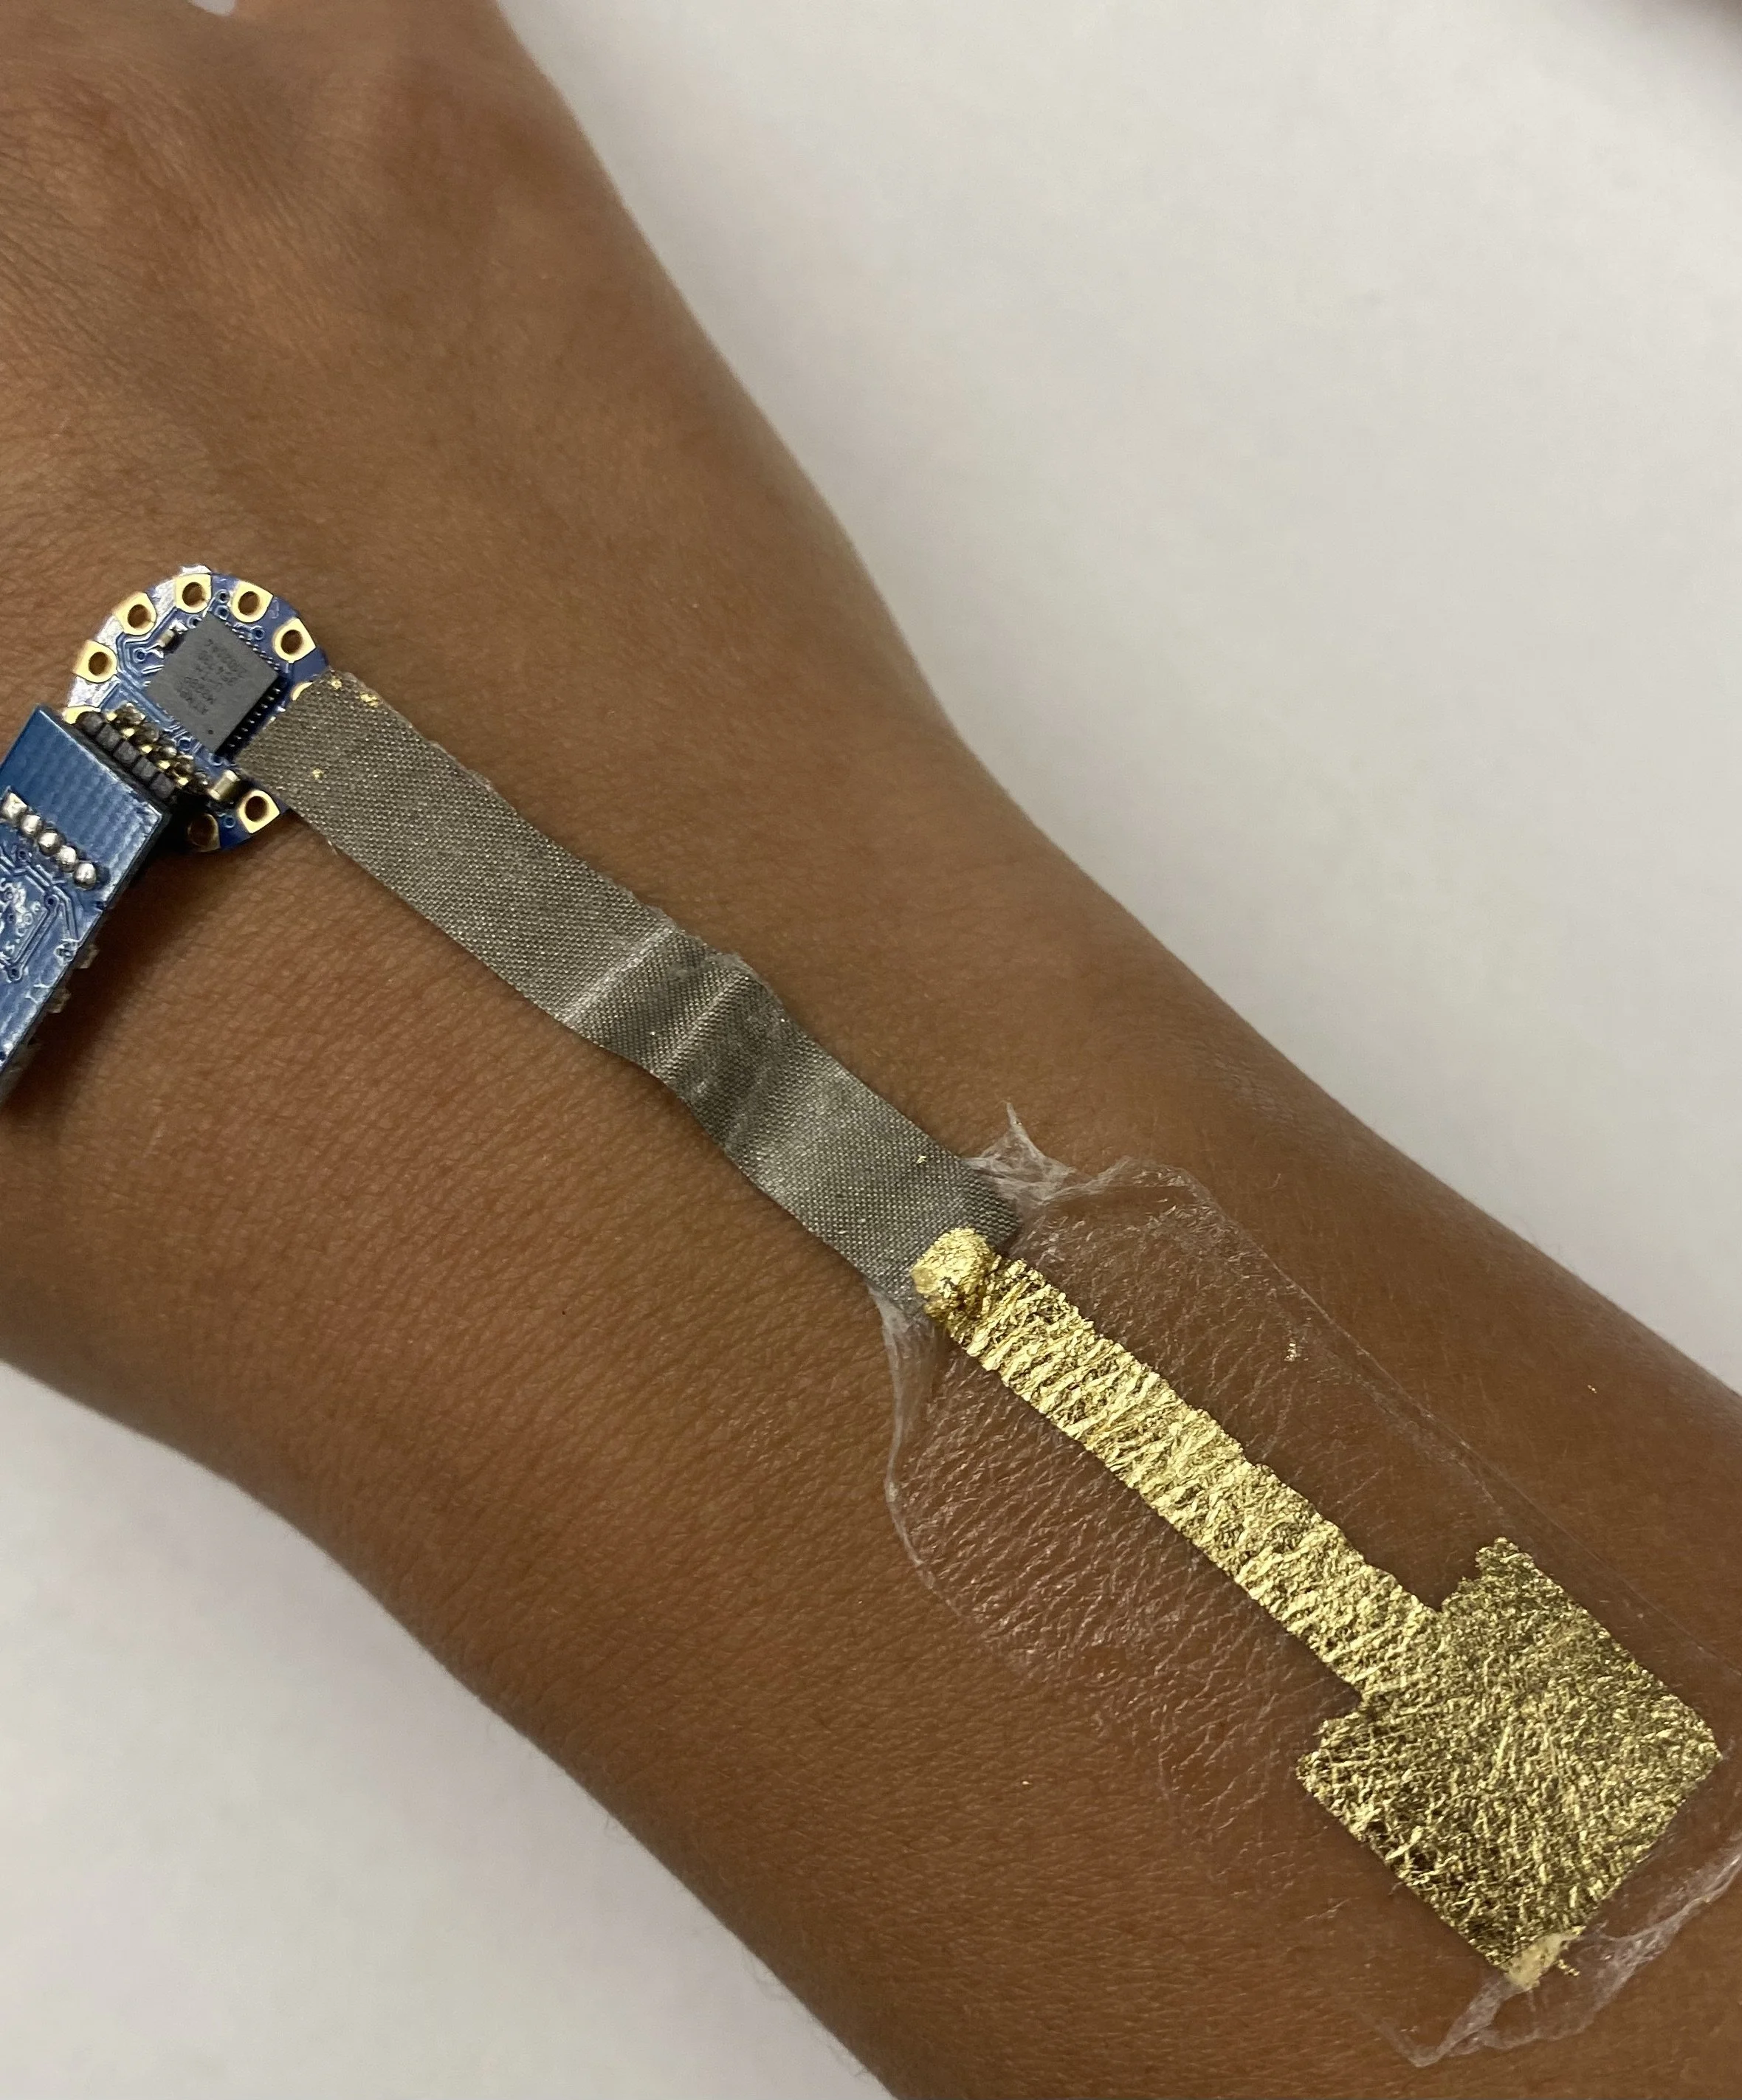
4. Apply this circuit to the mannequin arm.
For best results, the battery and battery holder should be on the forearm and the LED will be closer to the wrist

Final Product!
Congrats, you have made your first on-skin interface!
Reflection Questions
What issues did you encounter in applying the circuit onto the mannequin arm?
We would categorize this as a rapid prototyping method for on-skin interfaces, especially for making “low-fidelity” prototypes. At what stage of the research process is it useful to use this method? What are some of the limitations of this approach?
For your Lab 1 submission, construct a circuit of your choice and post a photo of it to Canvas discussion board, with a 100-word description of what you made and any challenges you encountered on the way.
Note: if you are already an experienced electronics builder you are encouraged to expand the project to match your skillset.