TOOLS AND MATERIALS
Chemicals and Seeds:
Sodium Alginate Powder
Glycerin
Sunflower Seed Oil
Distilled Water
Chia Seed
Distilled water
Calcium Chloride
Textile Integration:
Bags and bobbins for spun yarn
Fabric swatches (cotton or fleece recommended)
Embroidery needles & thread (for couching stitch)
Small loom (for weaving experiments)
Tools:
Luer lock easy glide 30mL Syringe
Luer lock syringe nozzles, 12 Gauge
Rubber Spatula
Digital Scale
Food processor
Weigh boats
Vacuum sealer with container
Note: if you cannot purchase a vacuum sealer, we provide you with alternatives in the instructions.
Spray bottles
Large beakers/containers
Strainer
Mixing tools (popsicle sticks)
Procedure
Testing Chia seeds
Before proceeding with the rest of the project, first test the quality of the seeds to make sure they do not have trouble sprouting.
Put a pinch of chia seeds in a shallow container and spray with tap water.
Place a napkin over the seeds to retain more moisture and airflow.
Spray some 5% w/v calcium chloride on top of the napkin.
Cover the container slightly.
Place the container in direct sunlight for Days 1-3.
The seeds should sprout in 3-5 days. Once they have sprouted, you may continue the tutorial.
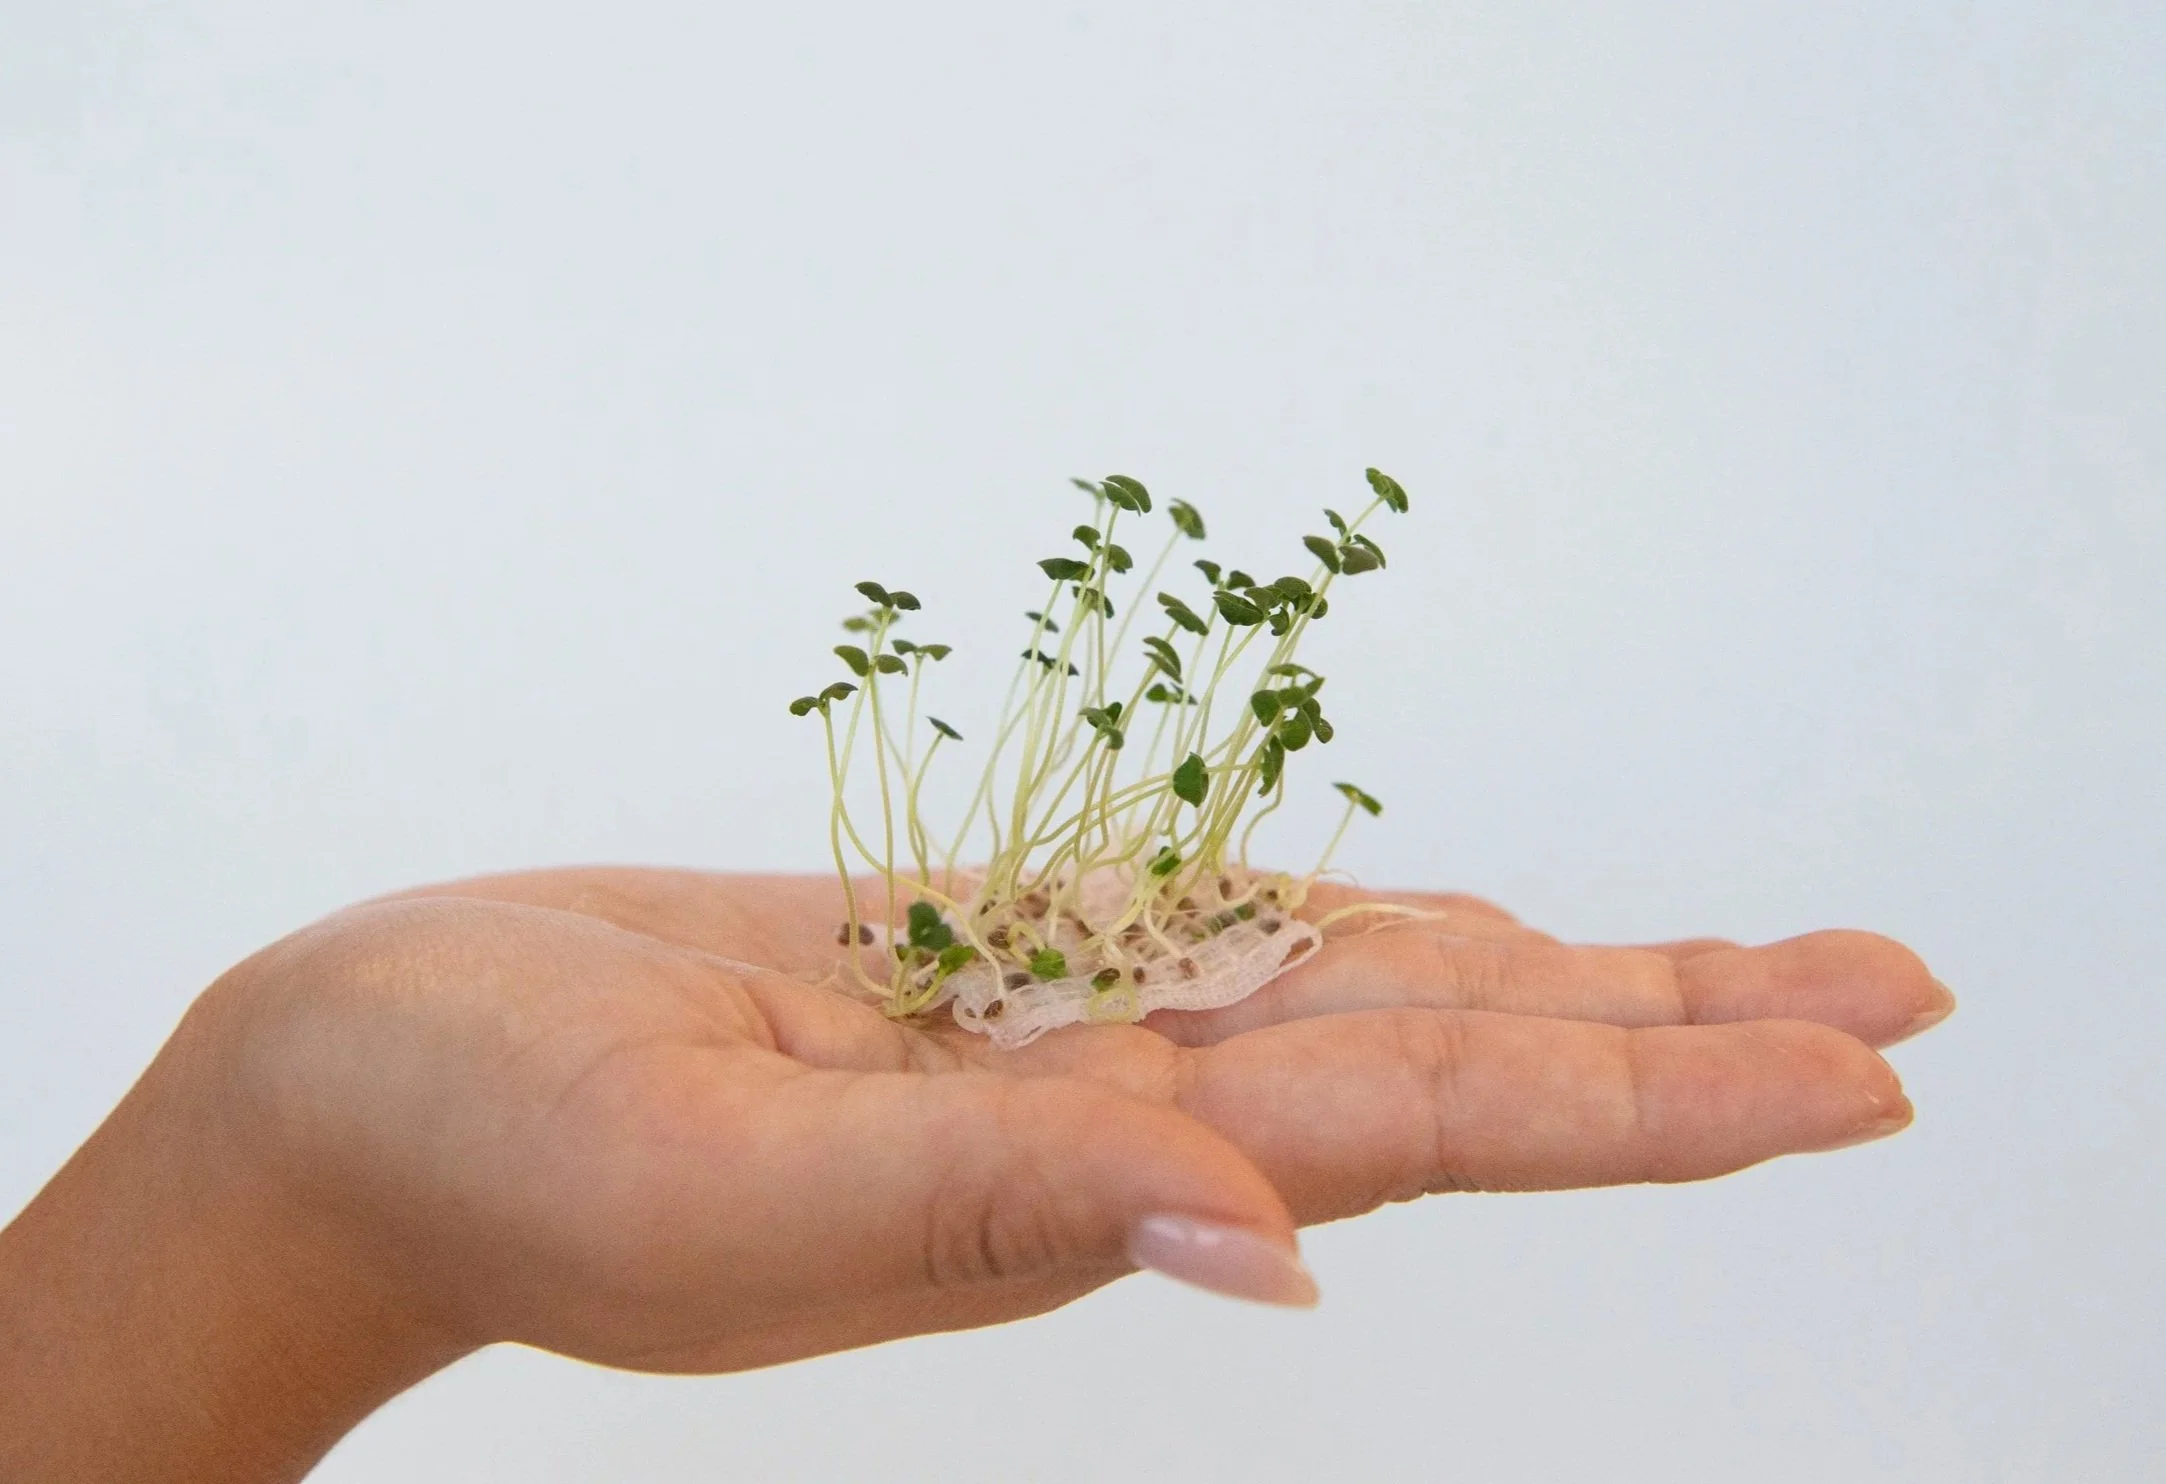
Sample of sprouted chia seeds.
preparing seed-integrated hydrogel spinning solution
In a food processor, add 150g distilled water, 5g glycerin, and 2.5g sunflower oil
In a separate container, weigh 4g sodium alginate.
In 1-gram increments, slowly add sodium alginate into the kitchen mixer, mixing well in between each addition and scraping down the sides of the mixer.
Once all the sodium alginate has been added, ensure the mixture is smooth and homogenous in consistency. Transfer the solution to a beaker.
Optional but recommended to remove additional bacteria from solution: Sterilize the solution by placing the solution in the oven at 140F for 15 minutes to improve the success germination rate.
Place the solution in a vacuum chamber for ~30 minutes to remove any air bubbles to avoid breakage during spinning. Alternatively, let the solution sit in the fridge covered overnight so bubbles can rise and burst naturally. If not being used immediately, cover and refrigerate the base solution to prevent molding.
Note: The solution is now ready to use. The following steps need to be conducted 30 minutes before the wet spinning process. If not planning to wet spin immediately, stop after step 6 (to prevent chia seeds from absorbing the solution and becoming mucilaginous) and refrigerate the base solution.
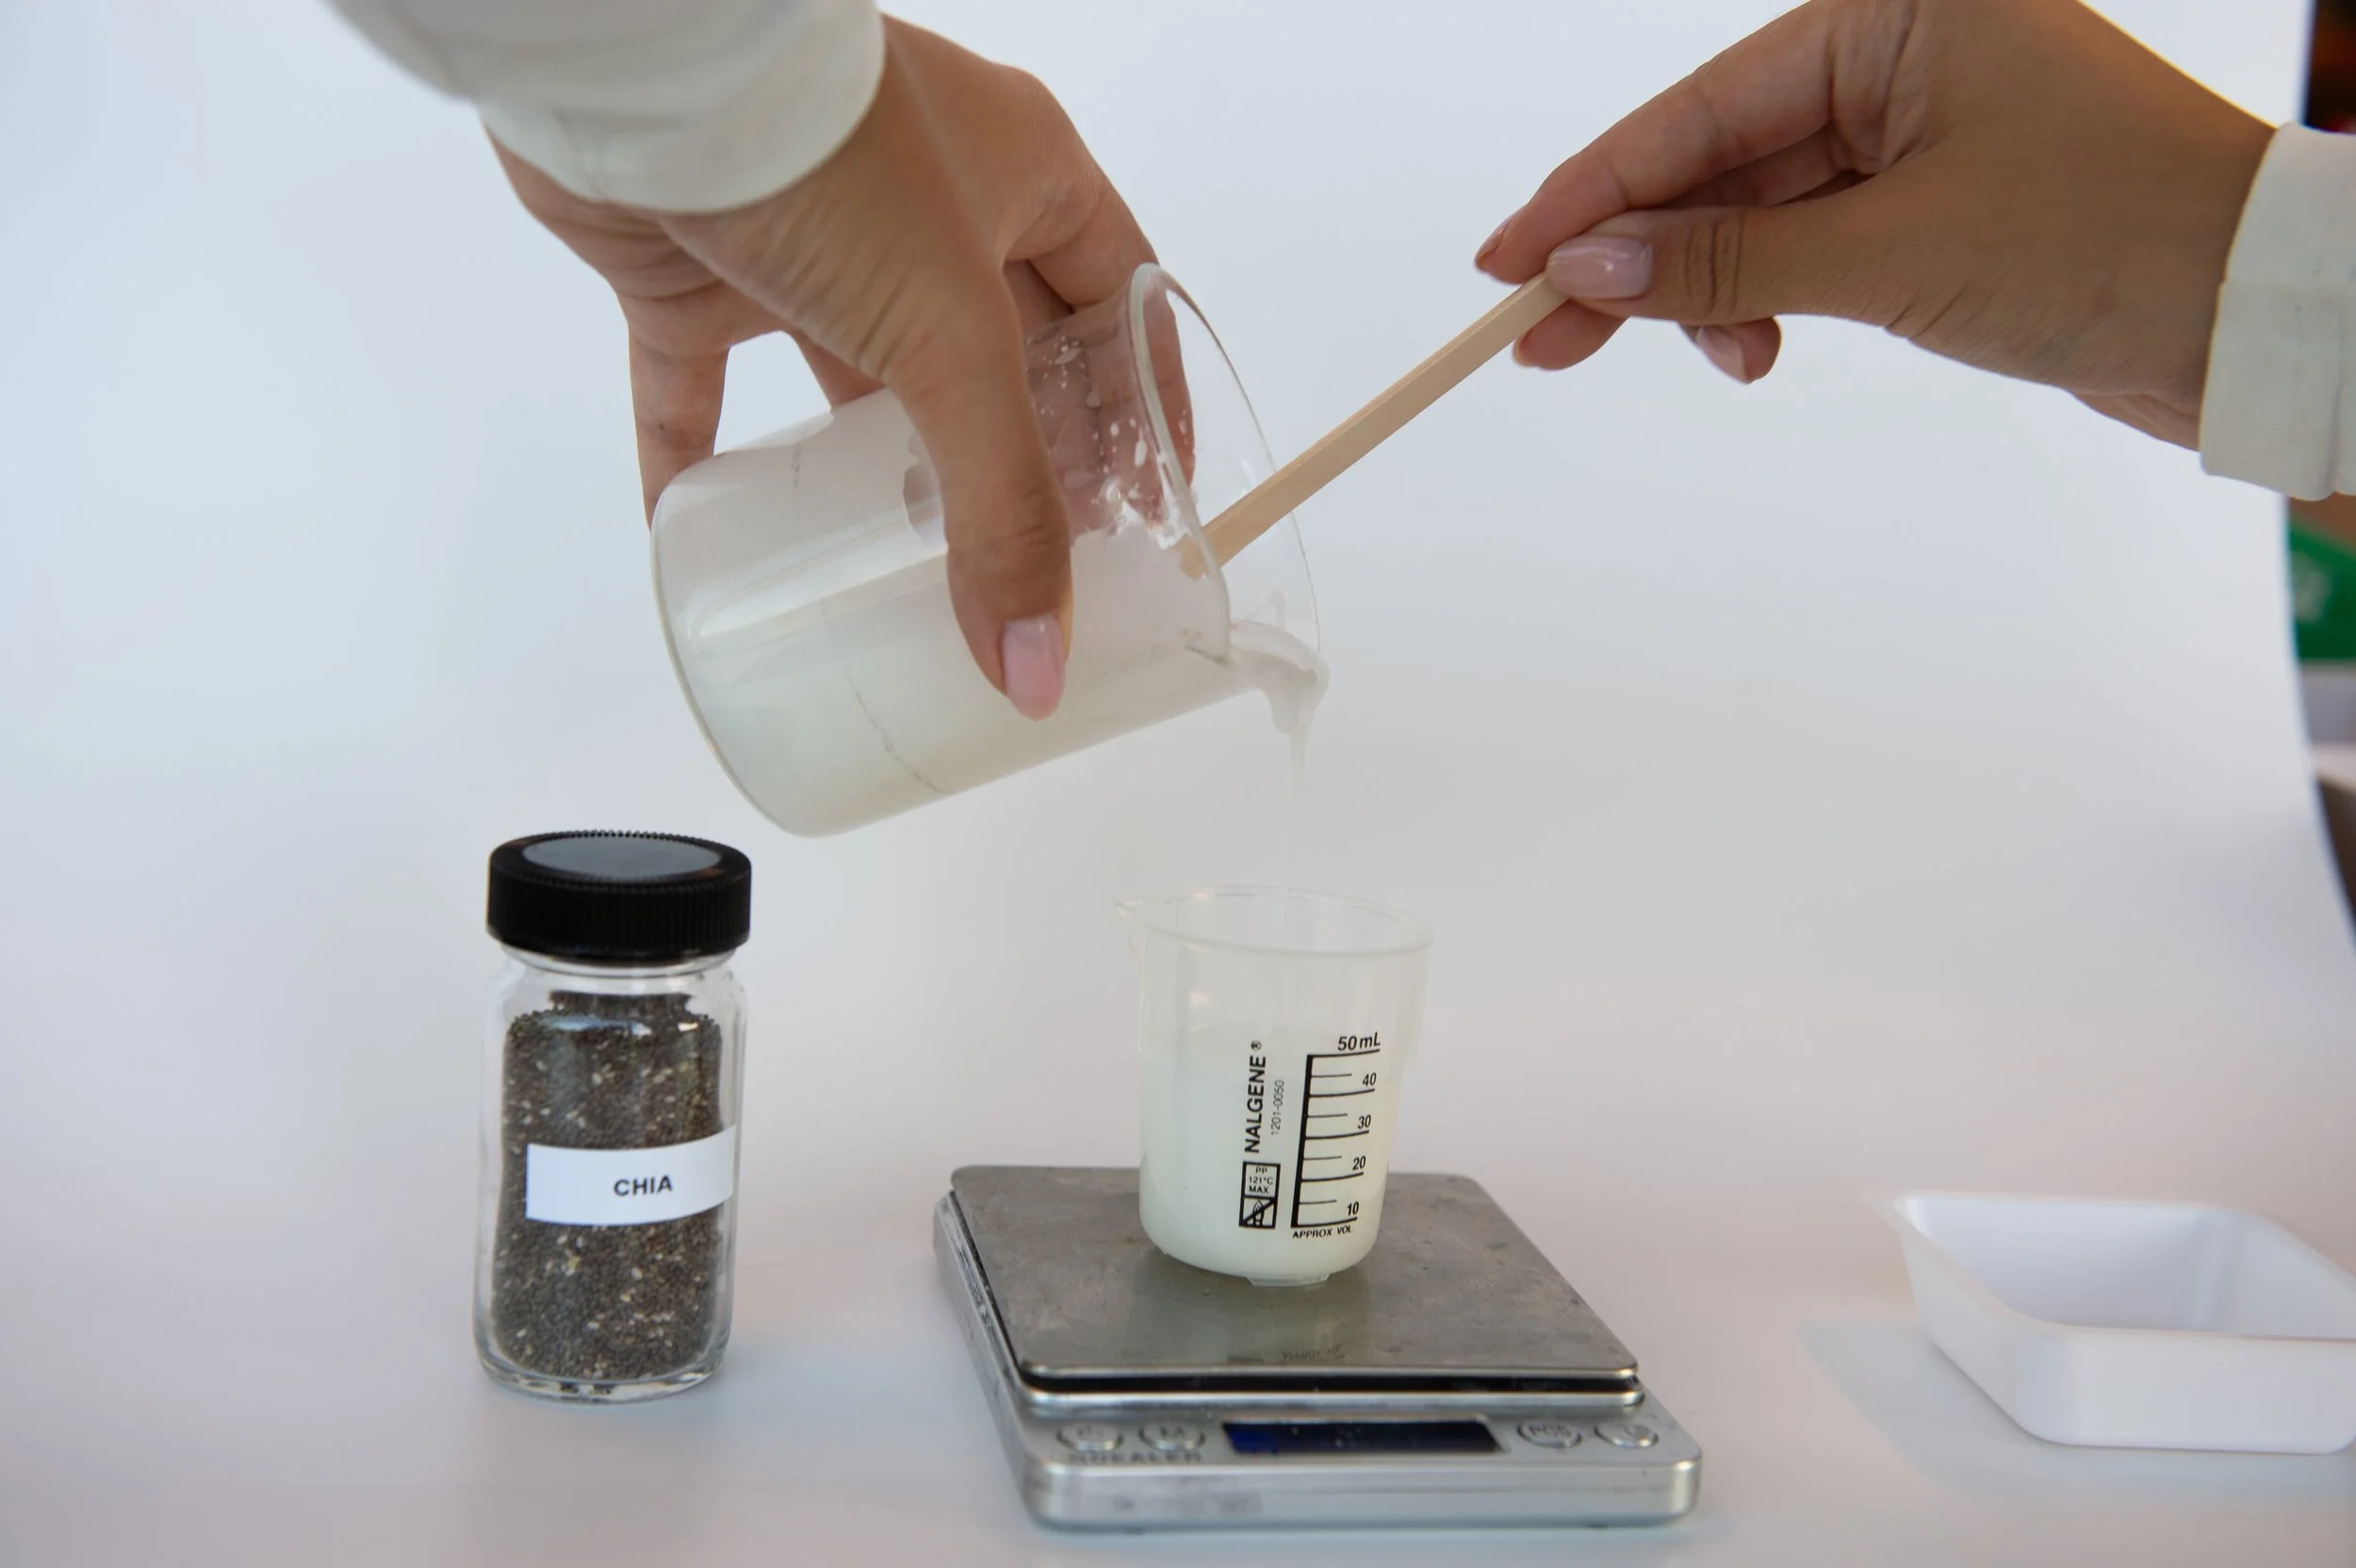
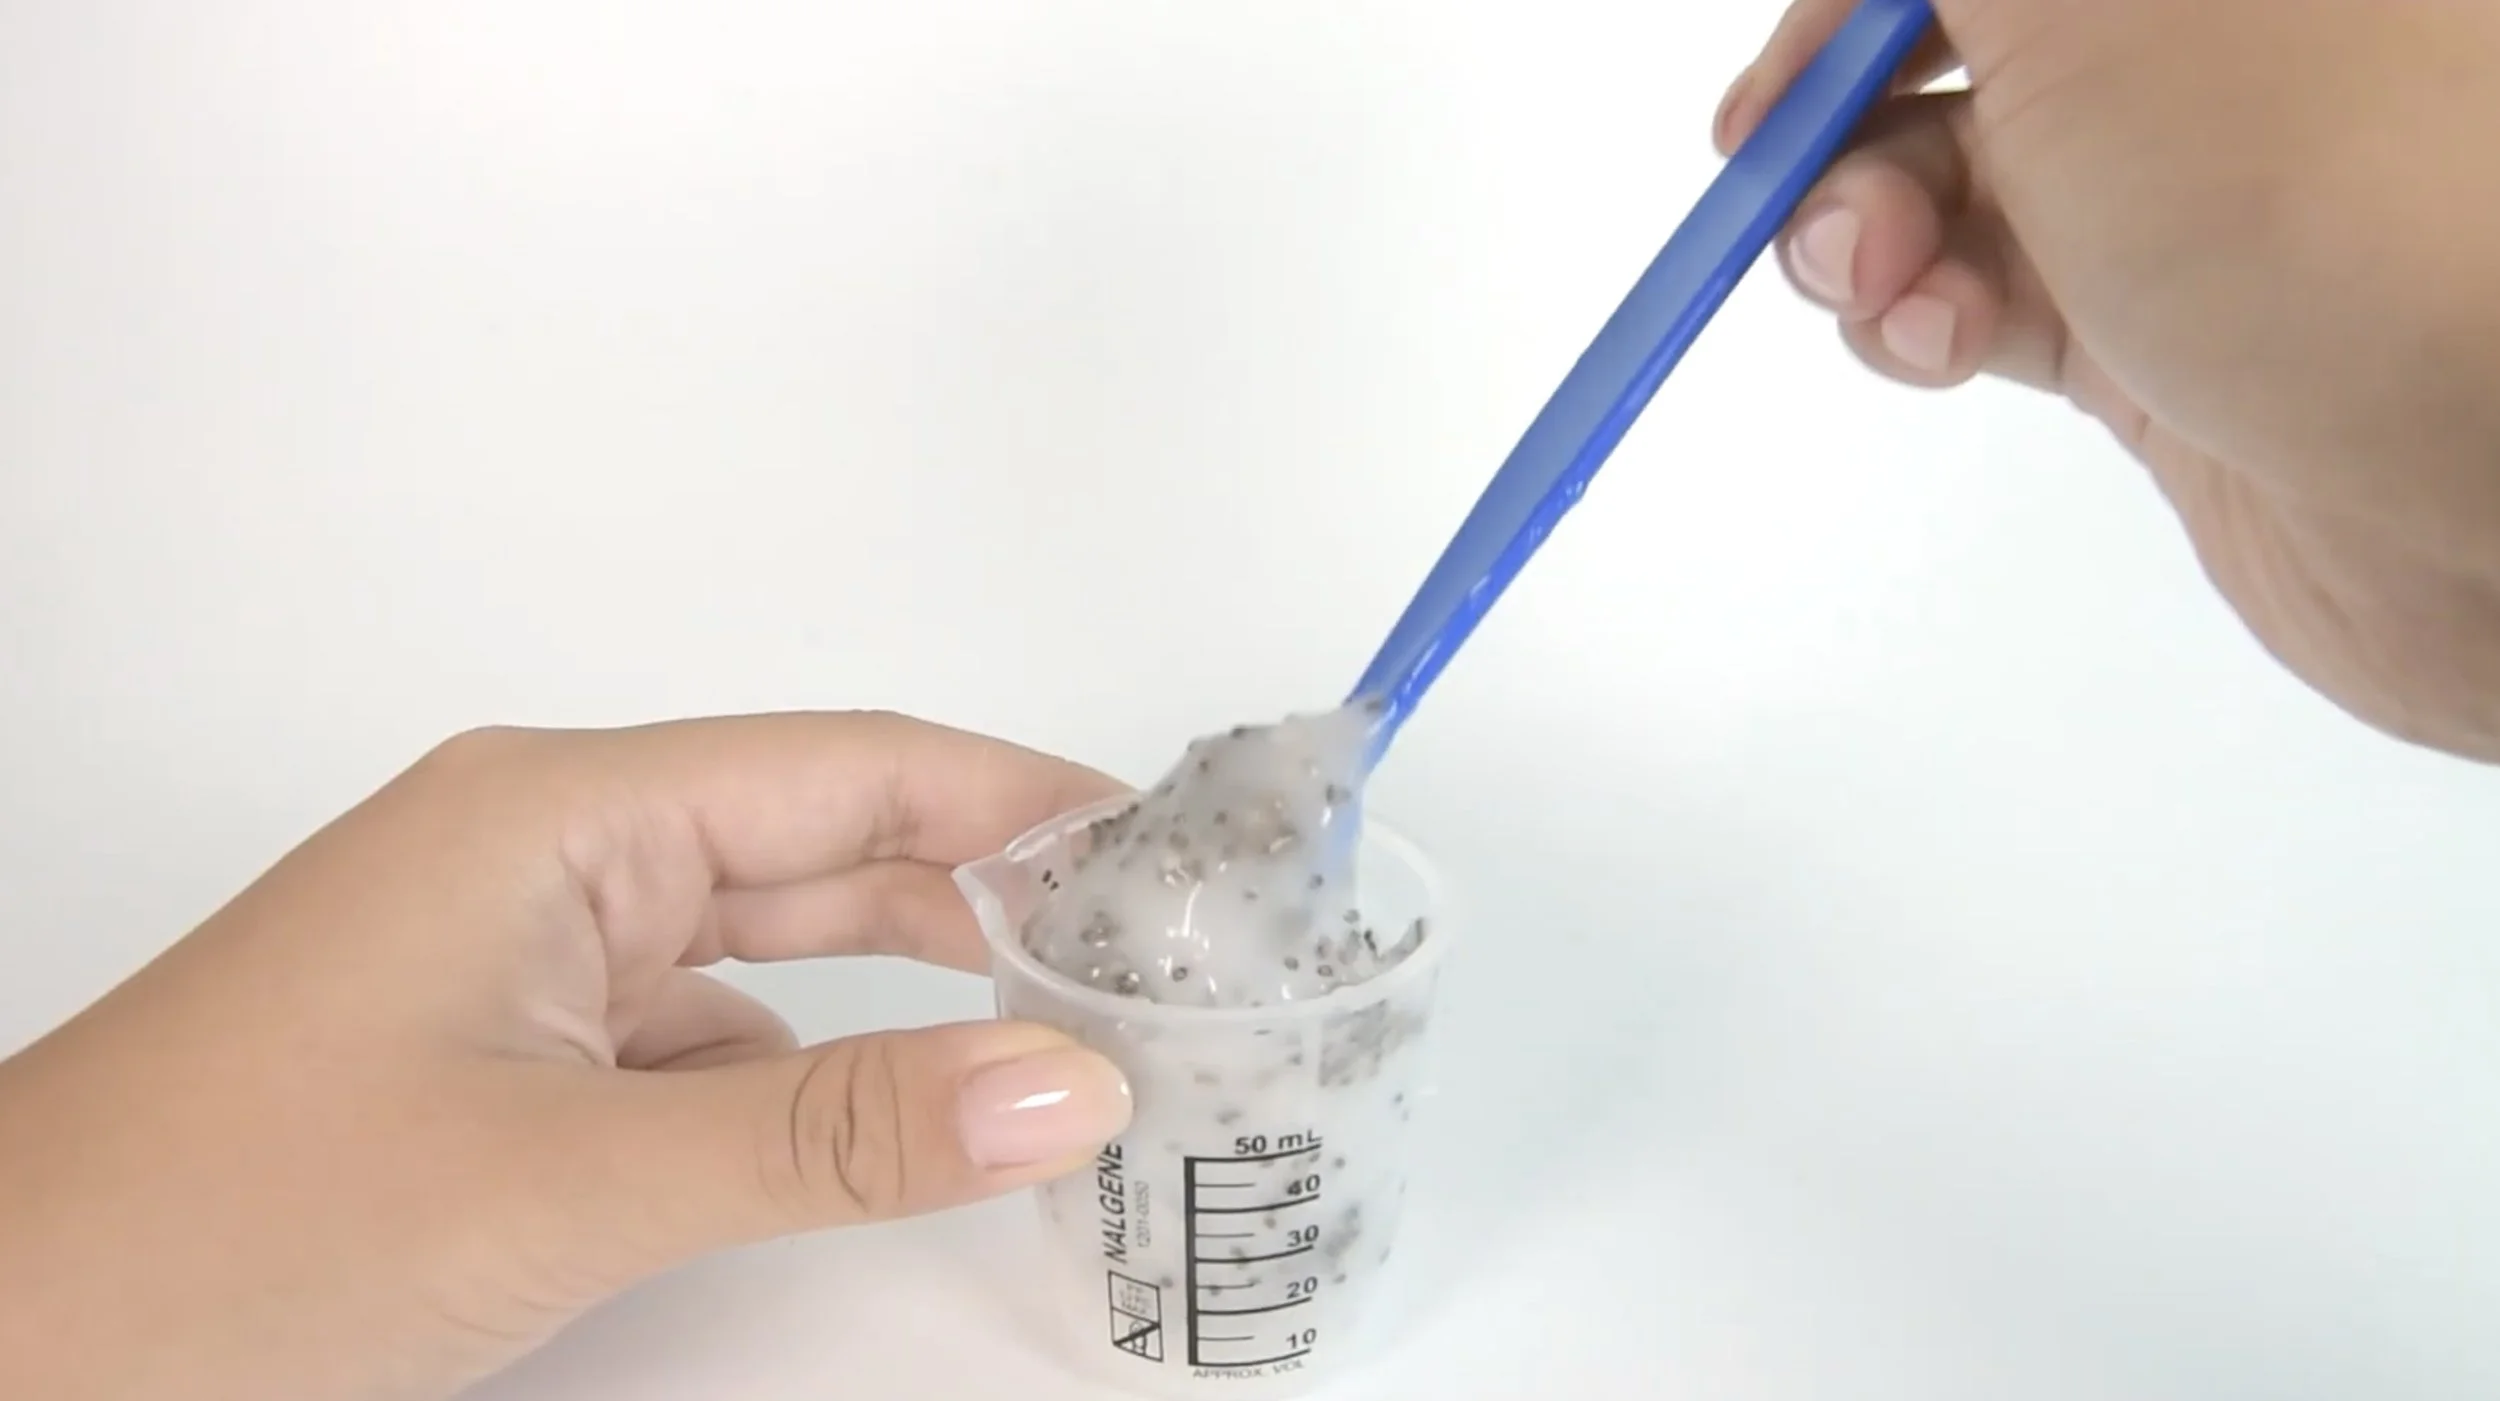
Gently and evenly mix in 16g chia seeds (or desired weight ratio).
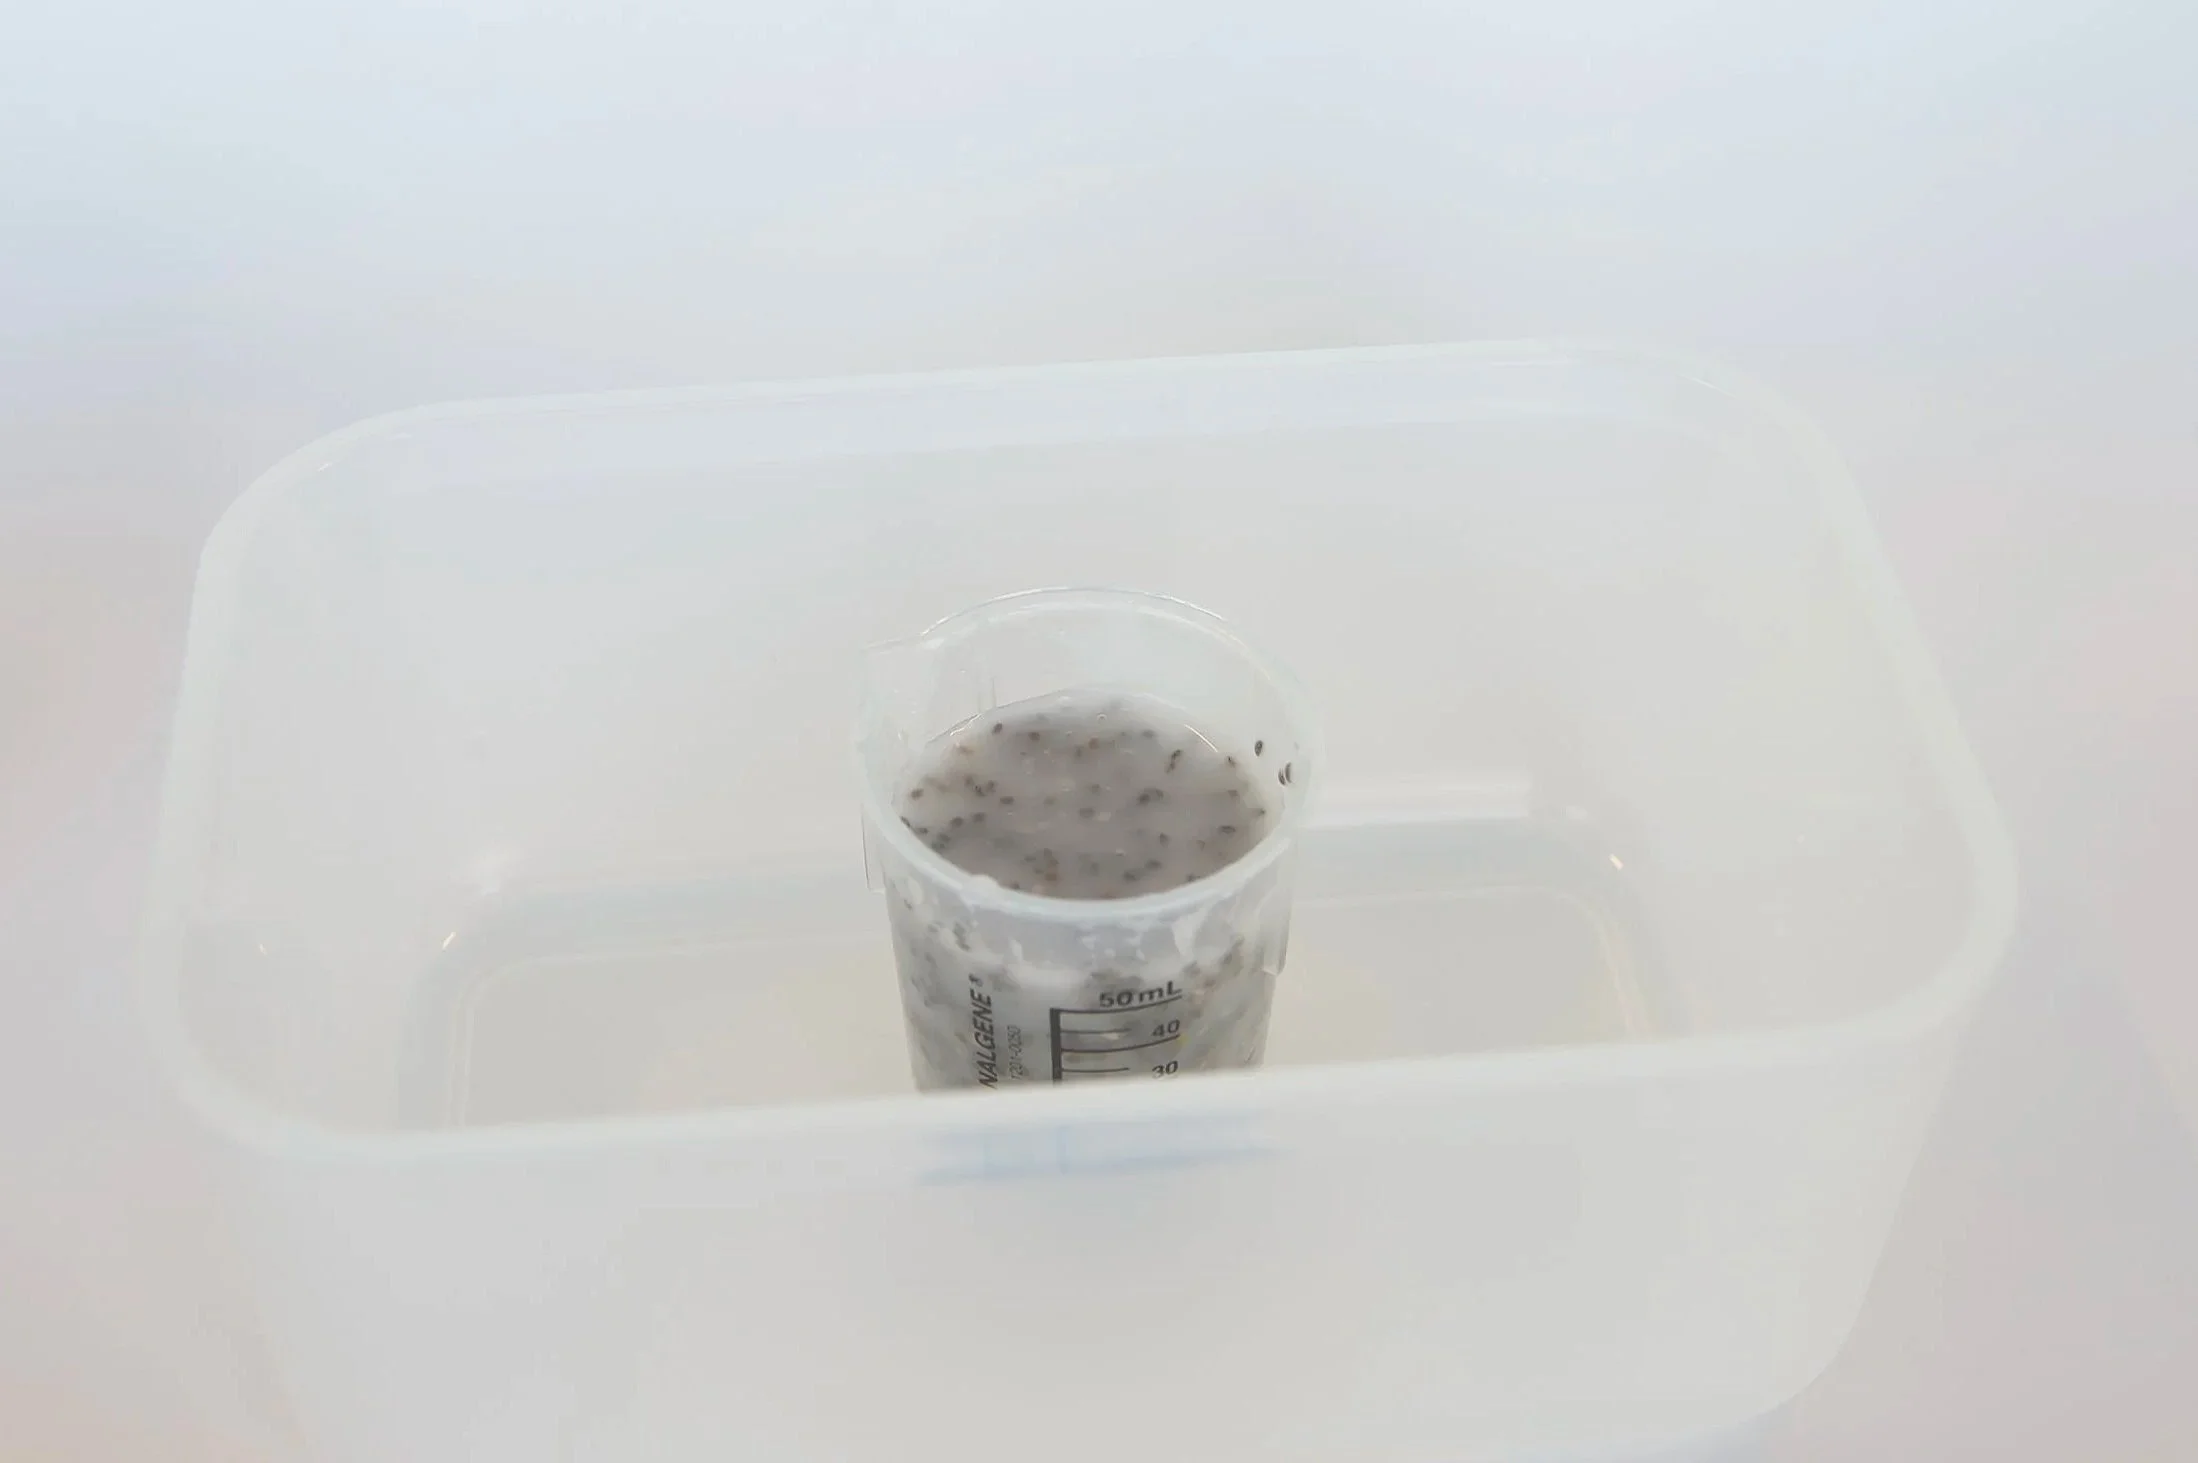
Place the solution in a vacuum chamber for ~30 minutes to degas any air bubbles created from the previous step. Alternatively, place the container inside a heavy-duty zip bag. Seal almost fully, then suck out the air through a straw before sealing tight. This slightly reduces pressure and helps remove larger trapped bubbles.
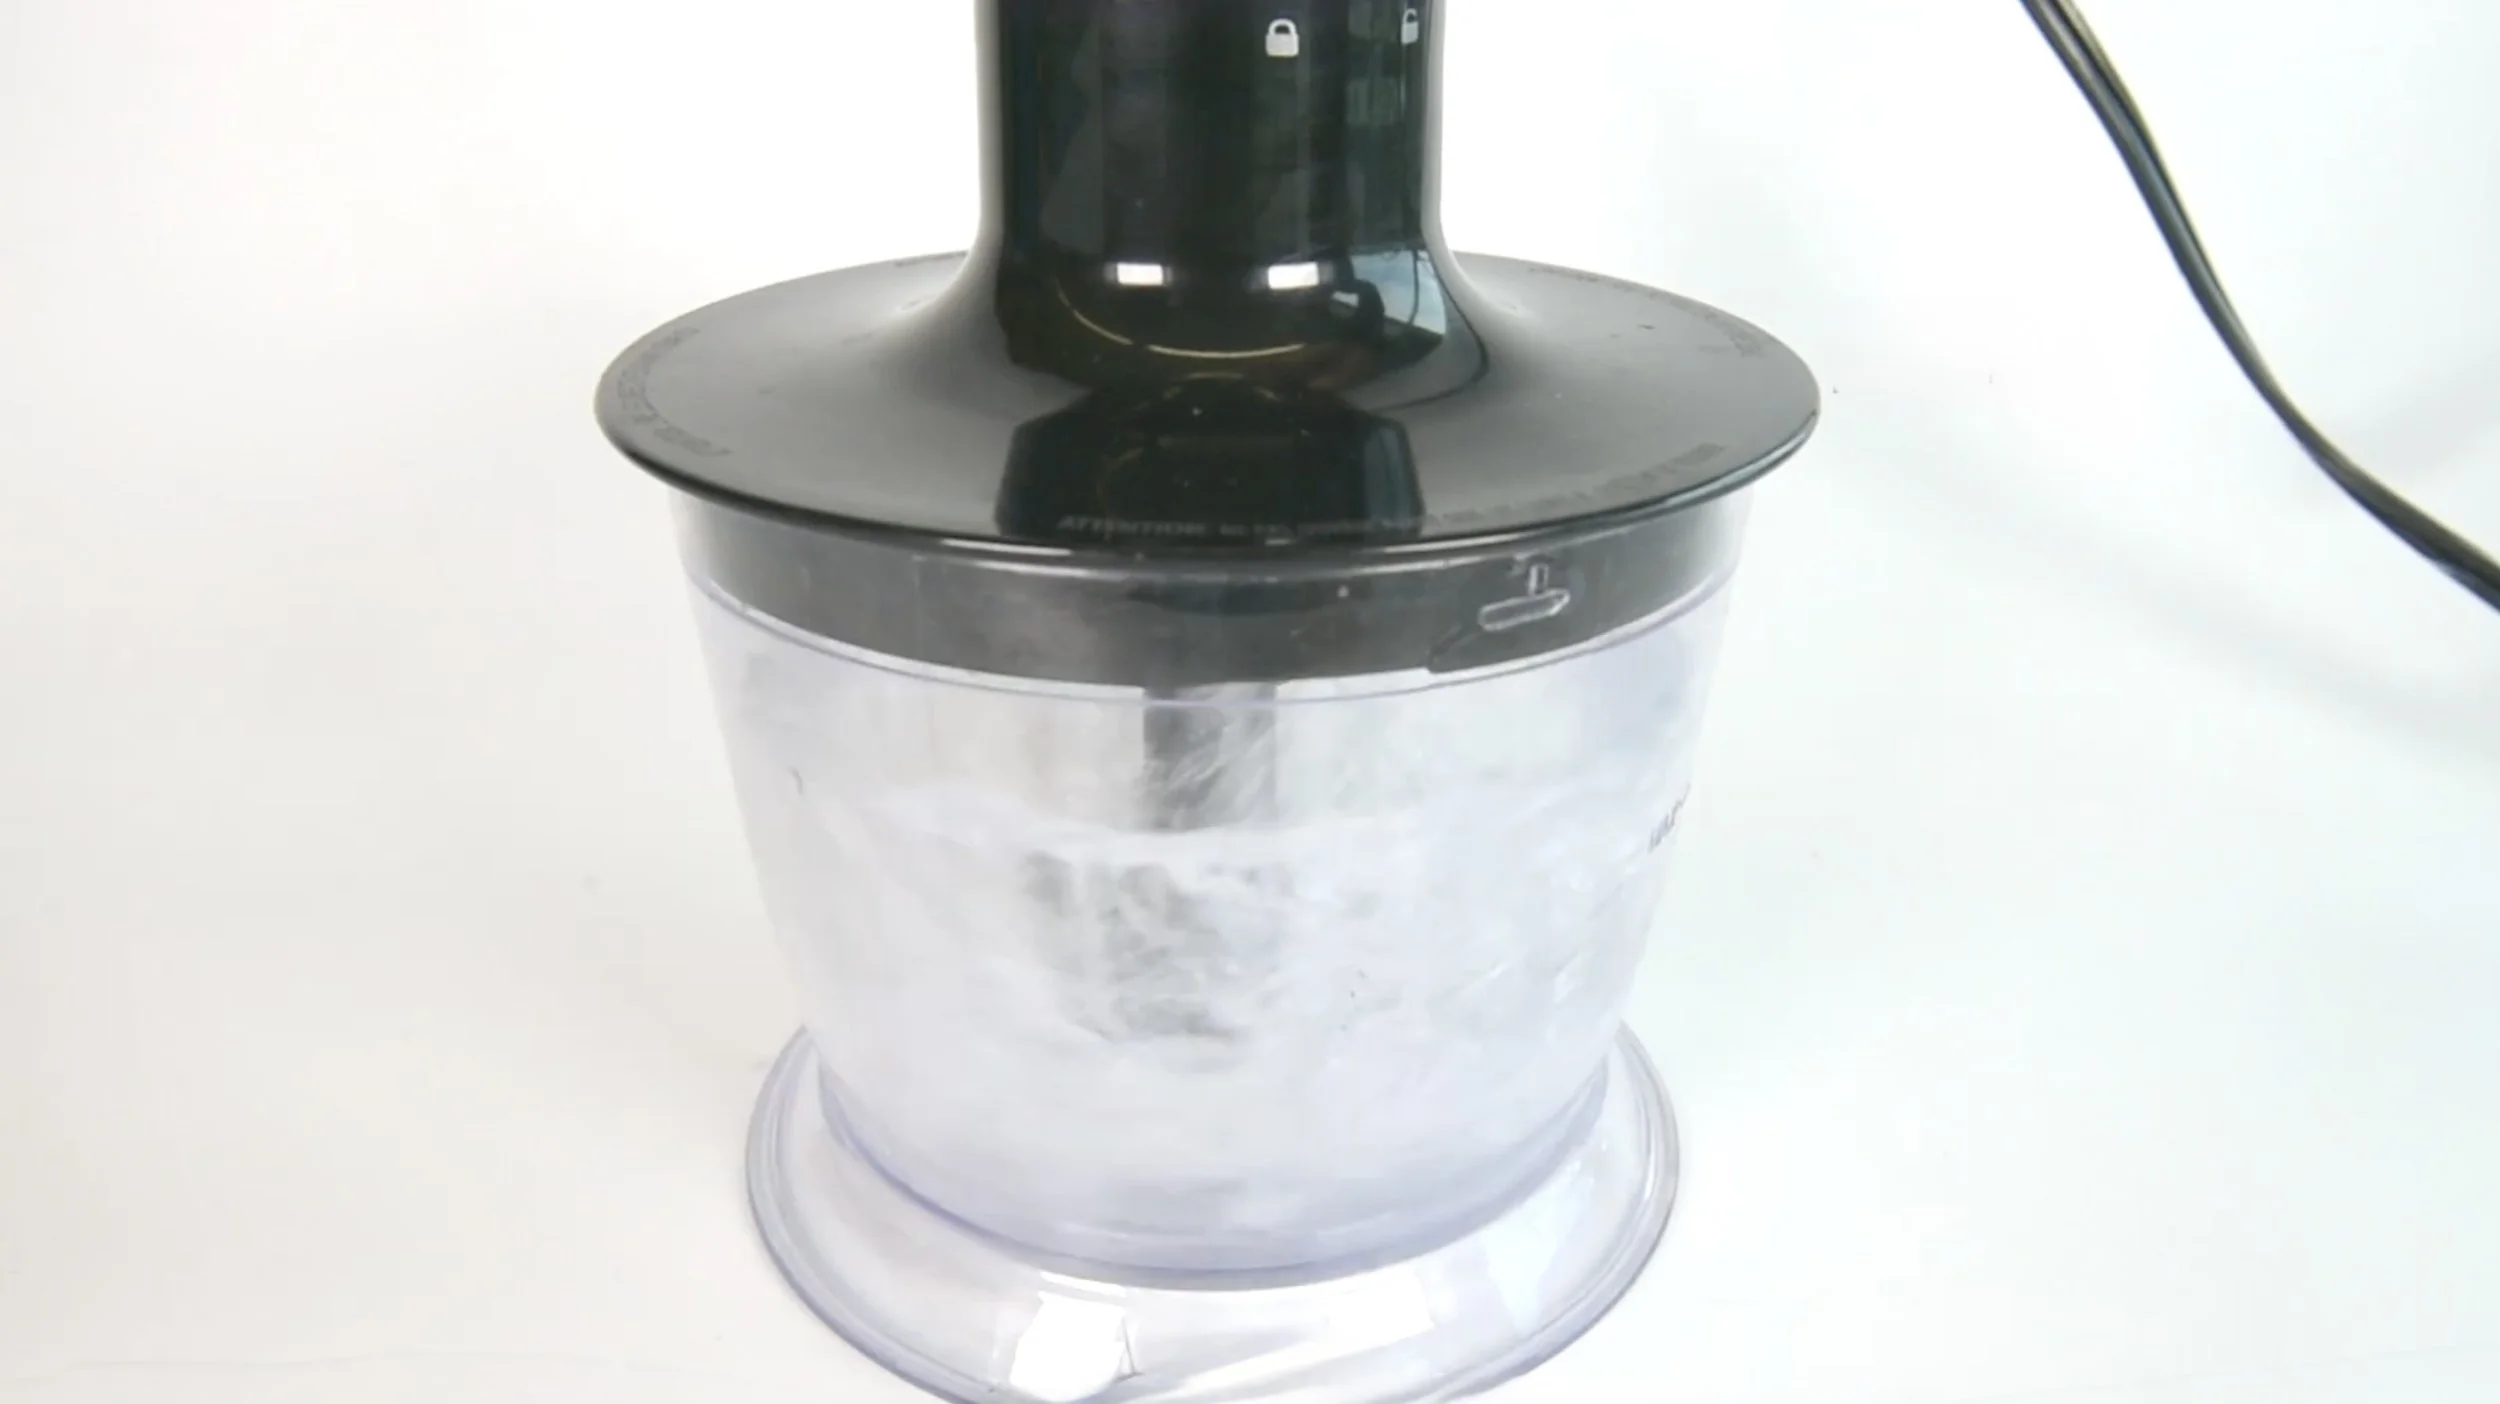
Mix base solution in food processor.
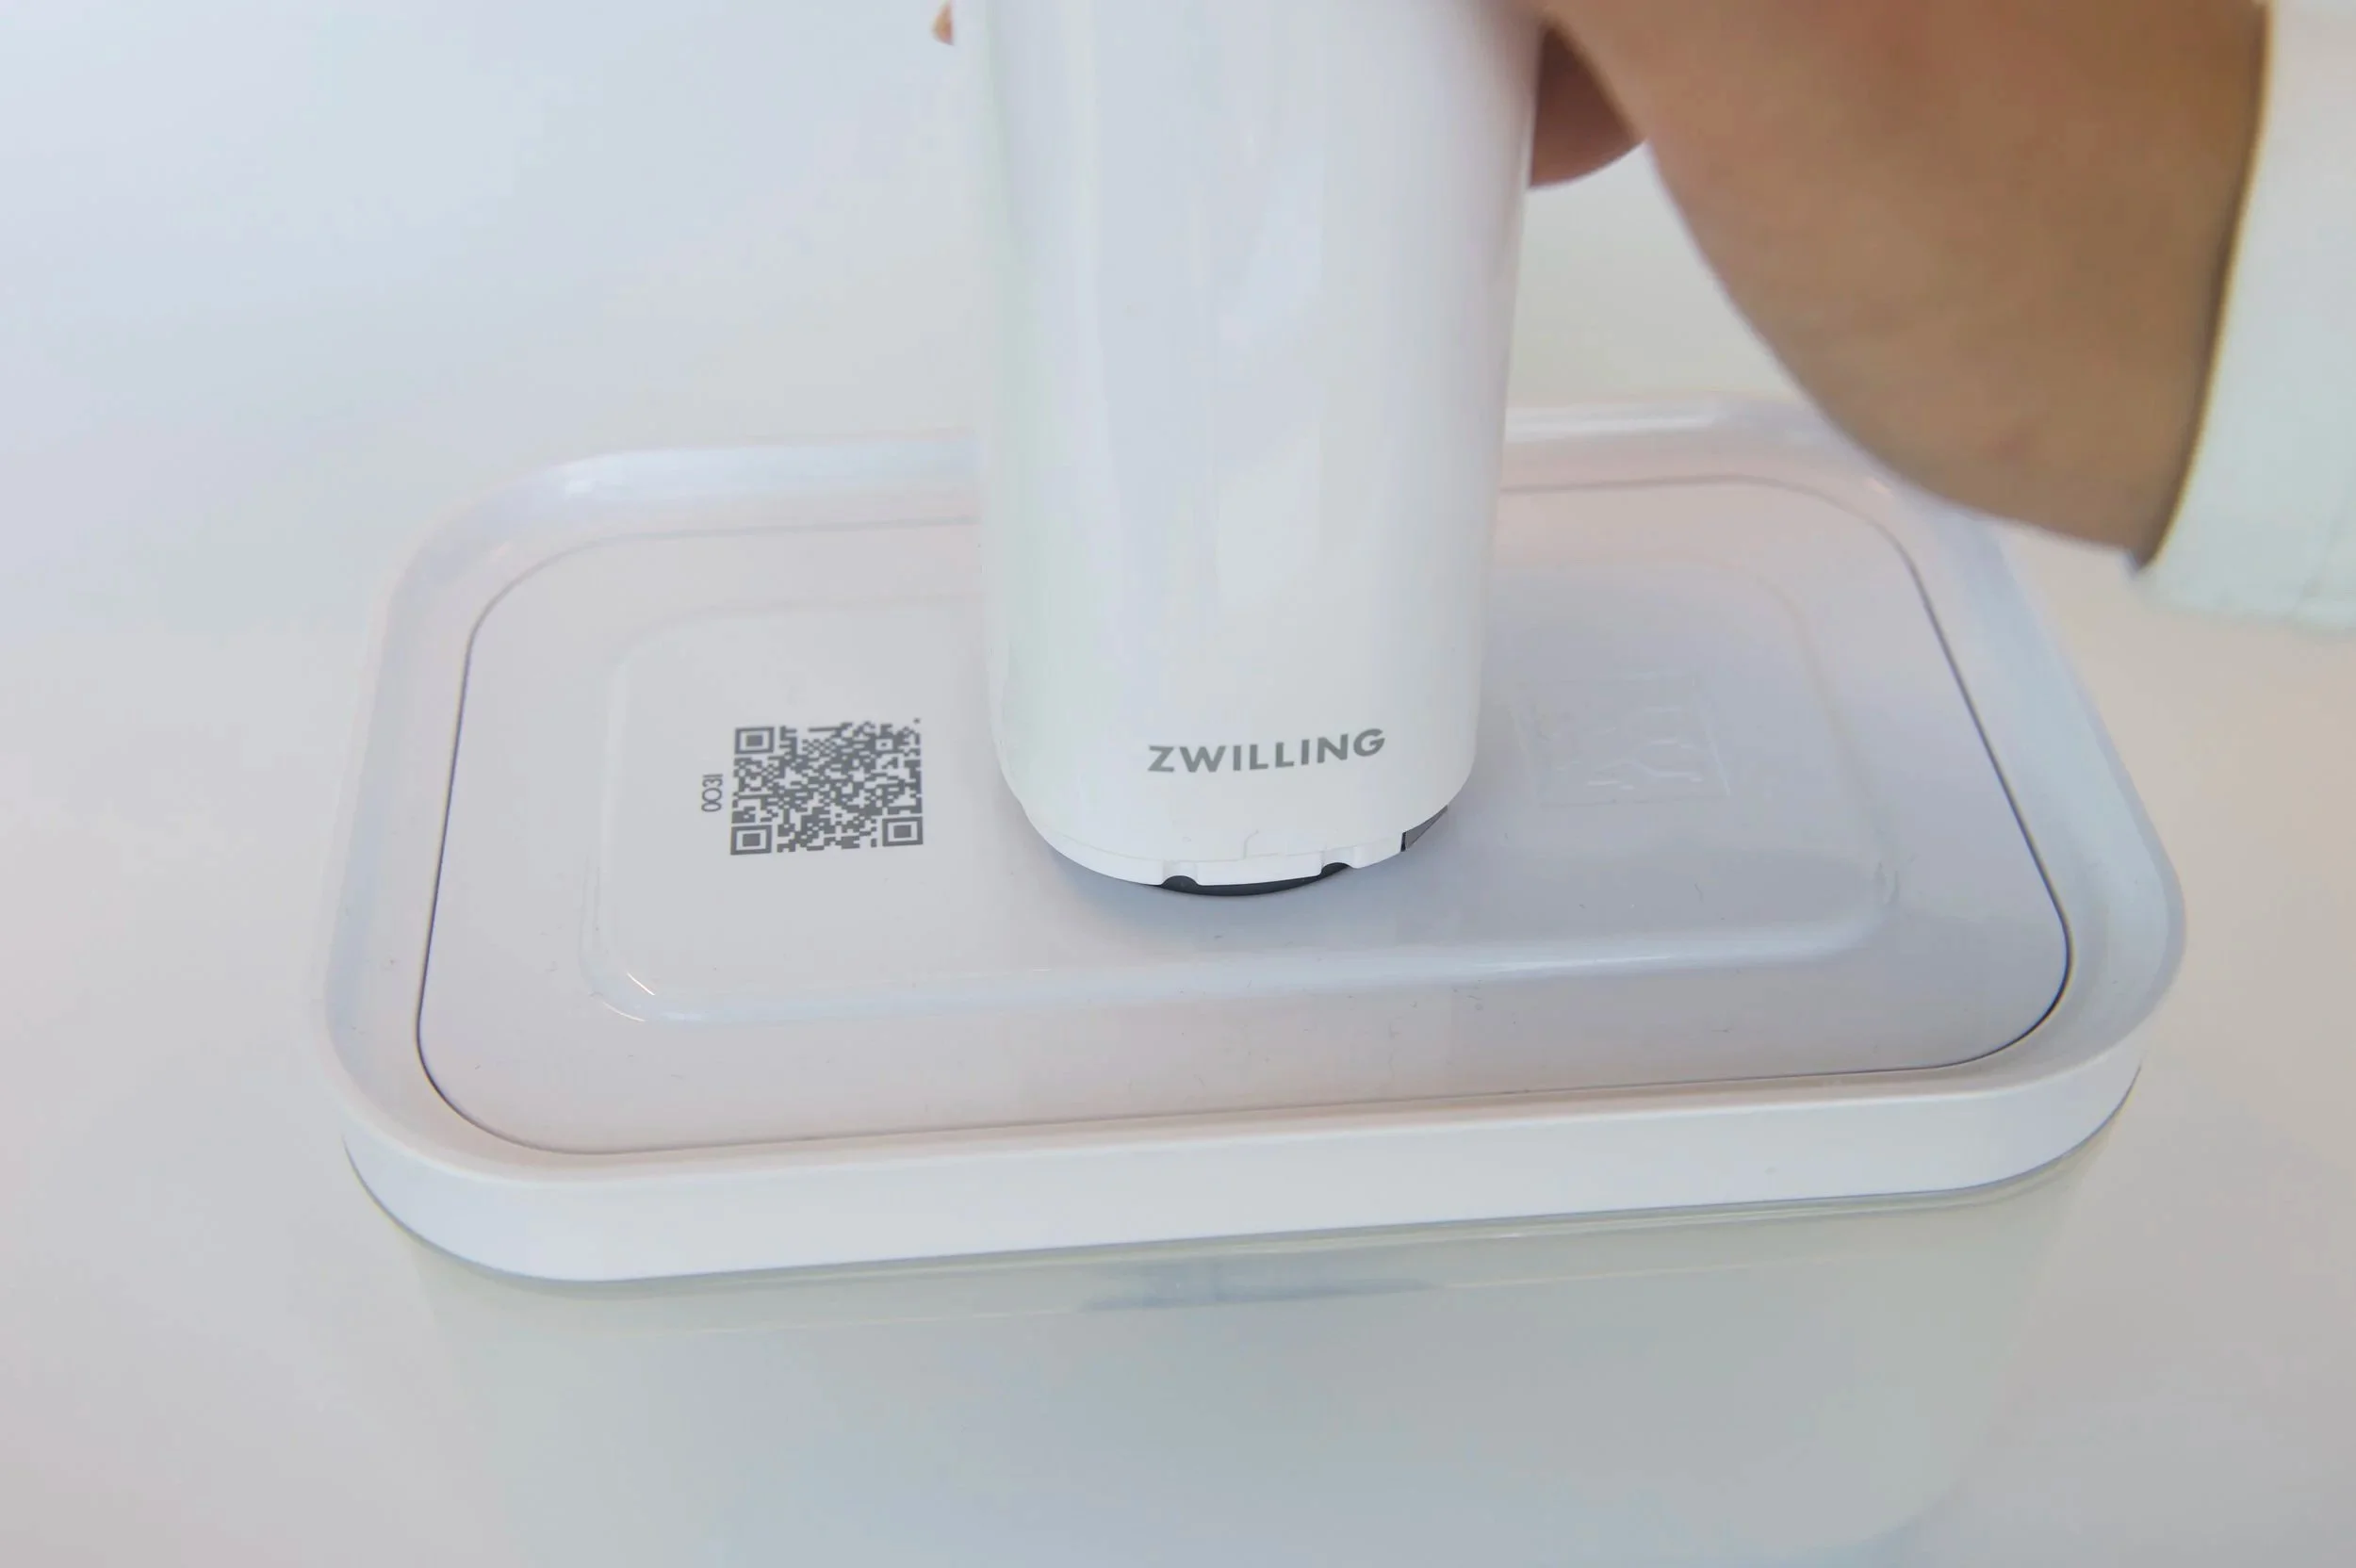
Vacuum seal solution to degas.
Wet Spinning:
Option 1: Hand-held
Prepare a 10% calcium chloride bath with distilled water for coagulation.
Weigh 10 g of CaCl₂ and add water until the total volume is 100 mL to make a 10% (w/v) solution. Stir until fully dissolved.
Transfer the chia seed solution into a syringe, then hold the syringe upright (tip facing up) to gently expel any trapped air from the tip. Attach the nozzle by twisting it clockwise until secure.
Manually extrude the solution into the stirred calcium chloride bath. Hold the syringe at a slight angle (30°) and extrude the solution in a gentle circular motion to ensure even formation in the bath.
Once extruded, wash the strands in distilled water to remove any residue from the previous bath.
Line dry the yarn overnight. The stretched length of the yarn when dried also affects the seed density.
Dried yarns can be wound on bobbins with large diameters to avoid twisted yarns for textile integration.
Prepare a 10% calcium chloride solution and pour it into a spray bottle. Spraying this solution onto surfaces and containers will help thicken any remaining residue, making it easier to clean your supplies and workspace.
Option 2: DIY Wet Spinning Machine
Prepare a 10% calcium chloride bath with distilled water for coagulation.
Transfer the chia seed solution into a syringe and allow any air at the tip of the syringe to be expelled.
Use a desktop syringe pump to extrude the solution into the stirred calcium chloride bath. (Figure 6)
Once extruded, wash the strands in distilled water to remove any residue from the previous bath.
Line dry the yarn overnight. The stretched length of the yarn when dried also affects the seed density.
Dried yarns can be wound on bobbins with large diameters to avoid twisted yarns for textile integration.
Prepare a 10% calcium chloride solution and pour it into a spray bottle. Spraying this solution onto surfaces and containers will help thicken any remaining residue, making it easier to clean your supplies and workspace.
Video of manual extrusion.
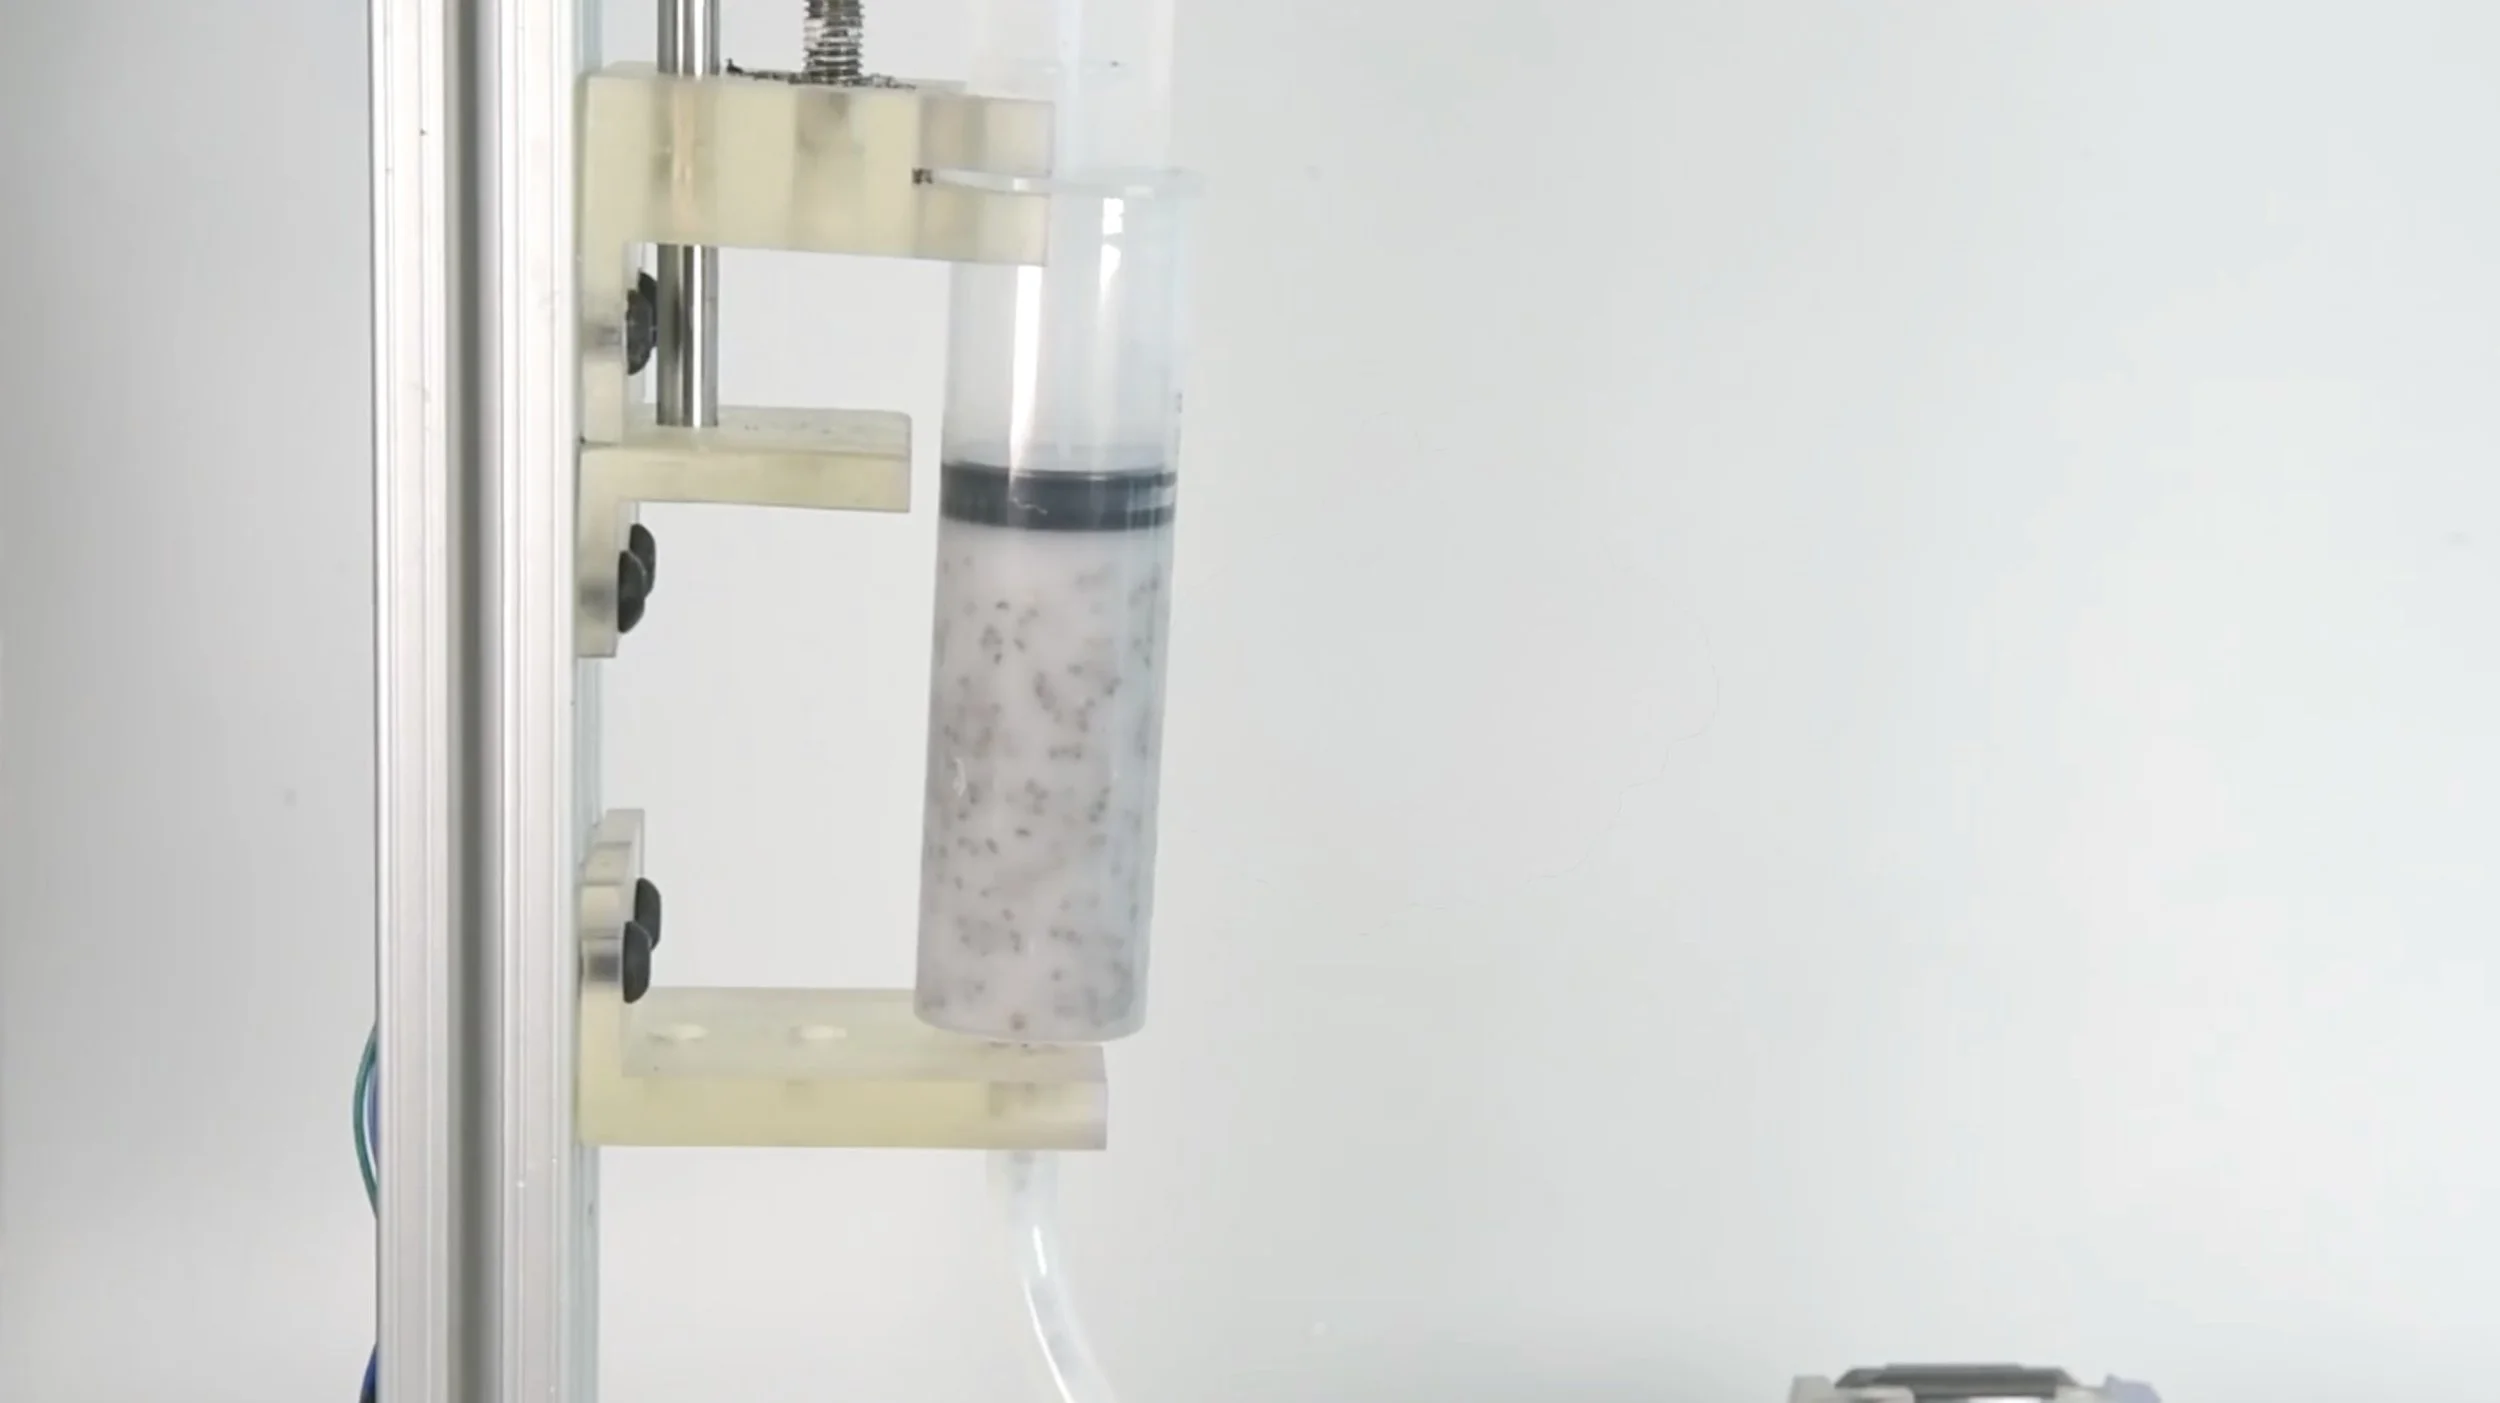
Machine extrusion.
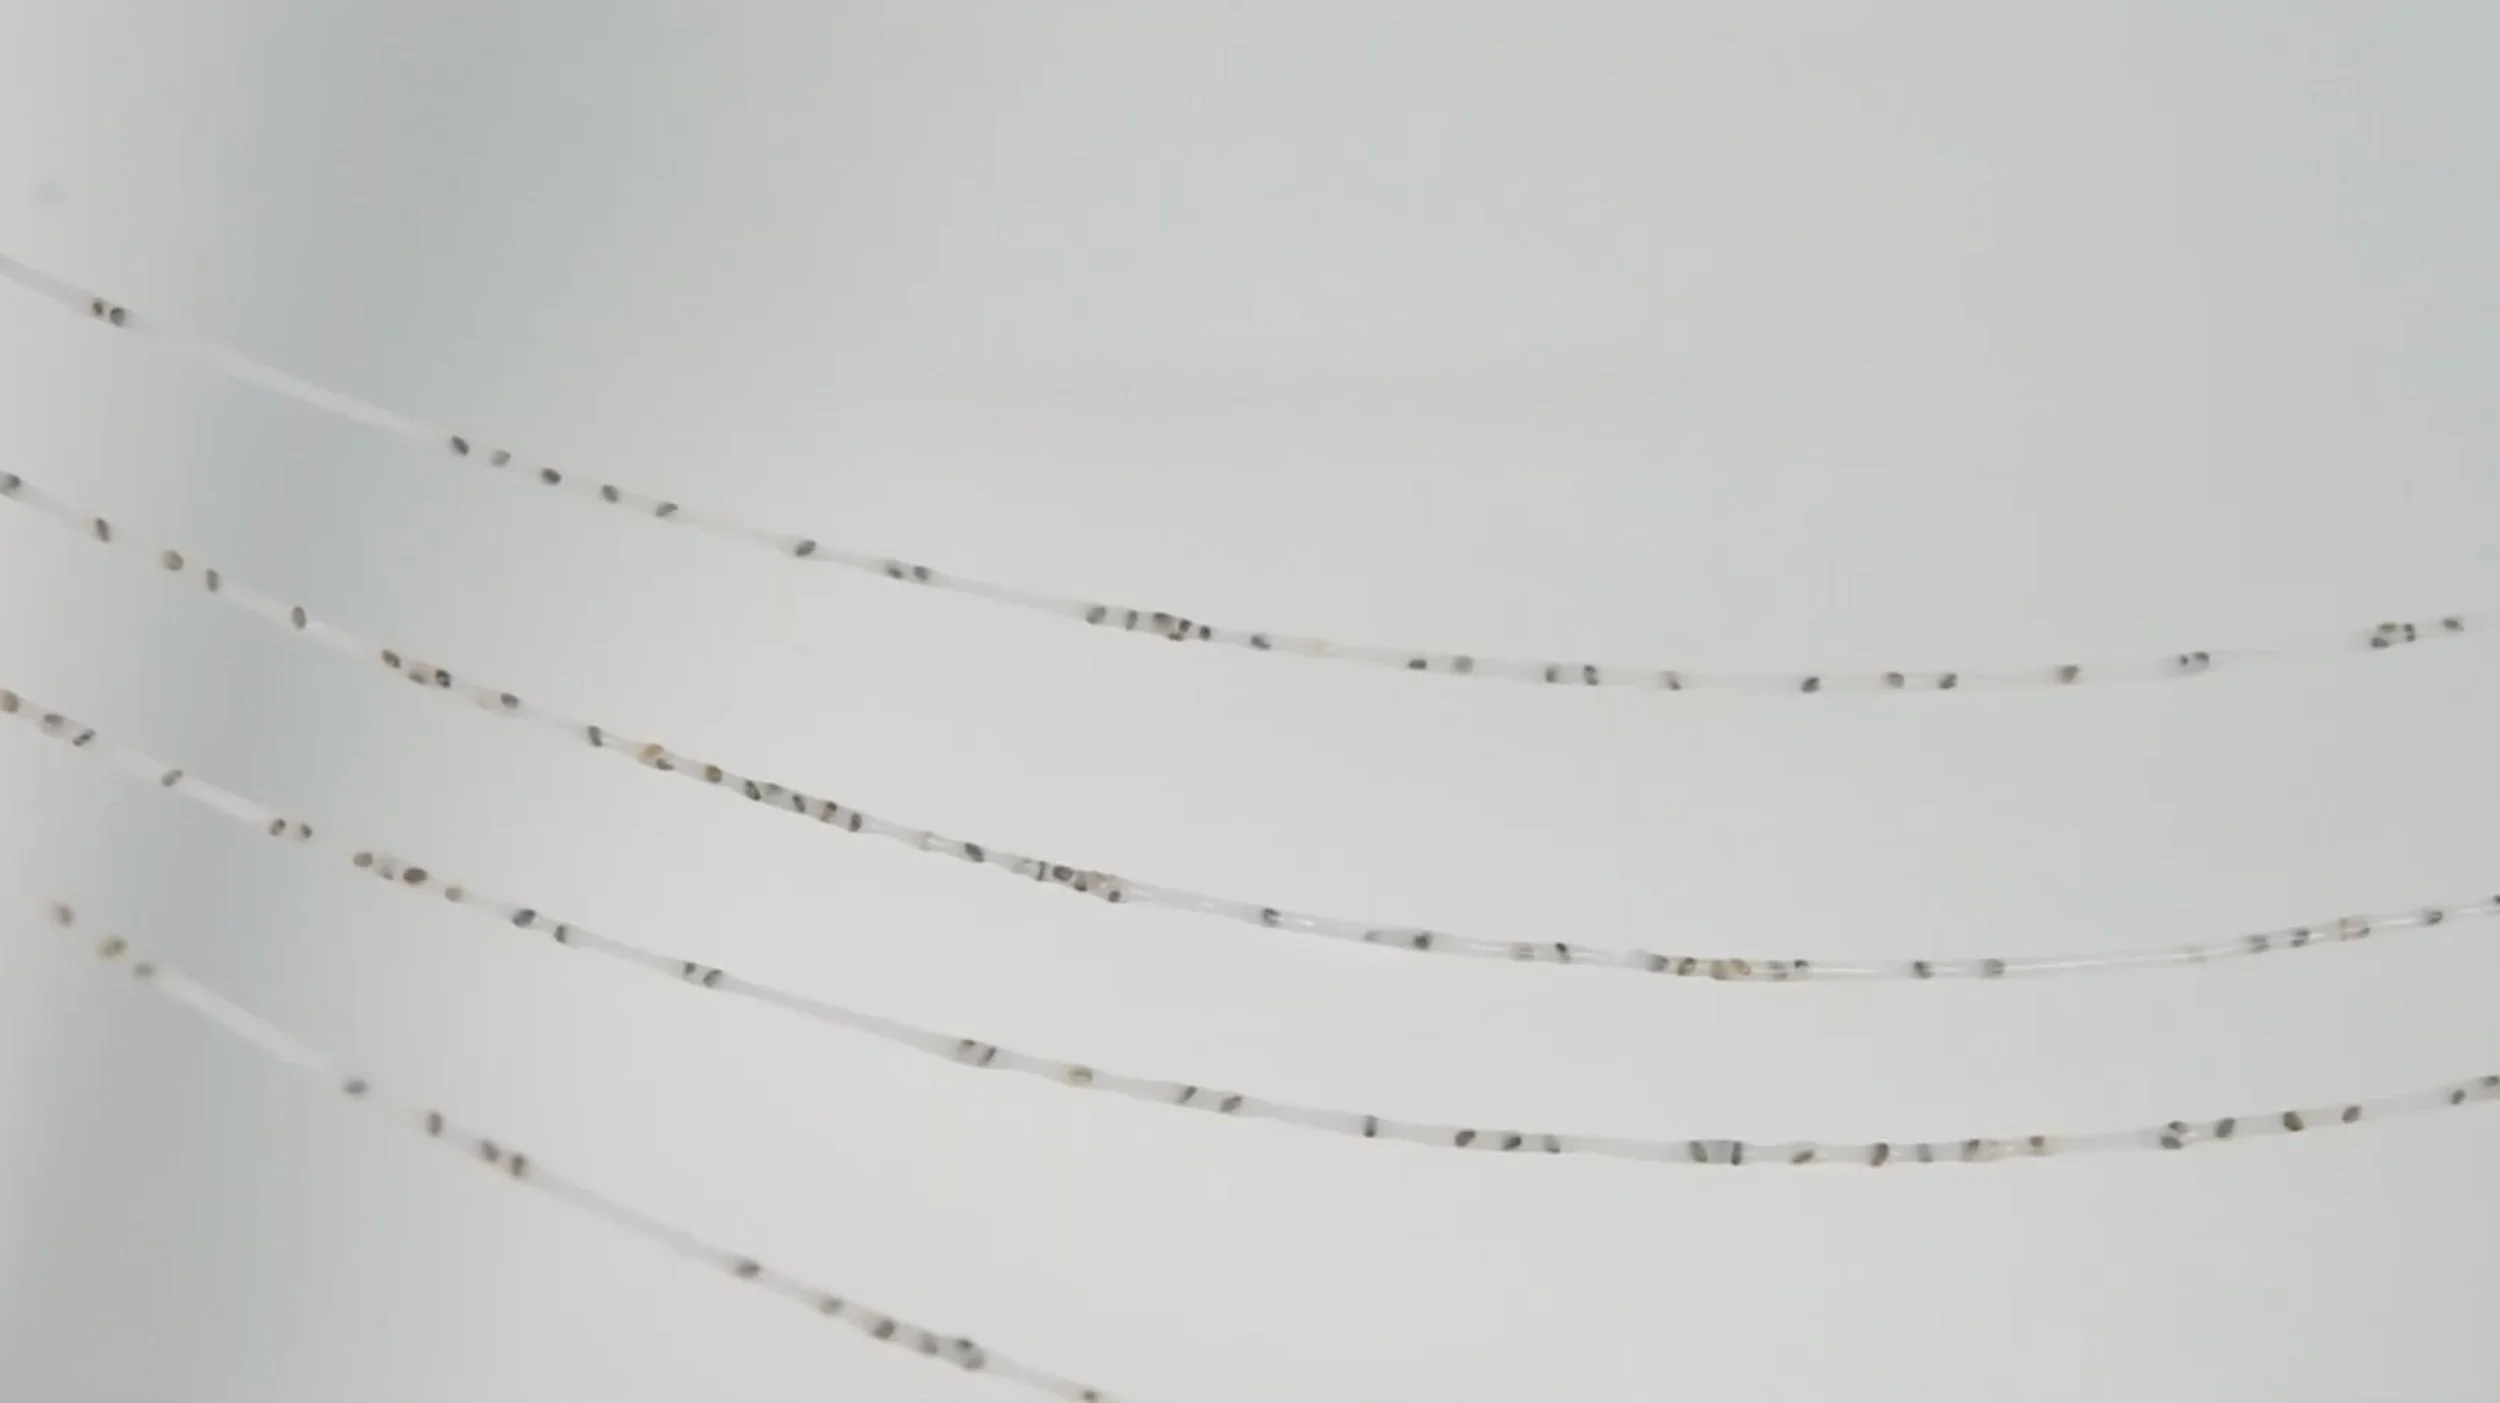
Wet-spun yarns, prior to drying.
Textile Integration Steps
The following textile integration steps outline different methods for embedding Seed-Integrated Hydrogel Yarns into fabric structures to balance water absorption, seed exposure, and material strength. Each approach–weaving or embroidery- offers a unique way to integrate the hydrogel yarns depending on the intended function and fabrication technique. Together, these methods illustrate how traditional textile processes can be adapted to support bio-integrated materials, merging craft-based techniques with experimental material research.
Here are our recommendations on when to use which approach for your project. Students should choose between these methods based on their fabrication tools, desired interaction with the plant growth (visible vs. embedded), and structural goals (durability vs. flexibility):
Embroidery: best if you want to attach hydrogel yarns onto an existing textile surface, allowing easy control of moisture and visibility of seed growth without disrupting the original fabric’s structure.
Weaving: integrates the hydrogel yarns directly into the weave, creating a more unified material with greater strength and stability but less flexibility.
Embroidery:
Reference Tutorial Video: Embroidery 101: How to Embroider a Couching Stitch
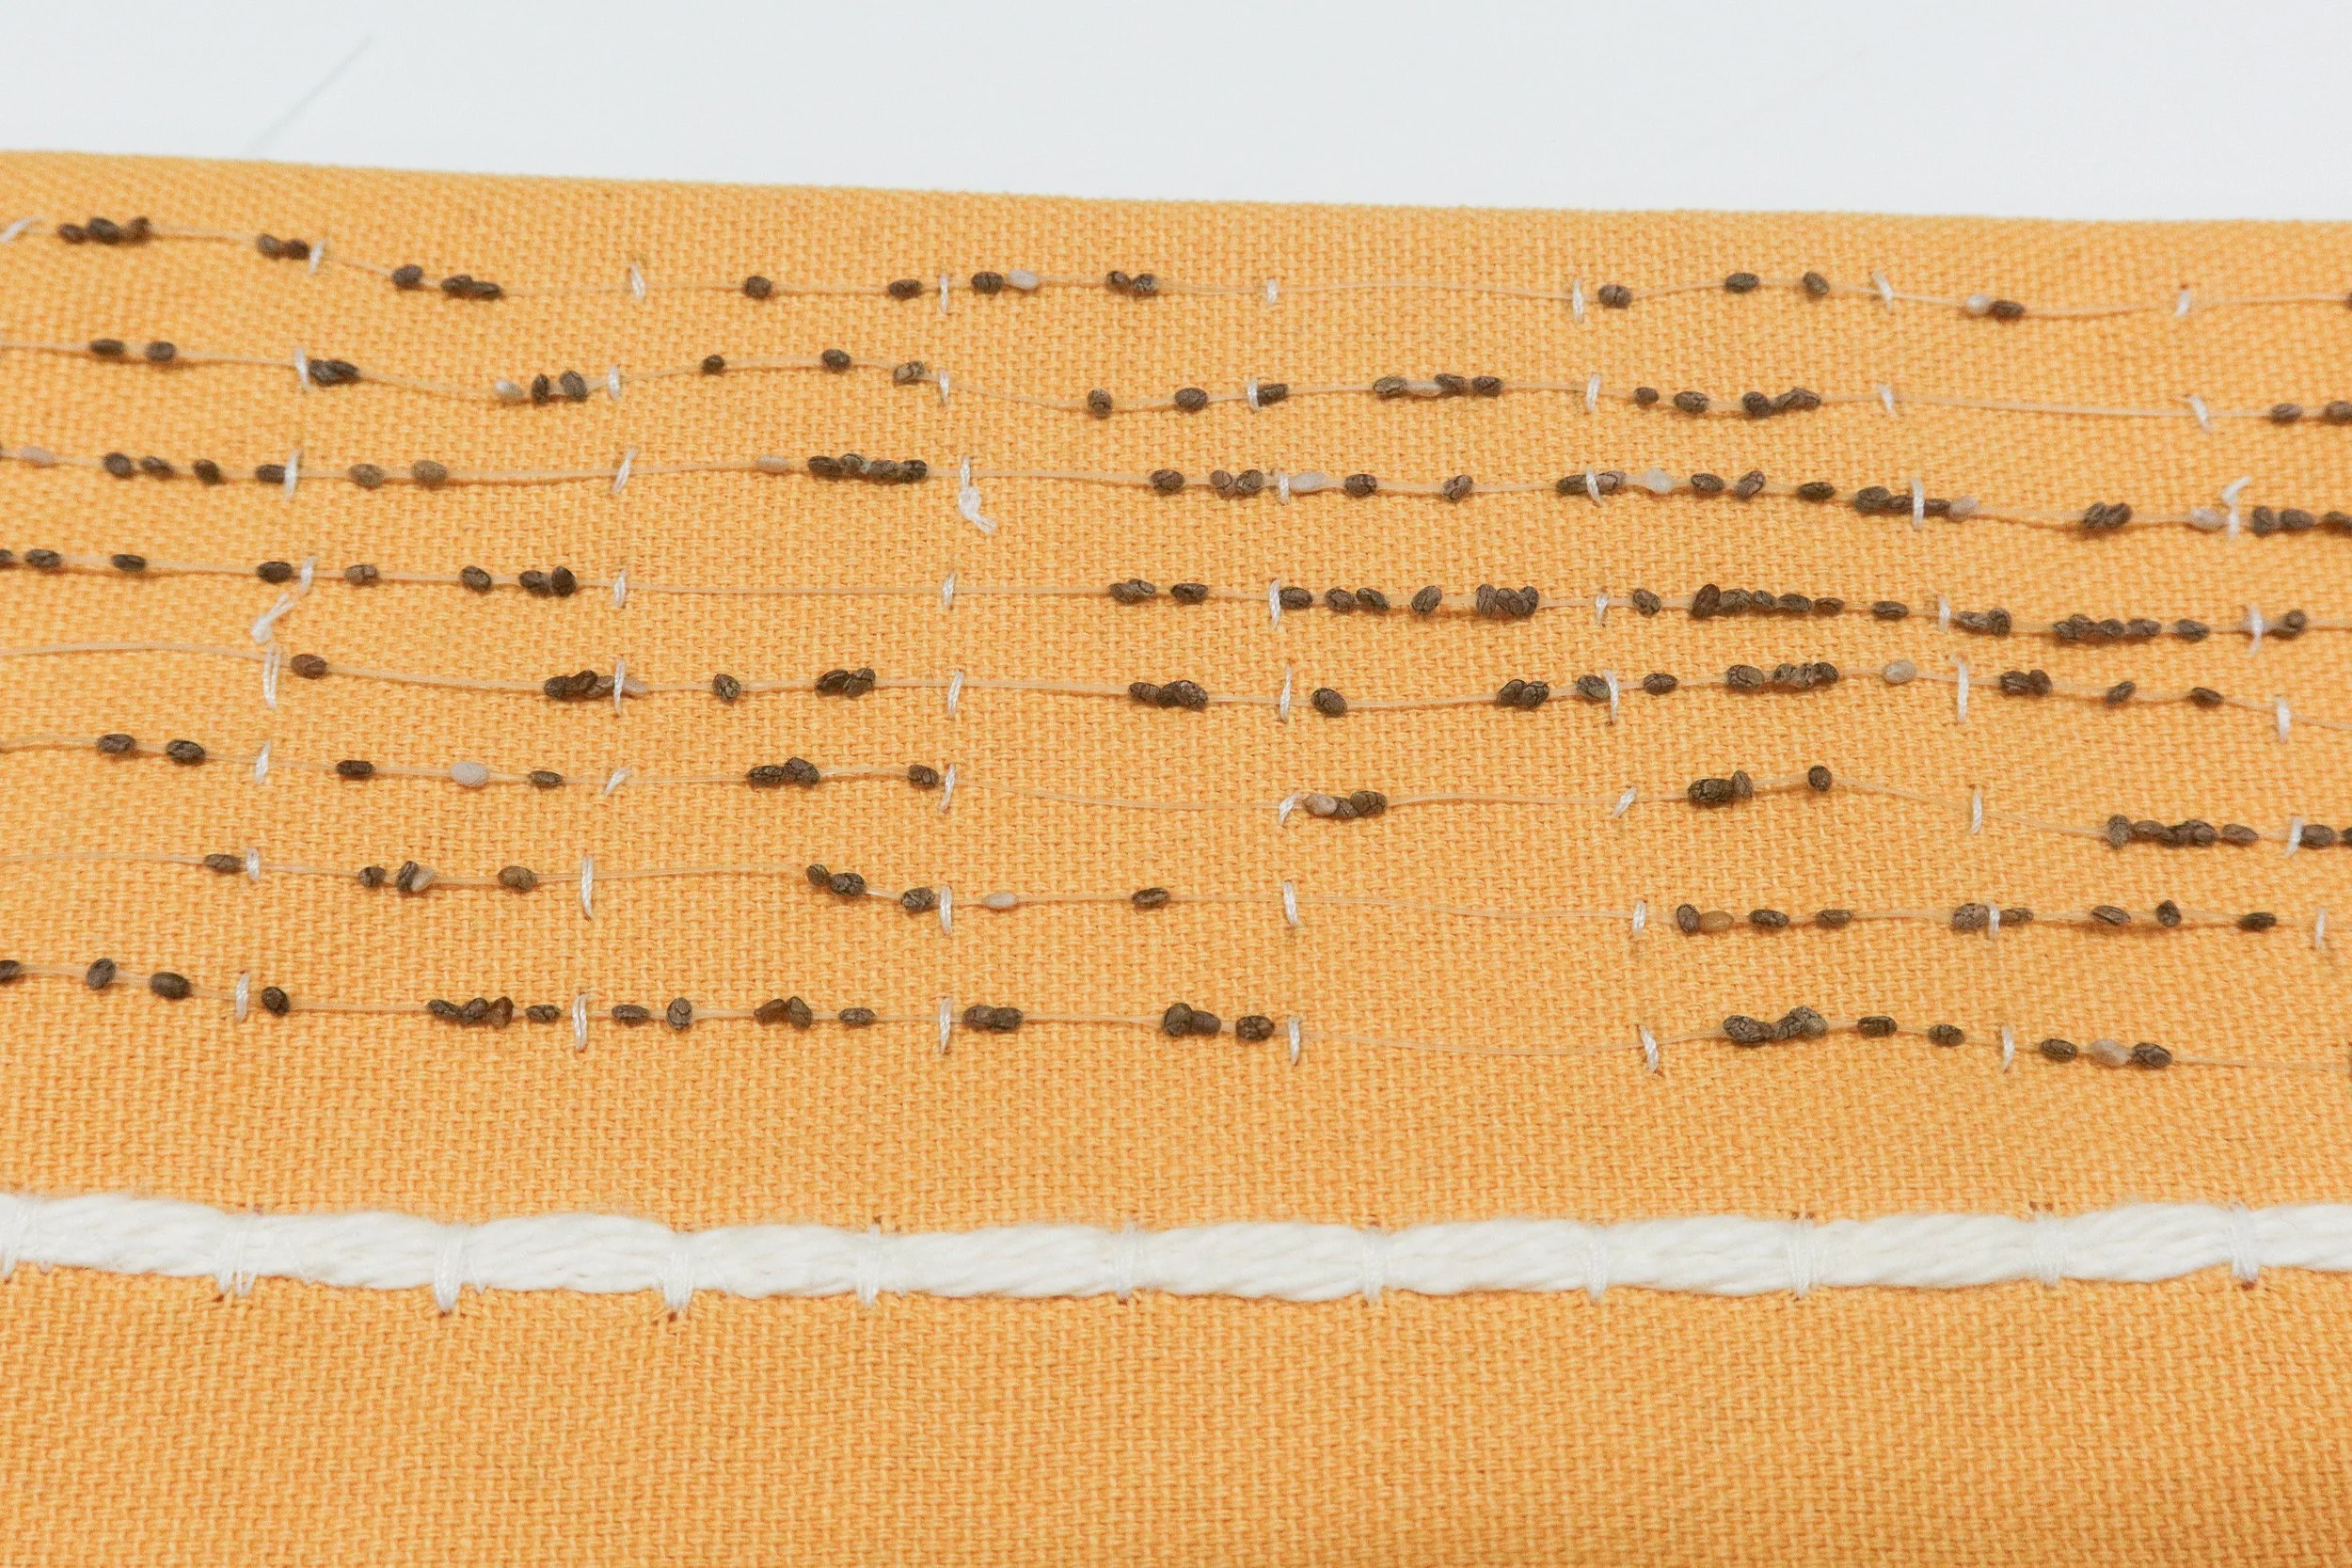
Here, we use Couching Stitch (Figure 9) as an example to provide instructions on how to use the substrate lining technique for textile integration.
Thread a needle with cotton thread.
Secure the substrate fabric tautly on an embroidery hoop
Lay the Seed-Integrated Hydrogel Yarn on top of the fabric in the desired pattern (e.g., straight line, curve, or decorative shape). It’s optional to use a pencil or chalk to mark the pattern on the fabric.
Anchor the chia fiber by bringing the needle with thread up and through the fabric from the back of the fabric.
Cross the needle over the hydrogel yarn and insert it back into the fabric, creating a small stitch over the hydrogel yarn.
Move a short distance along the fiber (~2 cm) and repeat the same stitch (steps 4 and 5)
Guide the hydrogel yarn in the desired shape or pattern you want by holding it in place while stitching.
Once the design is complete and the fiber is secured on the fabric, make the final anchoring stitch and knot the thread on the back of the fabric, trimming any excess thread.

Weaving:
Basic Weaving Pattern: The Seed-Integrated Hydrogel Yarns can be interlaced into a weave structure. The weave structure can be any pattern that allows for water absorption, such as plain, twill, satin, or waffle.

This basic weaving pattern requires the use of a hand loom which can be found here: https://helloloom.com/shop/p/hello-loom-20.
Reference Tutorial Video: https://helloloom.com/tutorials-section
Advanced Weaving Pattern:
This advanced weaving pattern requires the use of a floor loom or digital jacquard loom.
Digital Jacquard Loom Tutorial: https://www.youtube.com/watch?v=UK6IqovdKLA
Here we use a waffle weave as an example, with a top layer tacking the Seed-Integrated Hydrogel Yarns. This pattern (A) is used in the user study and the sandal application. The magenta color represents the hydrogel yarn as weft.
To add a third layer at the bottom to integrate the tubing for watering, an additional warp-floating layer (B) could be added. The magenta color represents the hydrogel yarn as weft and the cyan color represents the tubing as weft.


Example of hybrid layering weave.
Maintaining & Growing the Chia Seeds
Once you have completed the Textile Integration steps, you will need to maintain and grow the chia seeds.
Place the seed-integrated textiles in dark, shallow containers to block sunlight while ensuring airflow to prevent mold.
You can use microgreen sprouting trays or any shallow tray covered with any material that blocks light (ex: panda film, aluminum foil).
Water daily to maintain adequate moisture.
After 3-5 days, remove the material cover to expose the textiles to direct sunlight.
If the plant-integrated textiles are worn during the day, they will require more frequent watering due to increased evaporation in open environments.
This phase lasts for 5 to 14 days for chia seeds.
Optional: The plant-integrated textiles should be potted in the soil to allow the plants to continue growing into their adult stage.
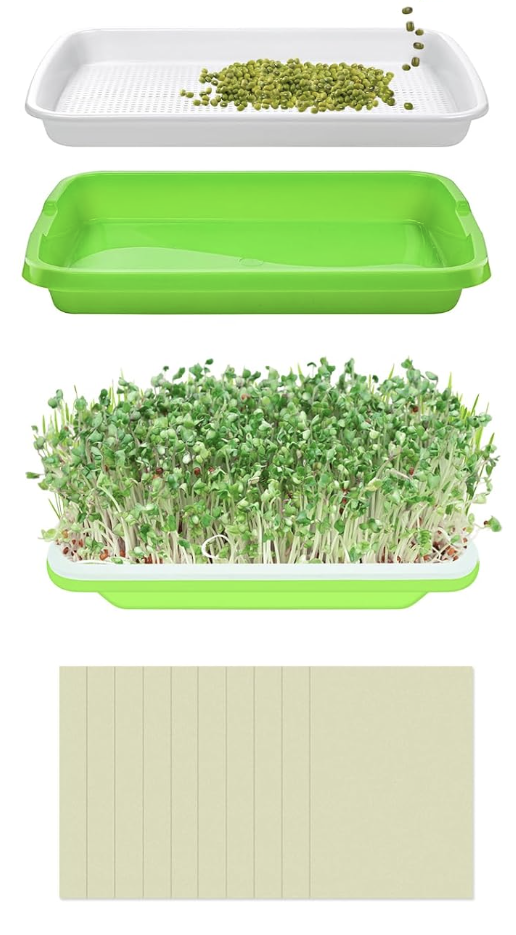
Microgreen growth container.

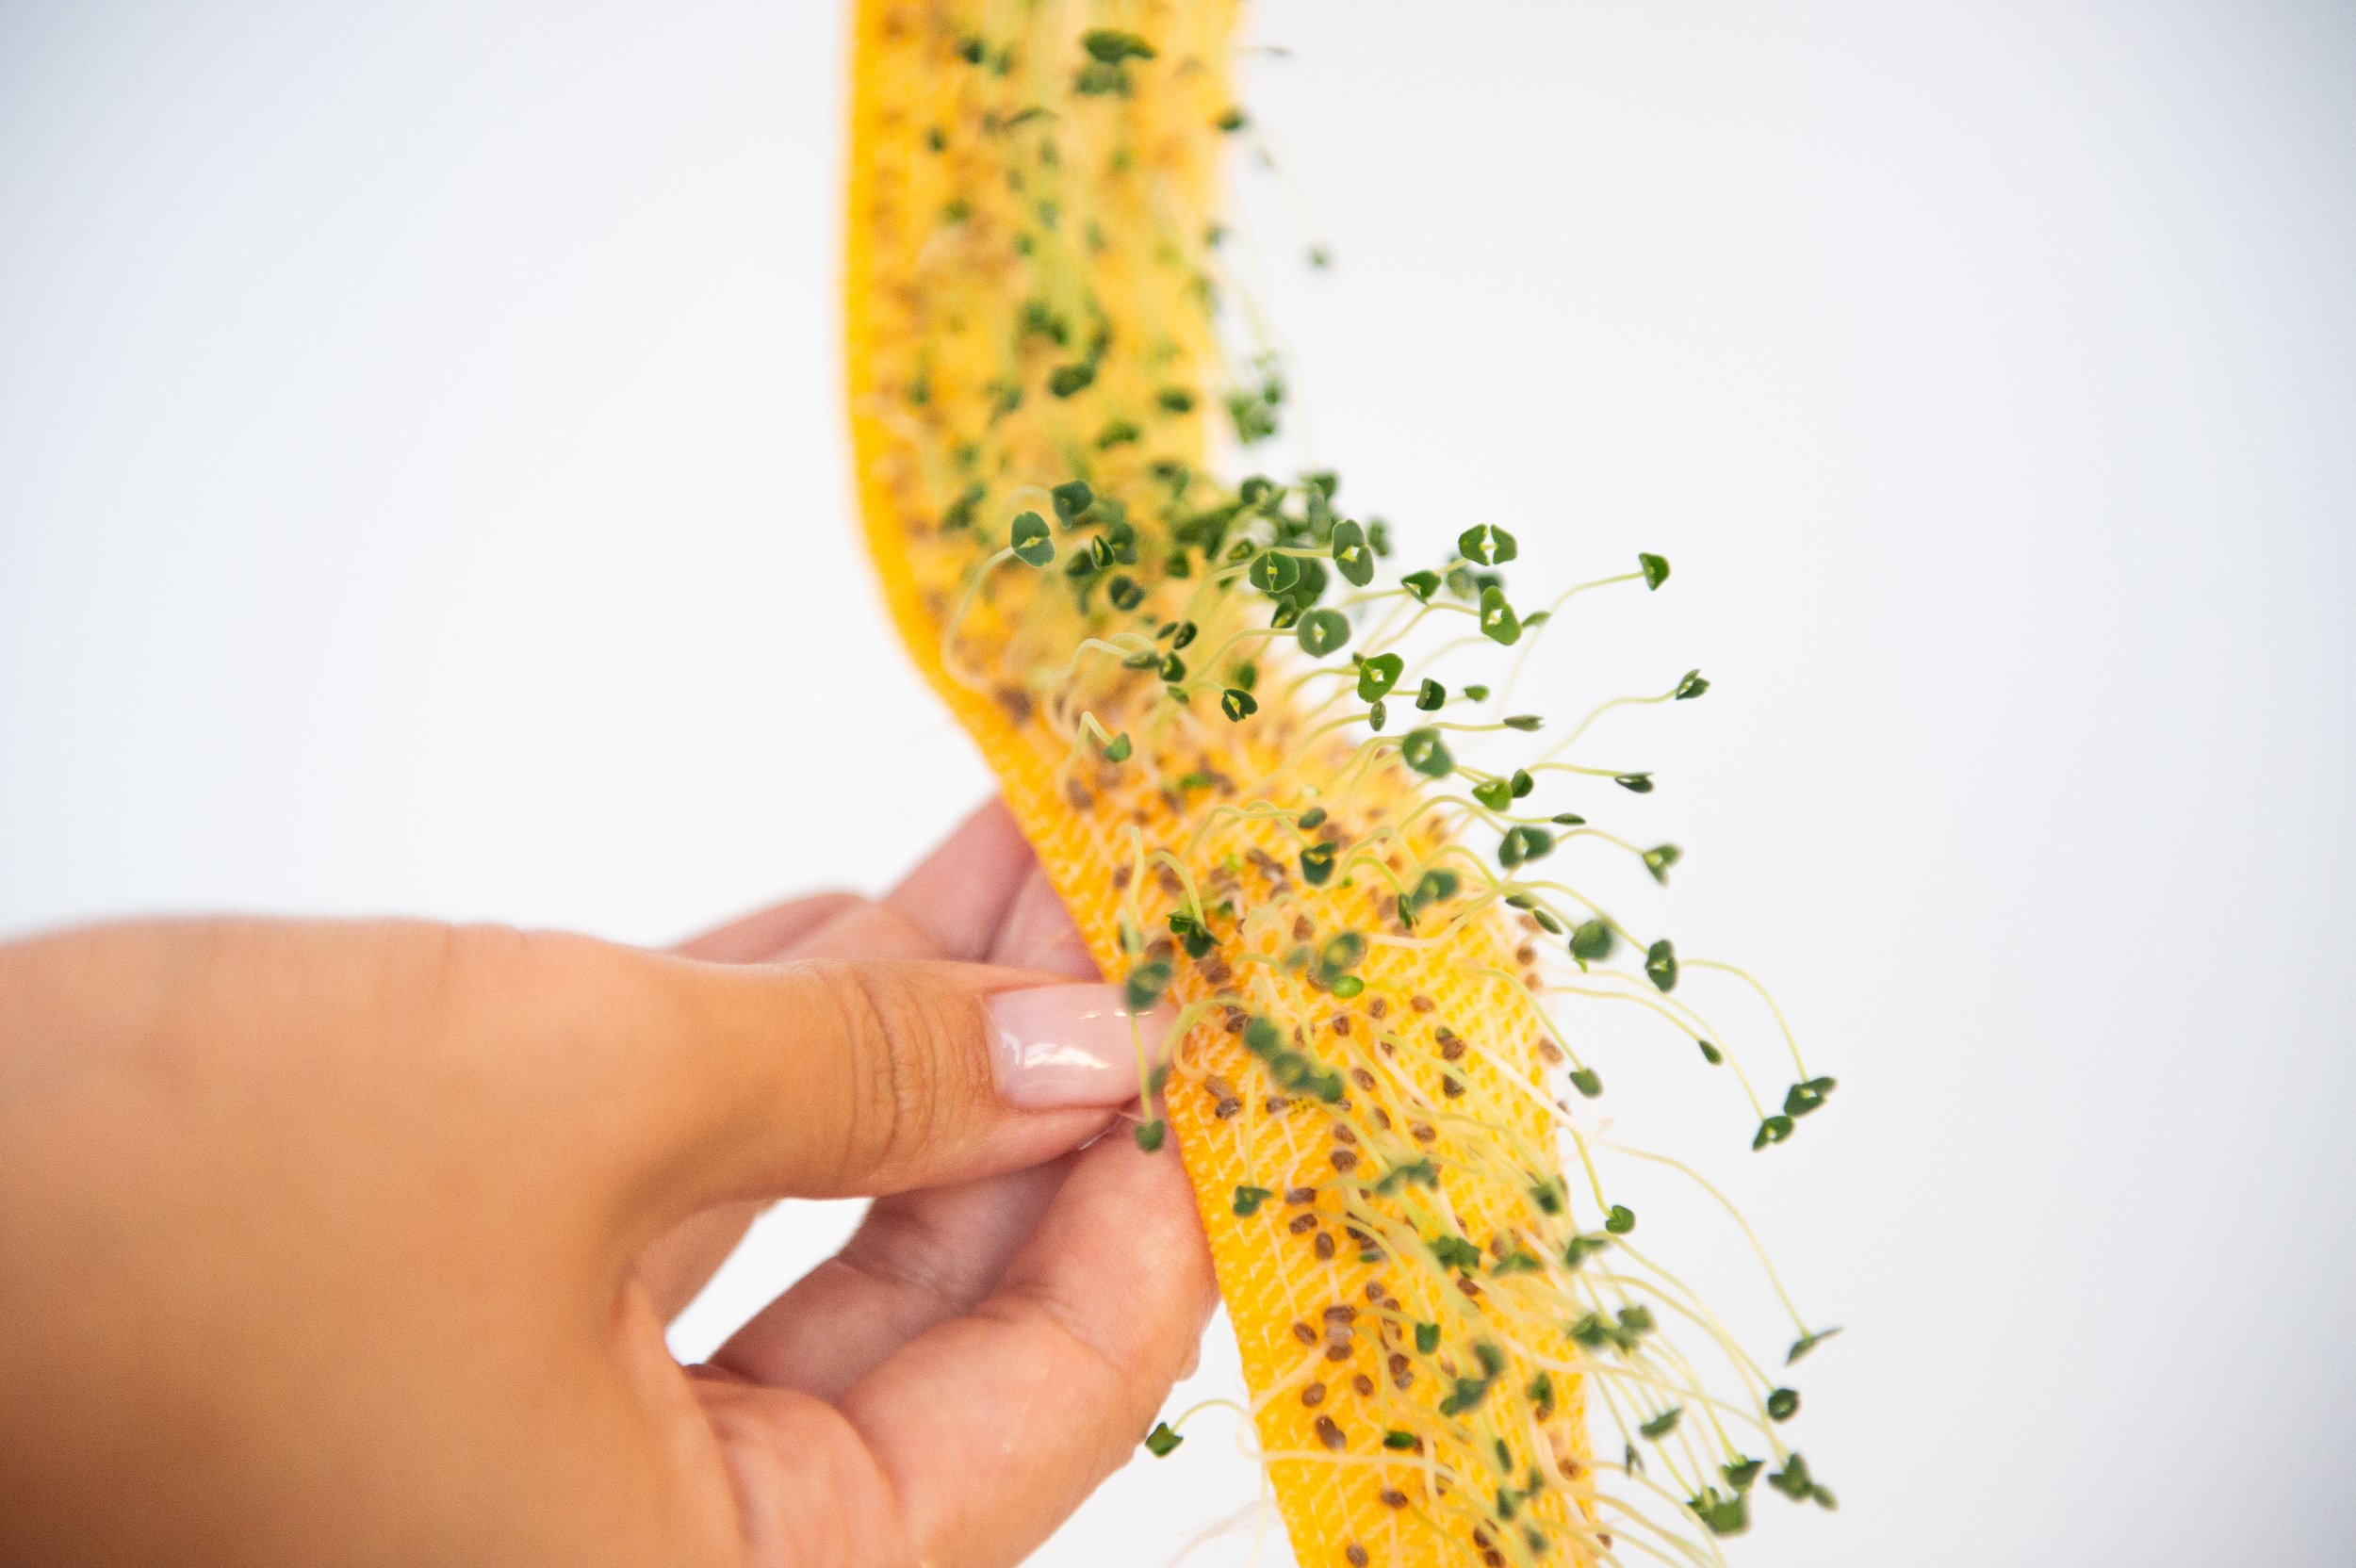
Example of 10 day growth cycle.
Example Applications
After making and integrating the seed-infused hydrogel yarns, the final step is to see what you can create with them! We explored this through five sample applications inspired by user feedback and rapid prototyping: touch-sensitive hairbands, self-caring hats, indoor garden throw pillows, outdoor activity sandals, and woven bags. These examples show how LivingLoom textiles can be playful, interactive, and sustainable, letting humans and plants grow together in everyday objects.
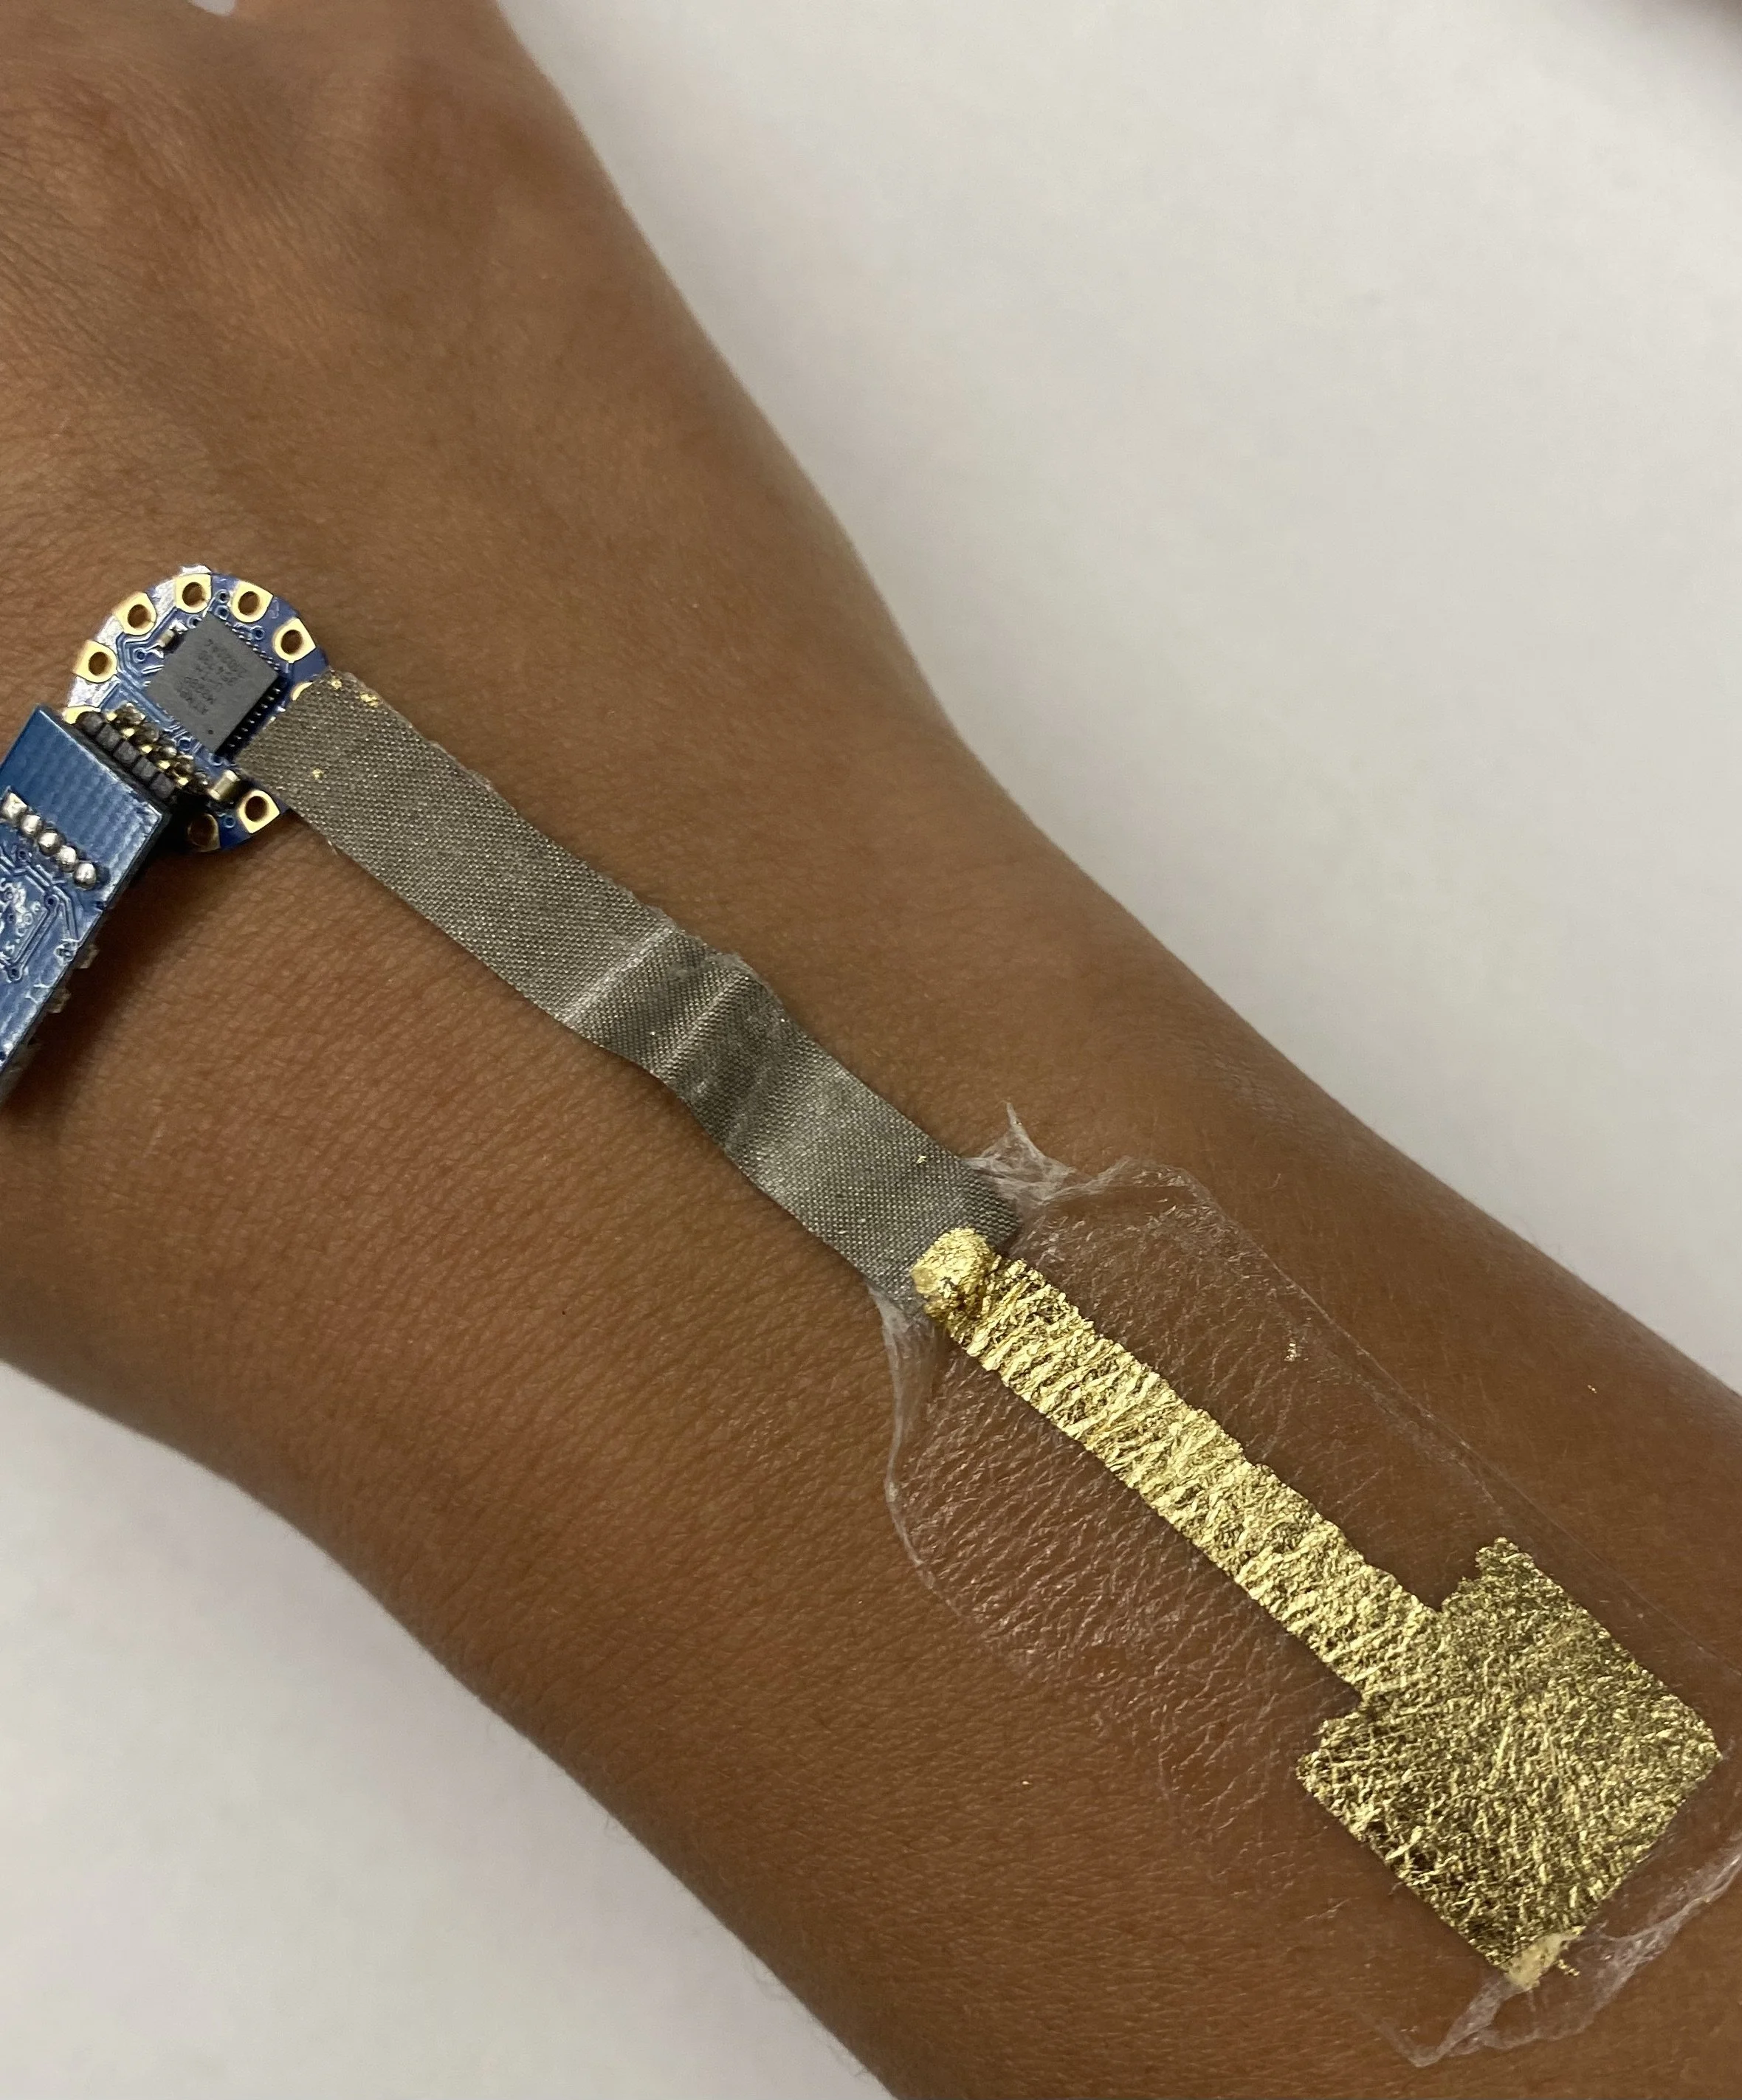
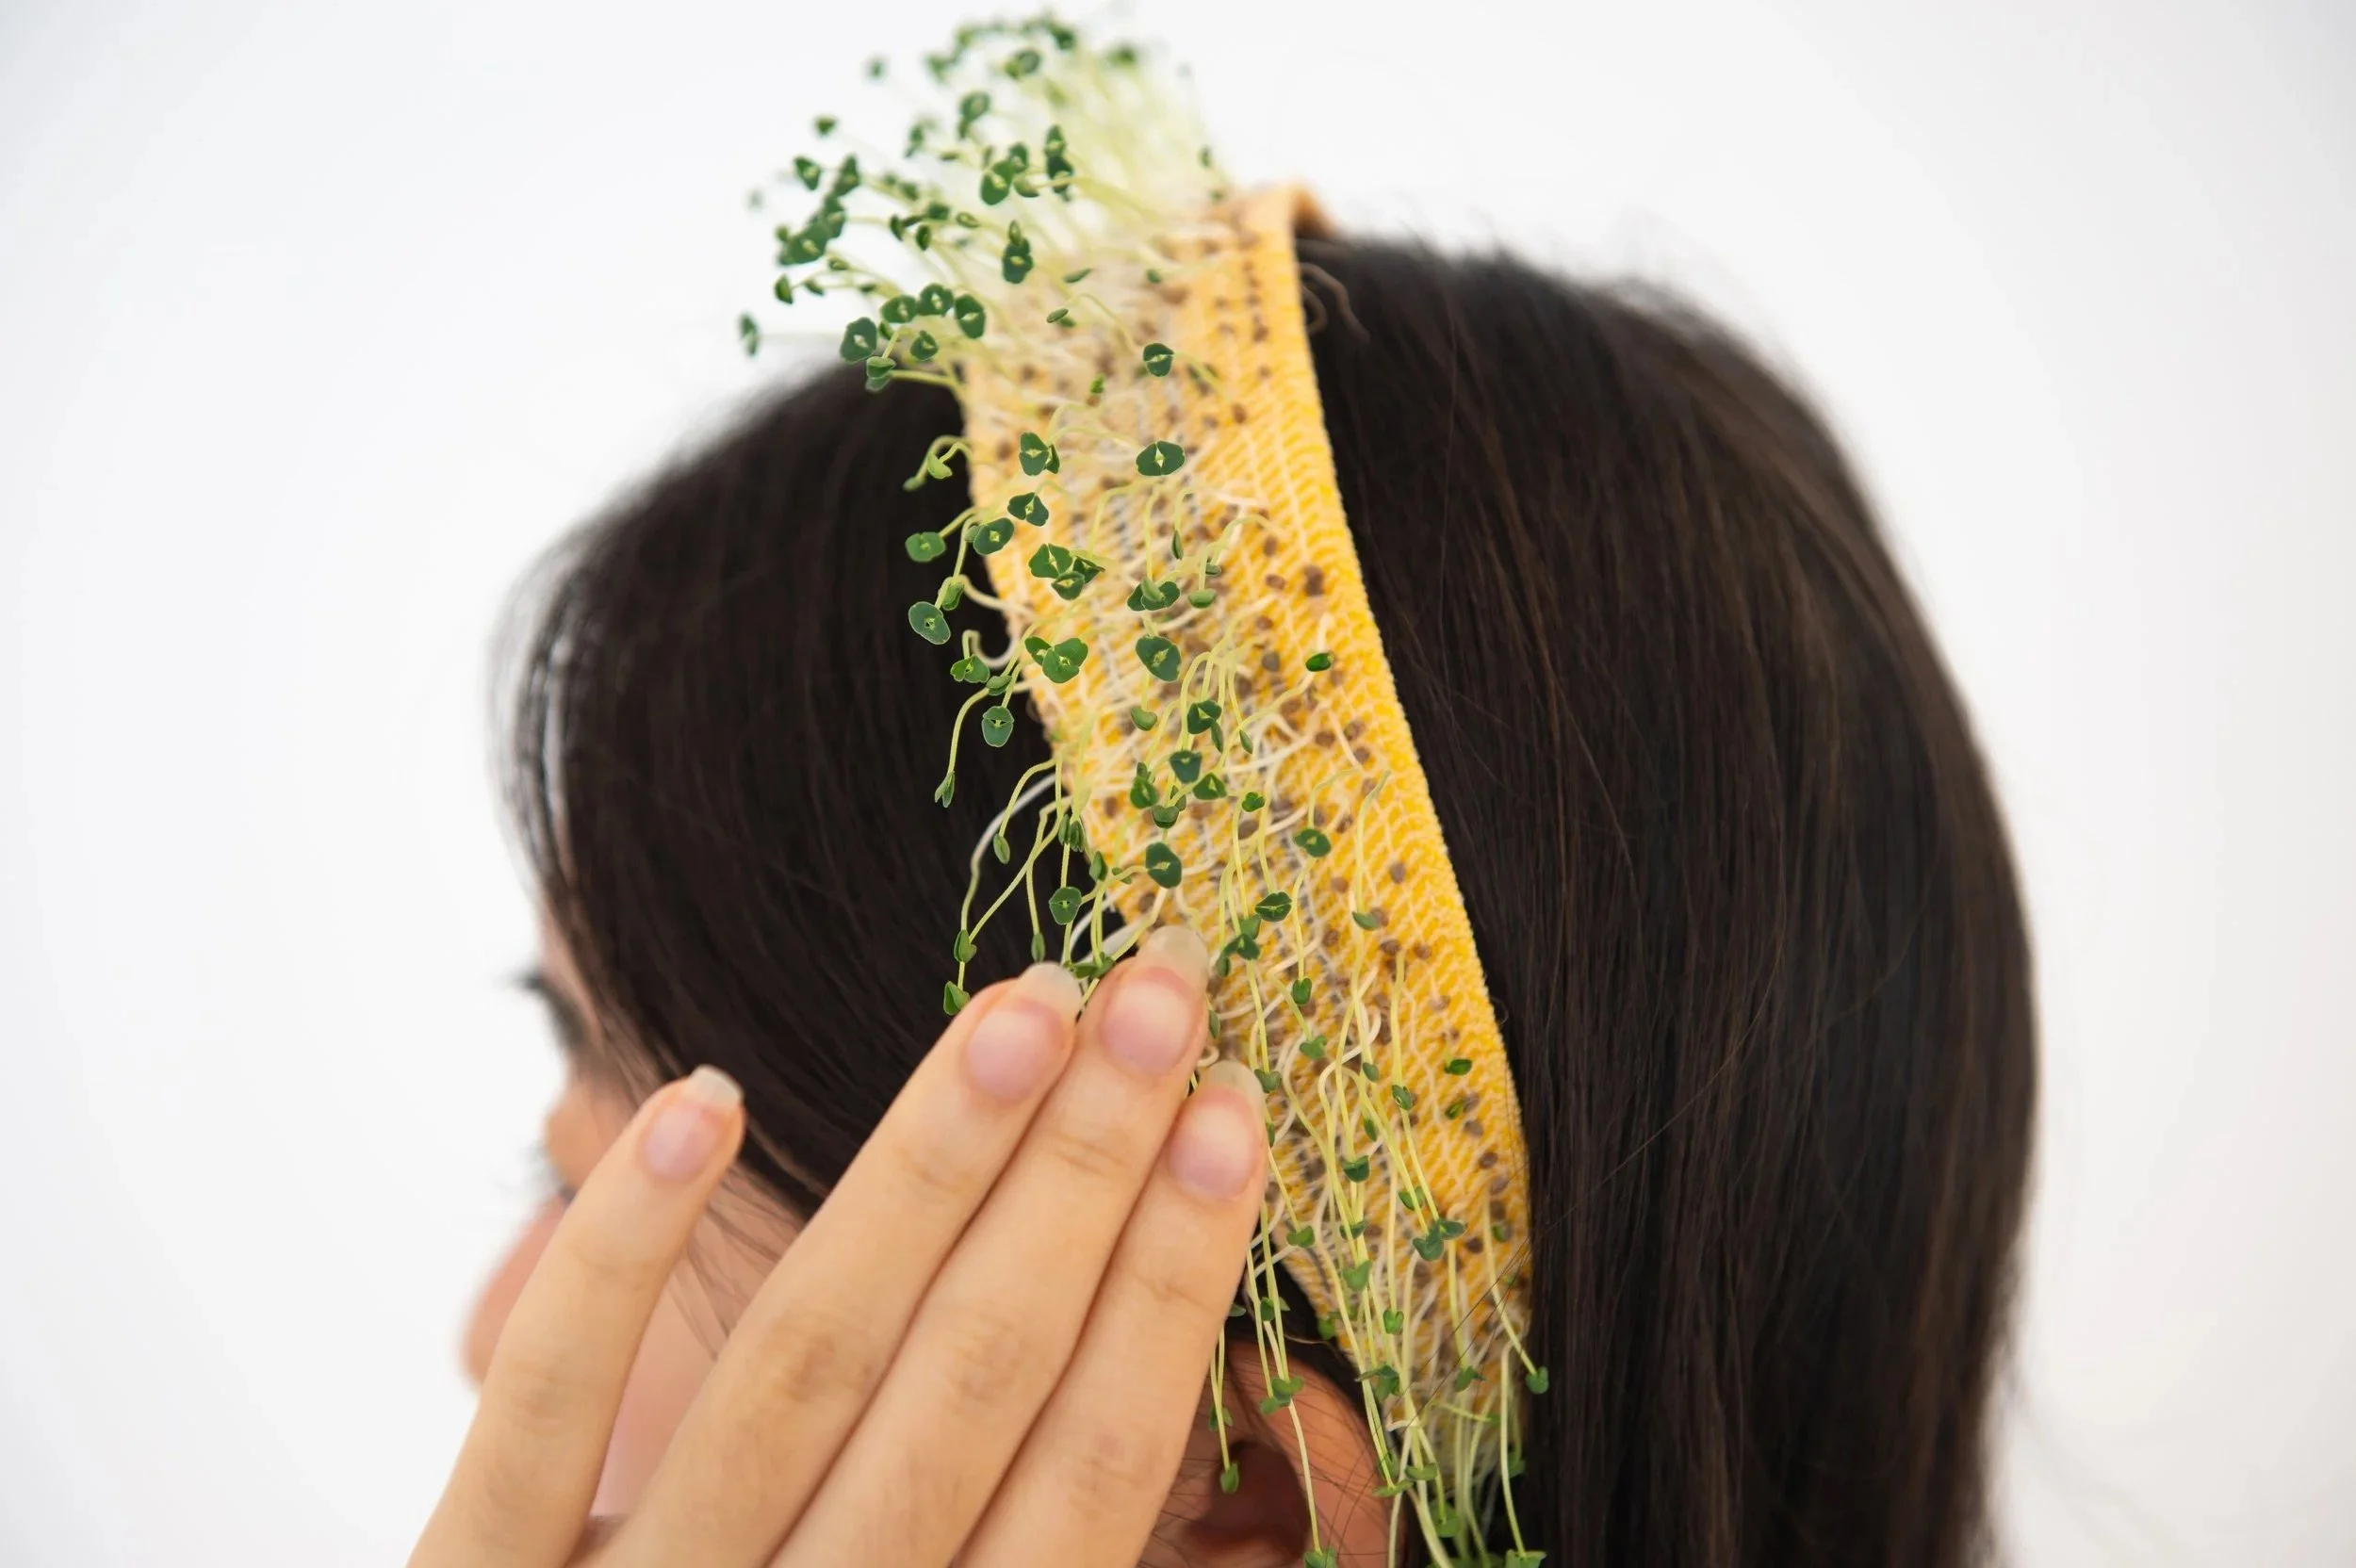
Touch-sensing hairband to “feel” the plants: The hairband is woven with seed-integrated yarns and thin conductive threads. As the chia seeds grow, the sprouts become slightly conductive, letting them act as gentle touch sensors. These sensors connect to a small microcontroller and vibration motor, so when the wearer touches the sprouts, they feel a soft vibration, making the plants feel like an extension of their own skin.
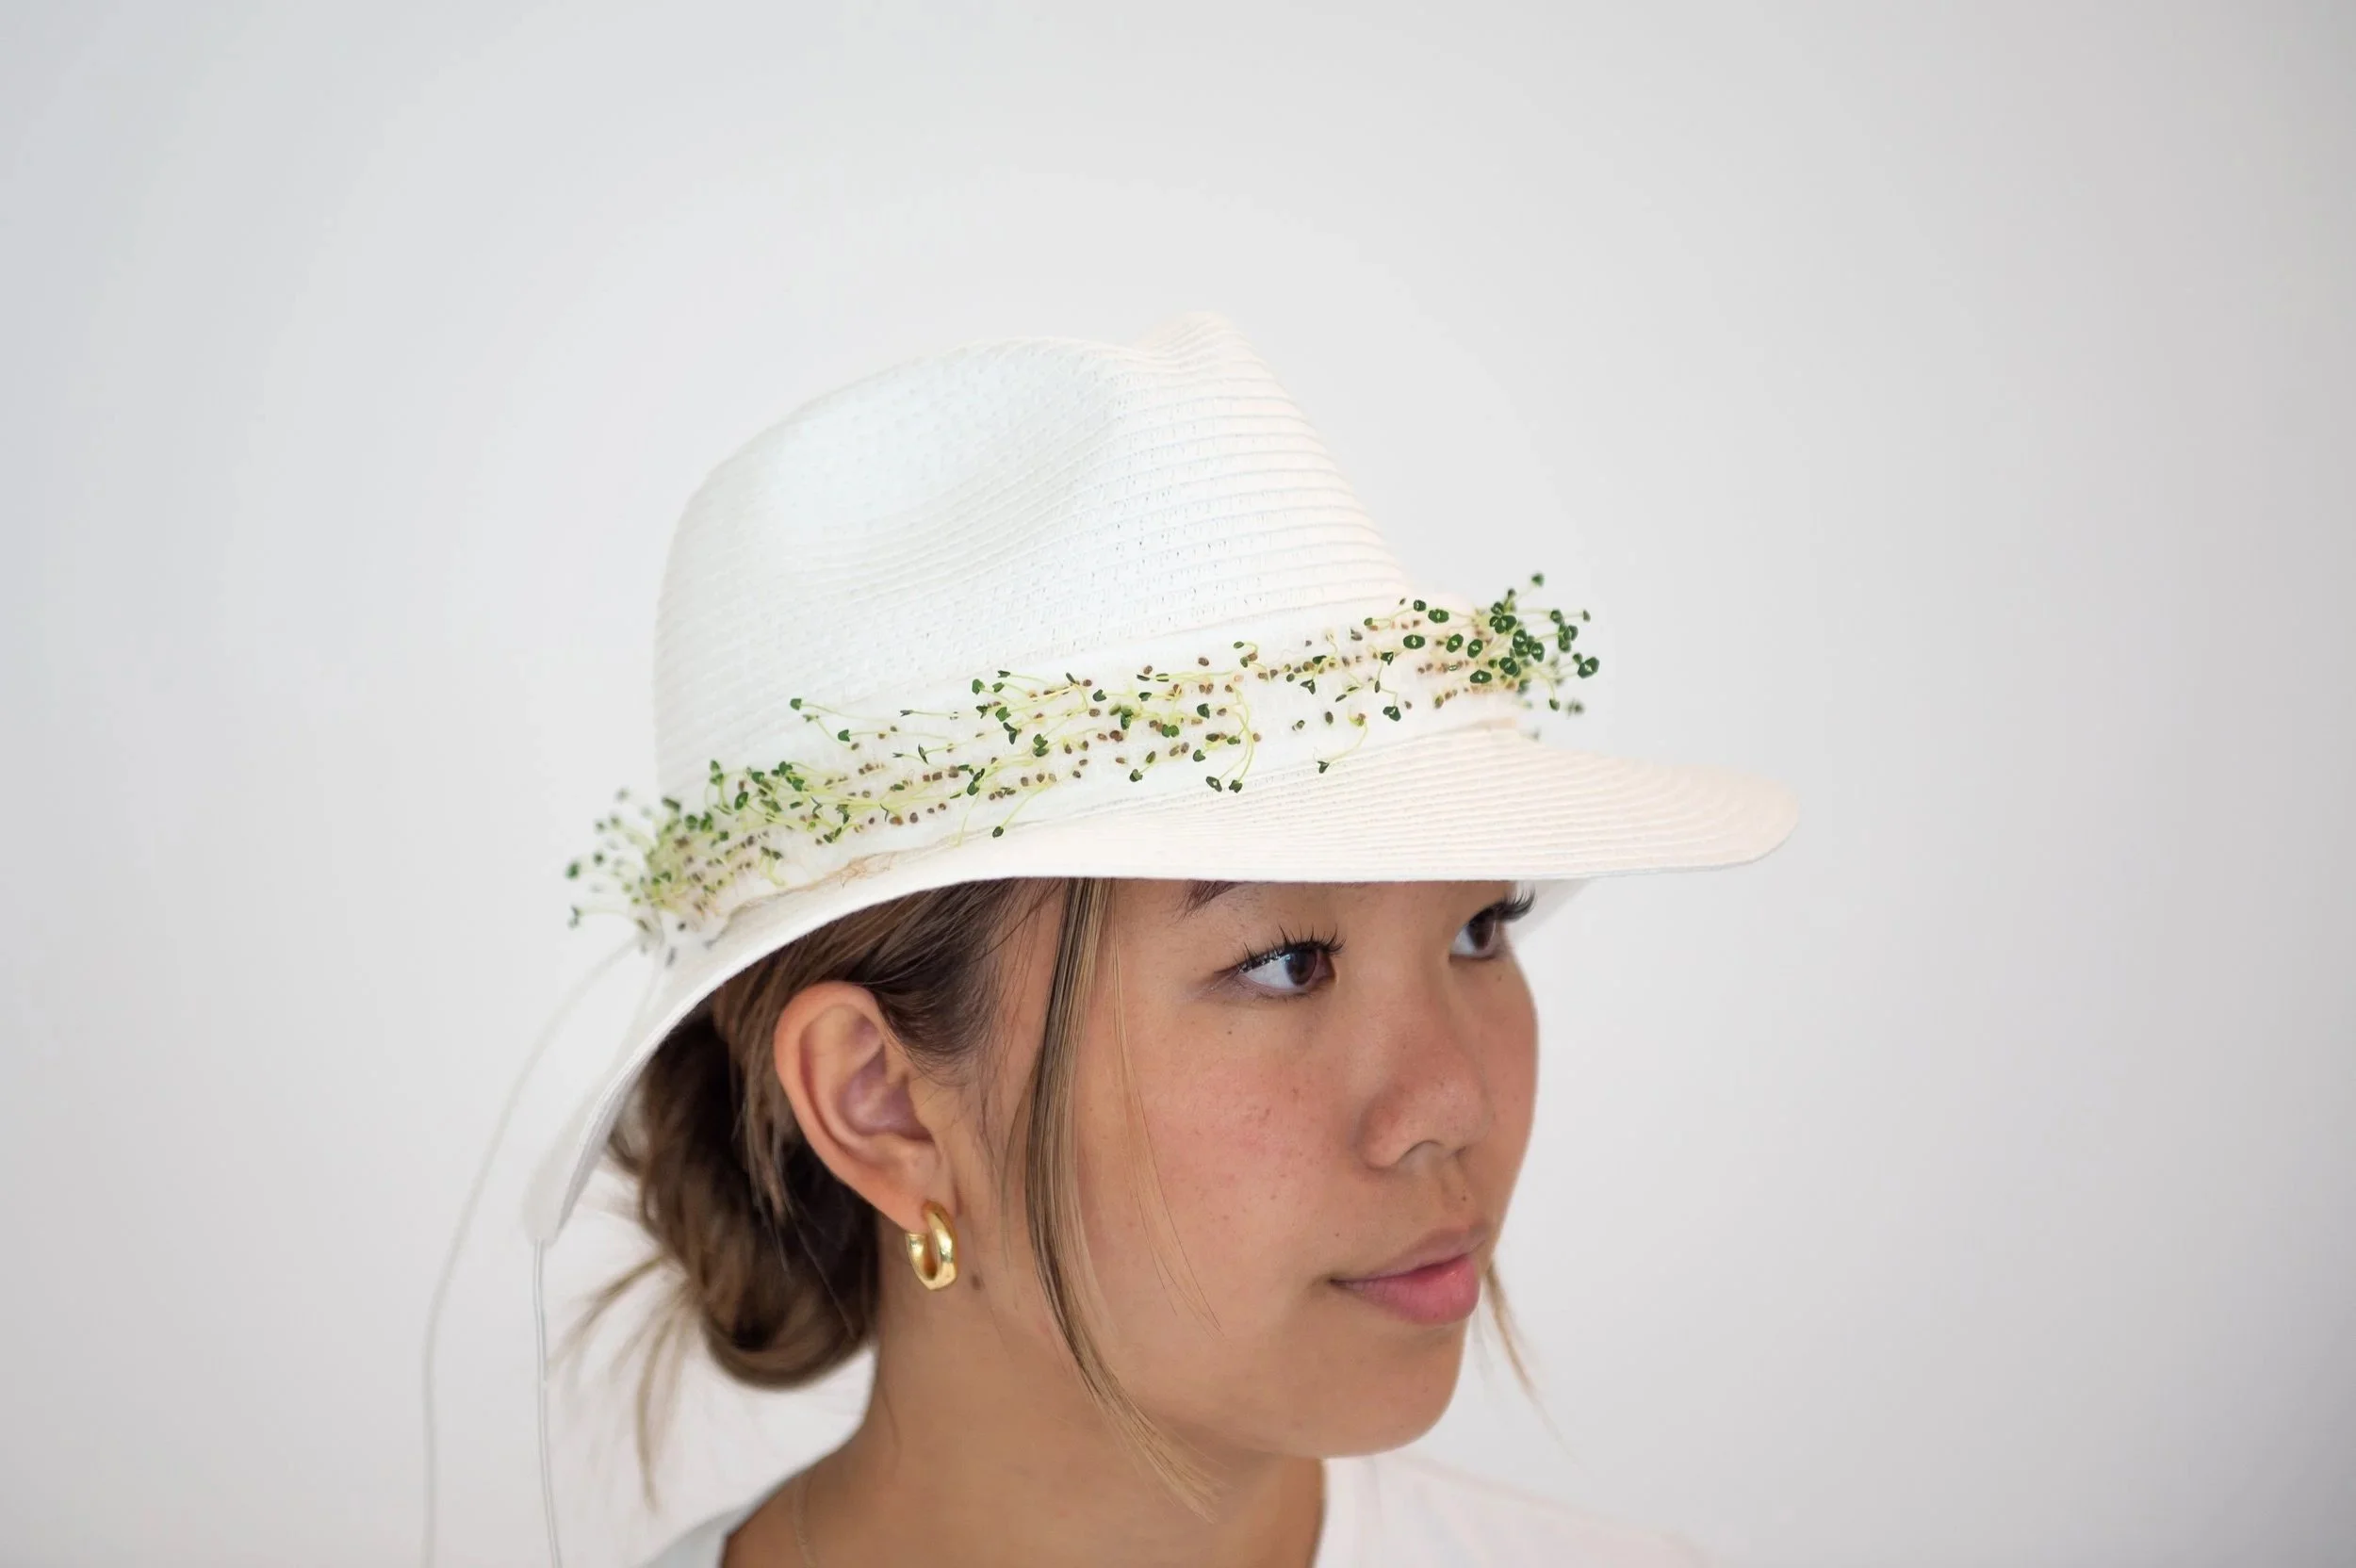
Self-caring hat: We made a waffle-weave hatband that helps the wearer care for the chia seeds growing on it. The top layer holds the seed-integrated yarns, while the bottom layer contains a thin tube with tiny holes that release water. Connected to a small peristaltic pump, this built-in irrigation system automatically waters the sprouts throughout the day, making it ideal for sunny outdoor use without manual watering.
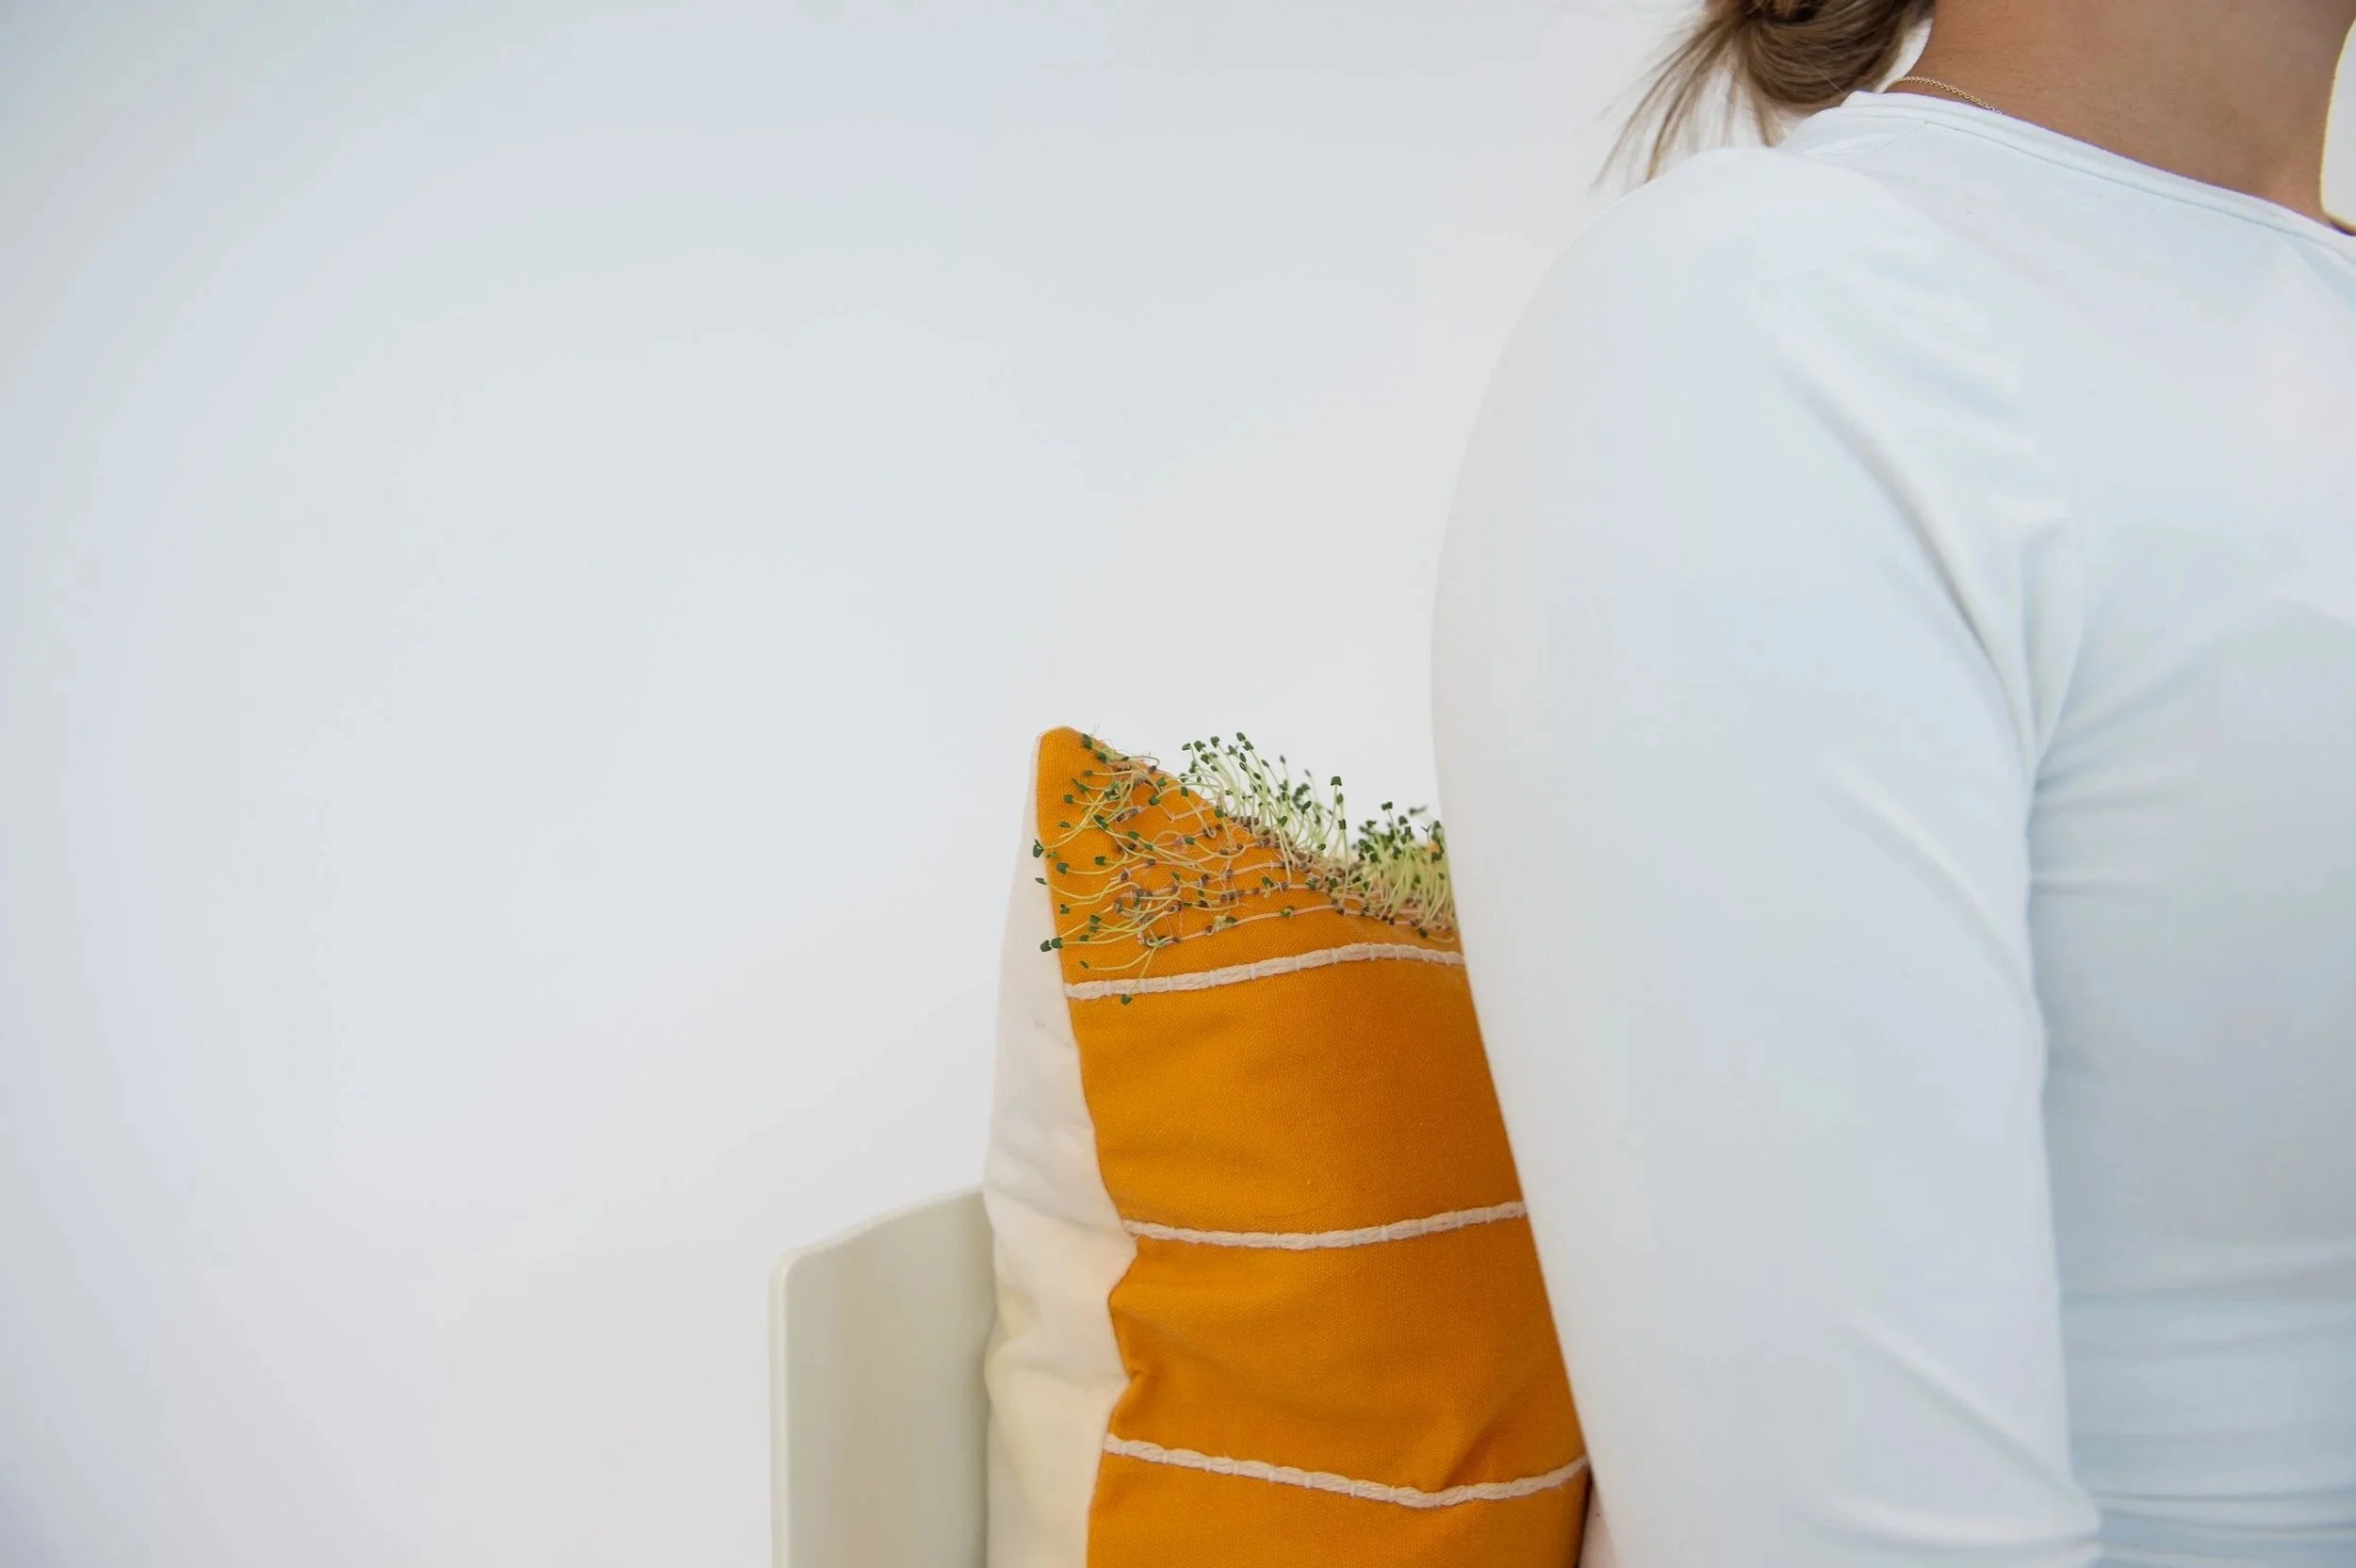
Indoor garden throw pillow: This example shows how seed-integrated hydrogel yarns can be used in upholstery by blending two home decor elements, throw pillows and houseplants, into one design. Using a substrate lining technique, we couched the yarns onto a pre-made pillowcase, attaching them only on the top surface so the chia sprouts will not be squished when someone leans against the pillow.
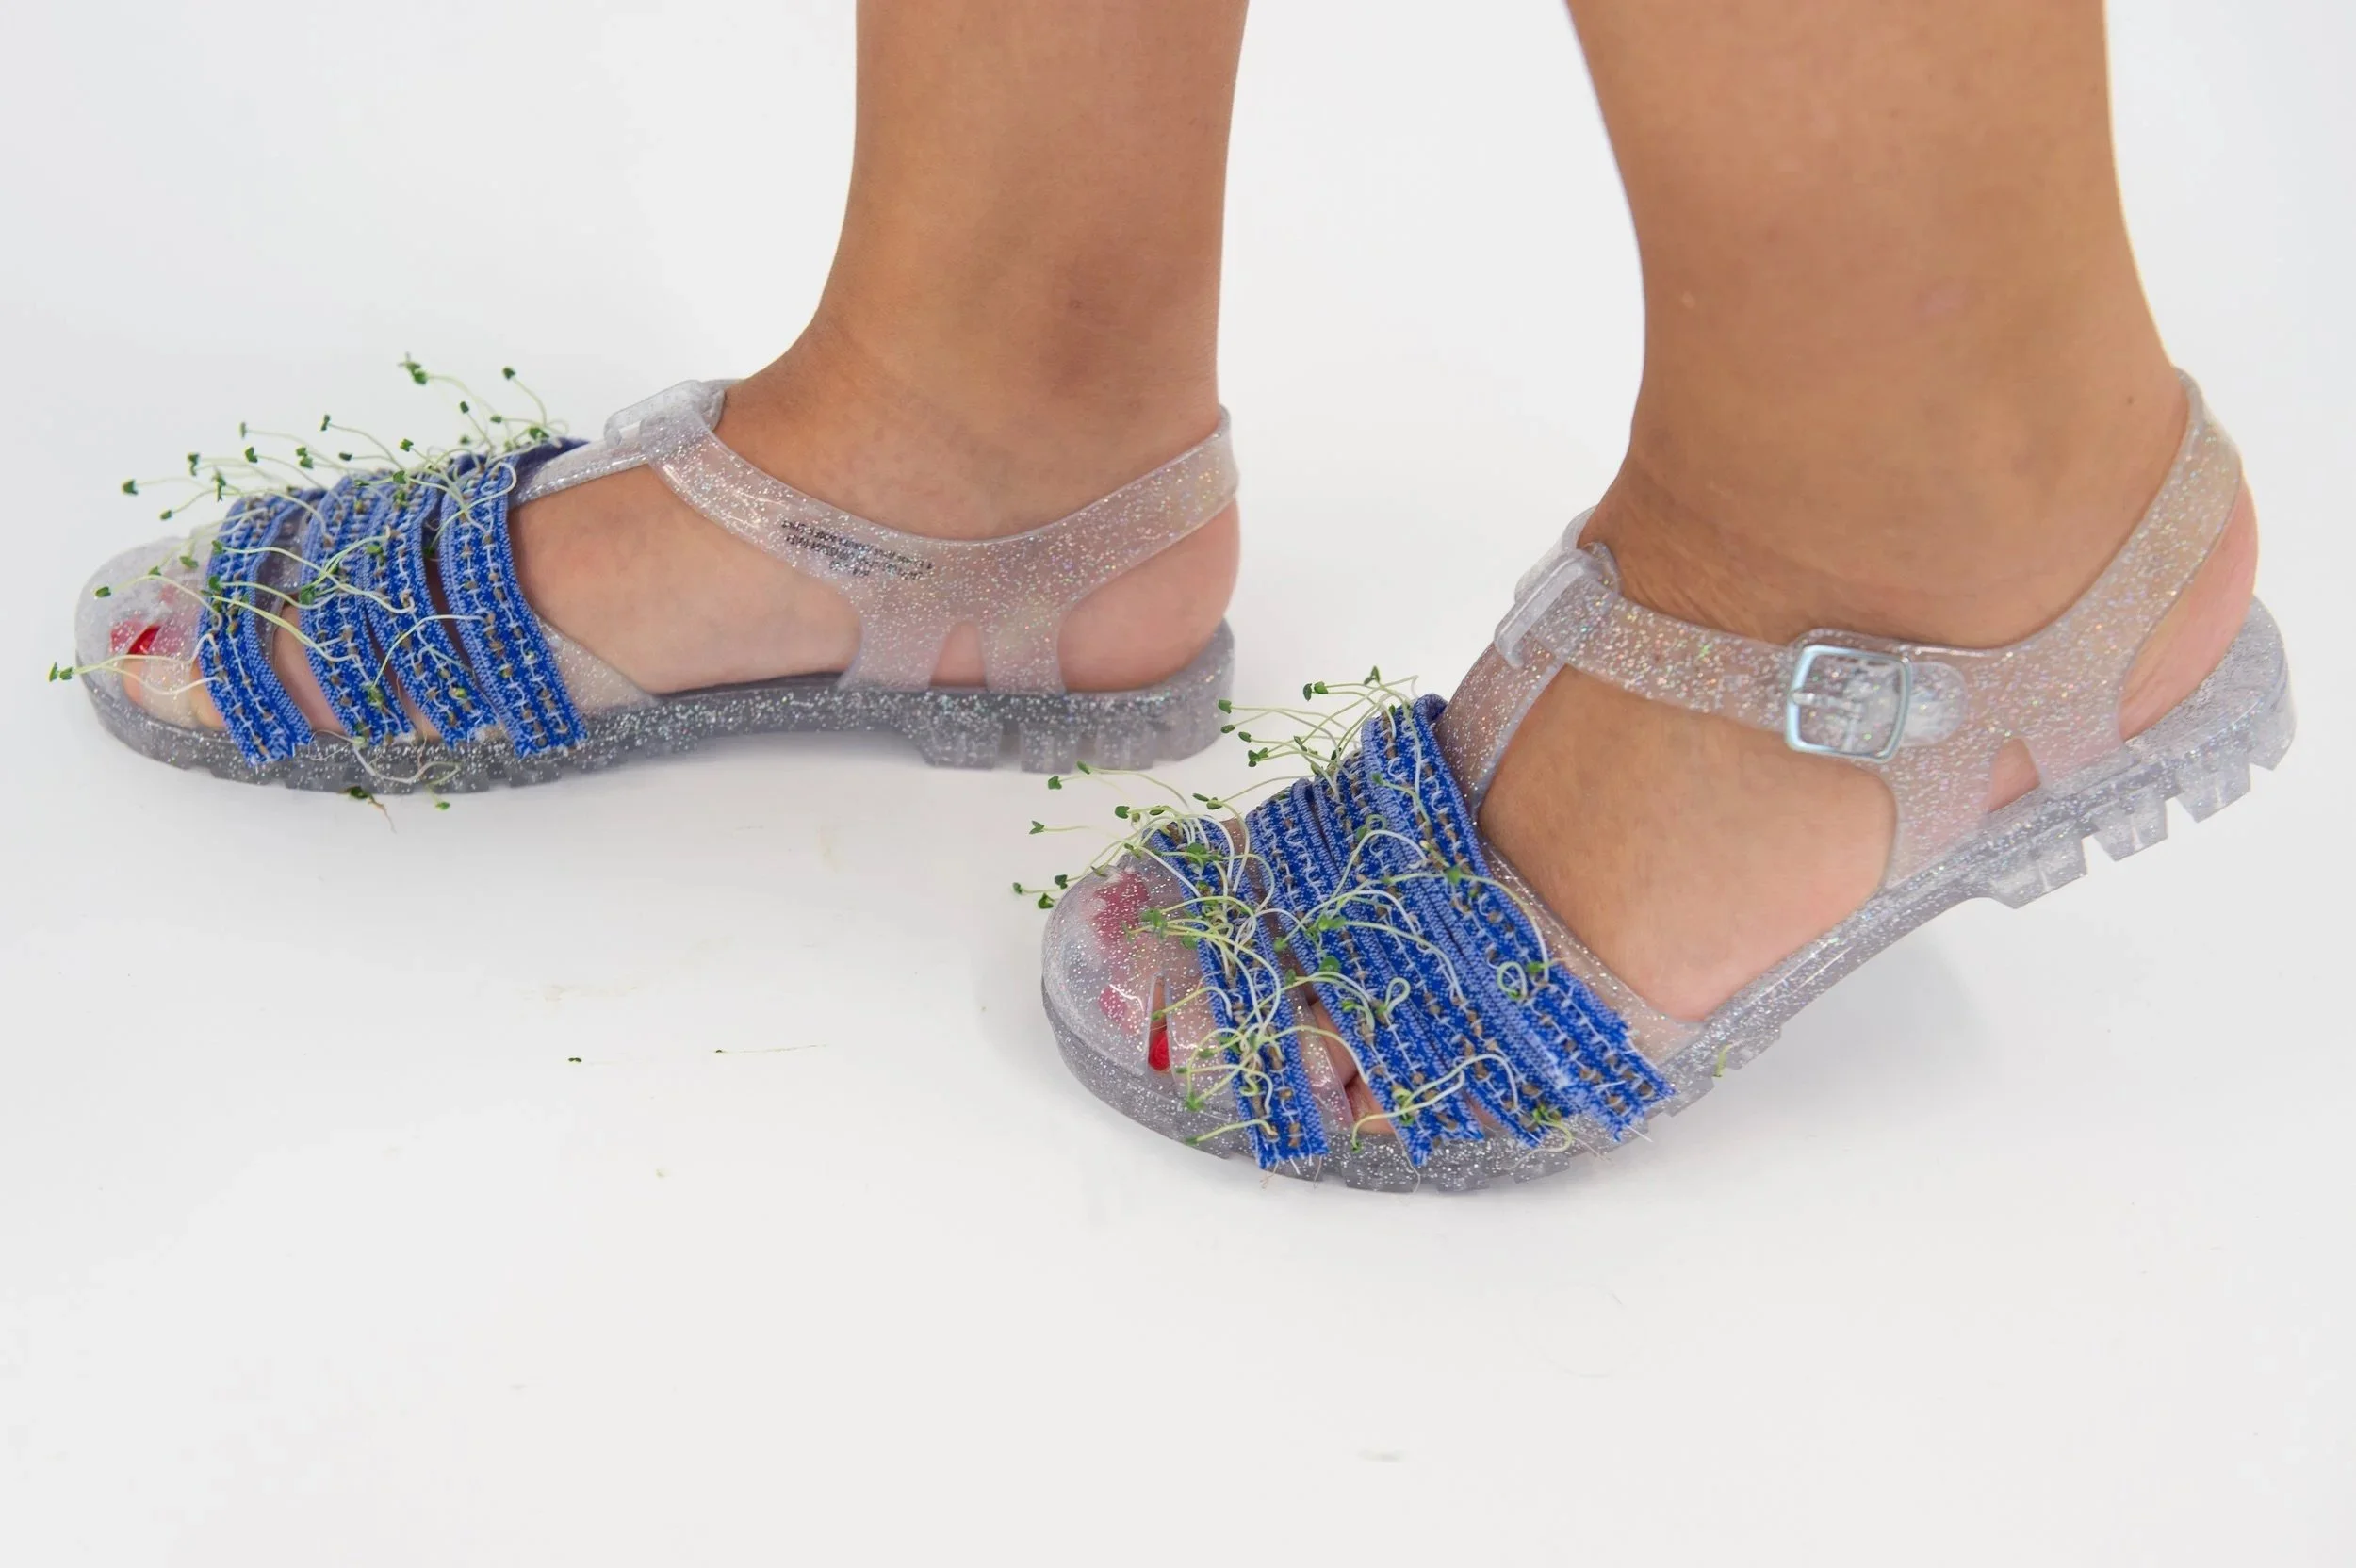
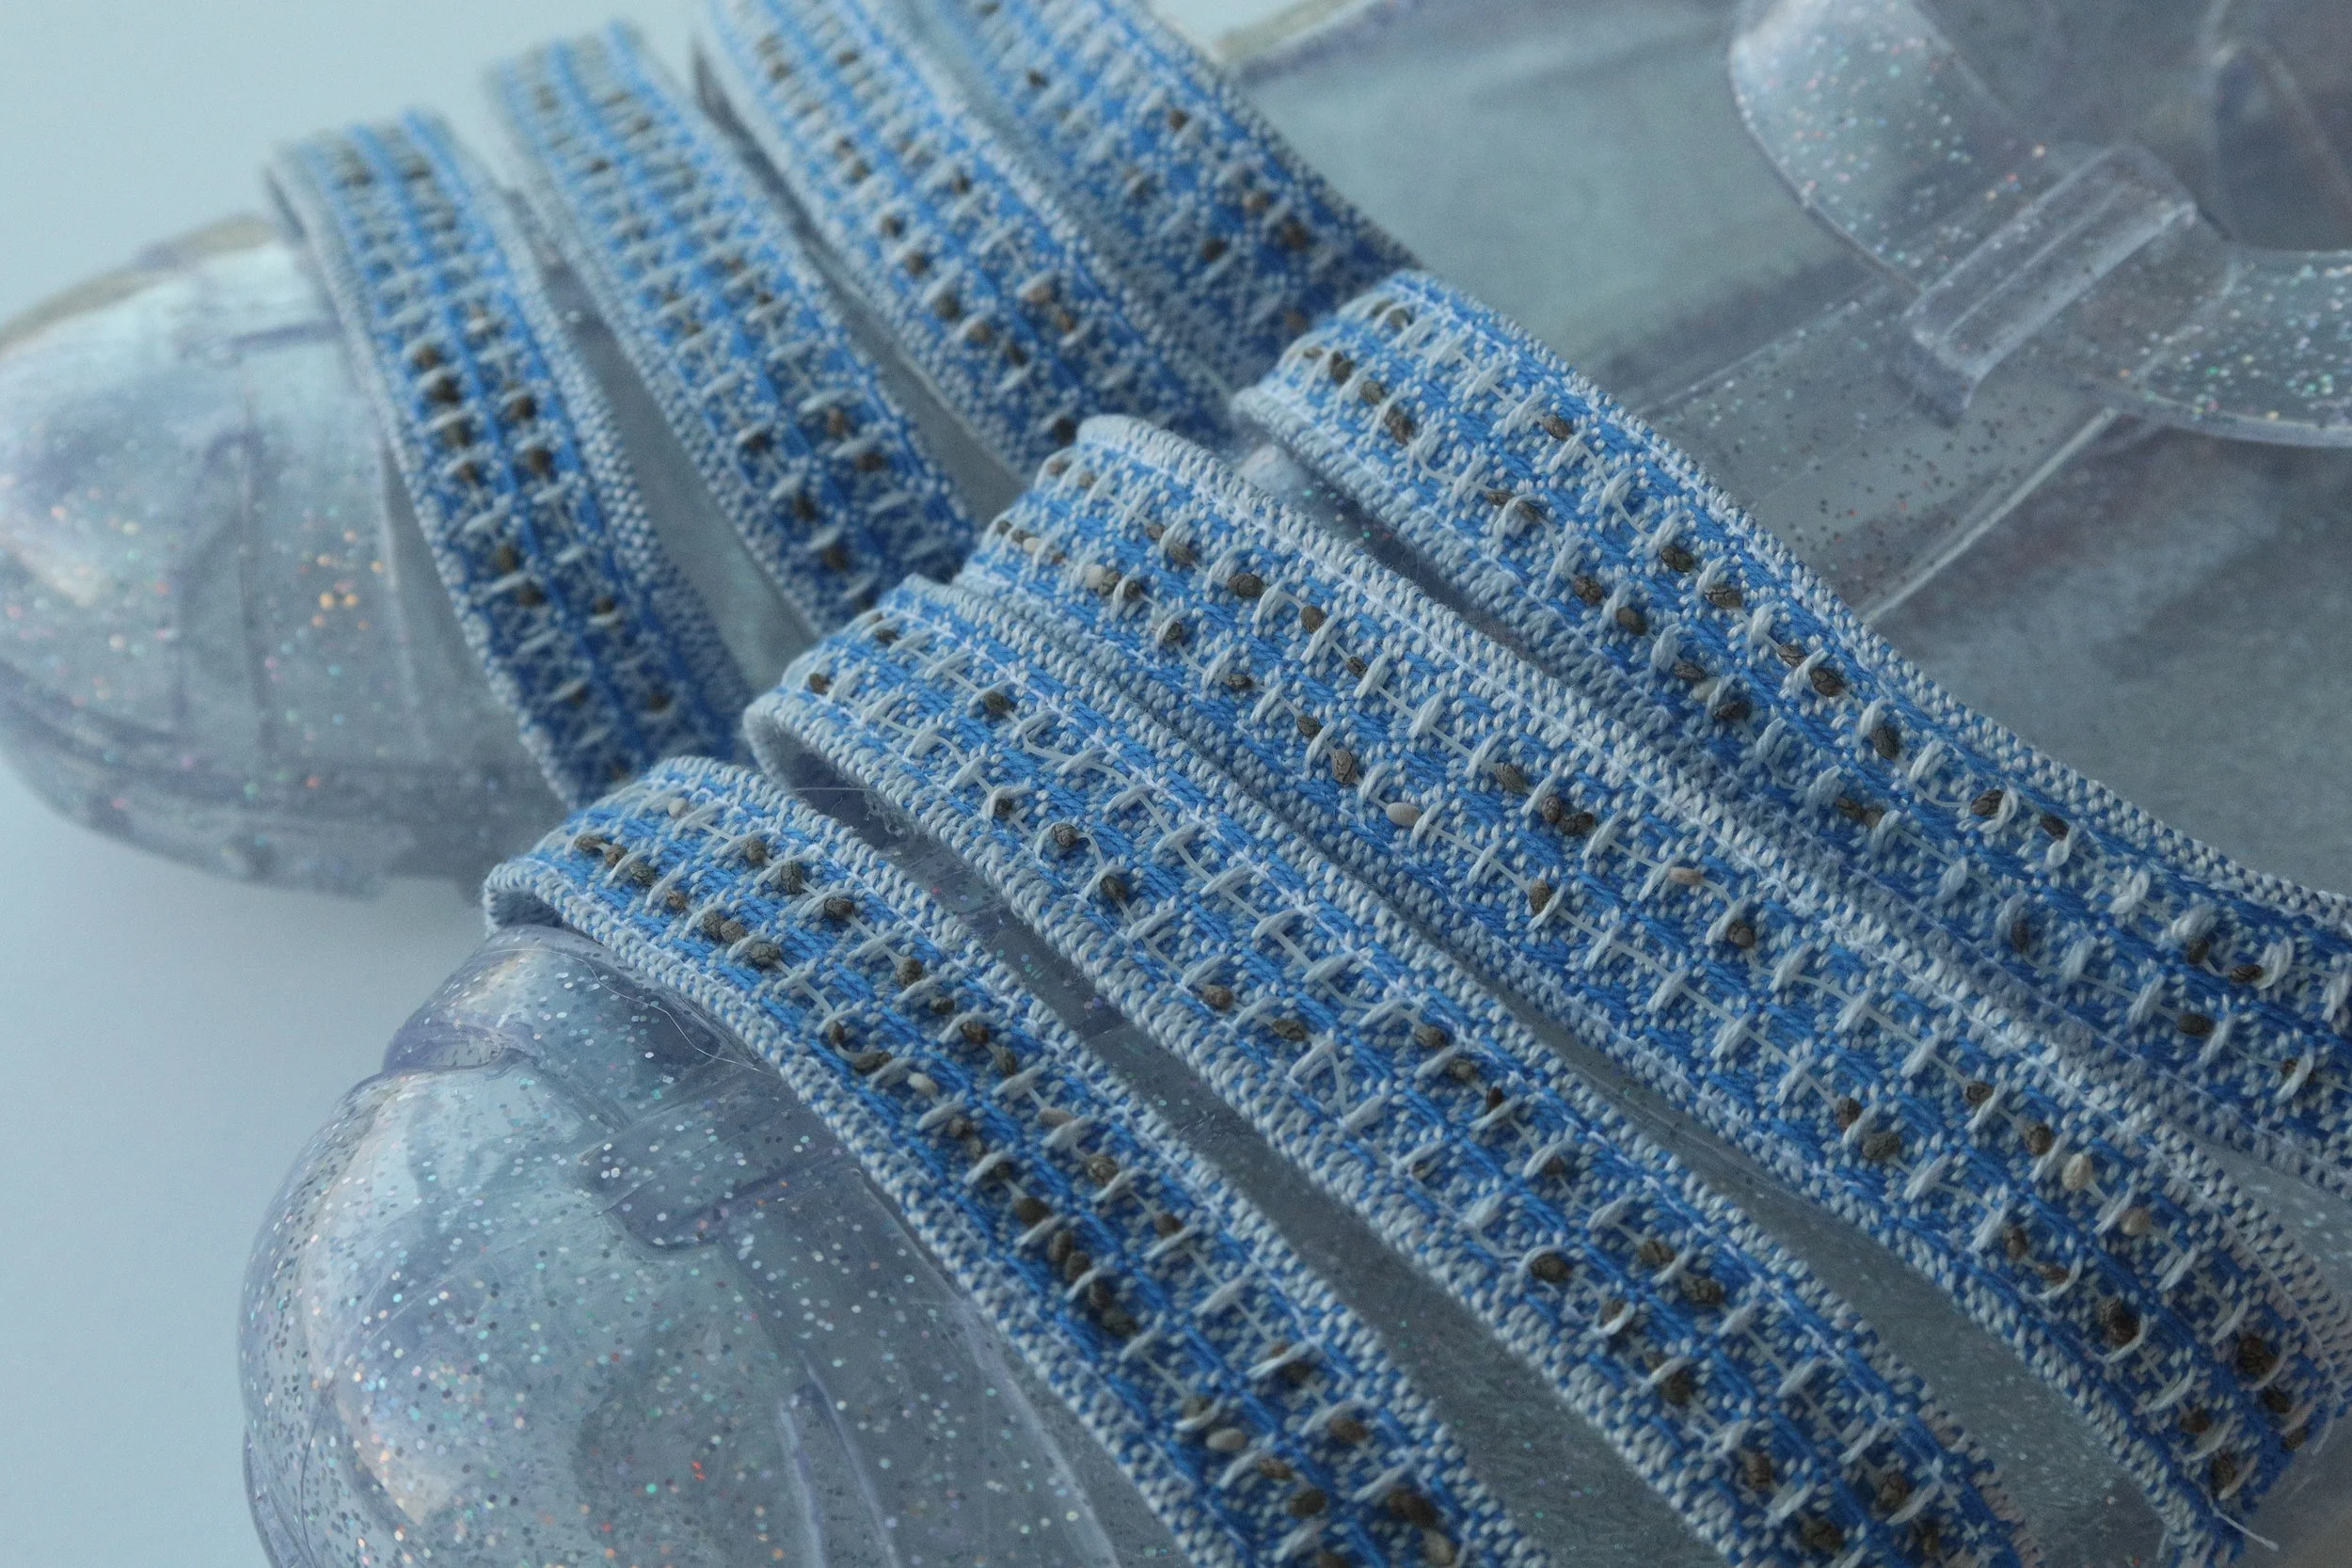
Outdoor activity encouraging sandals: This application uses a hybrid layering approach to integrate seed-integrated hydrogel yarns. We wove the seeds into the top layer using a double-weave structure, while the bottom waffle-weave layer supports the roots and helps retain moisture. The woven piece can be attached directly to jelly sandals, which can handle the moisture needed for sprouting.
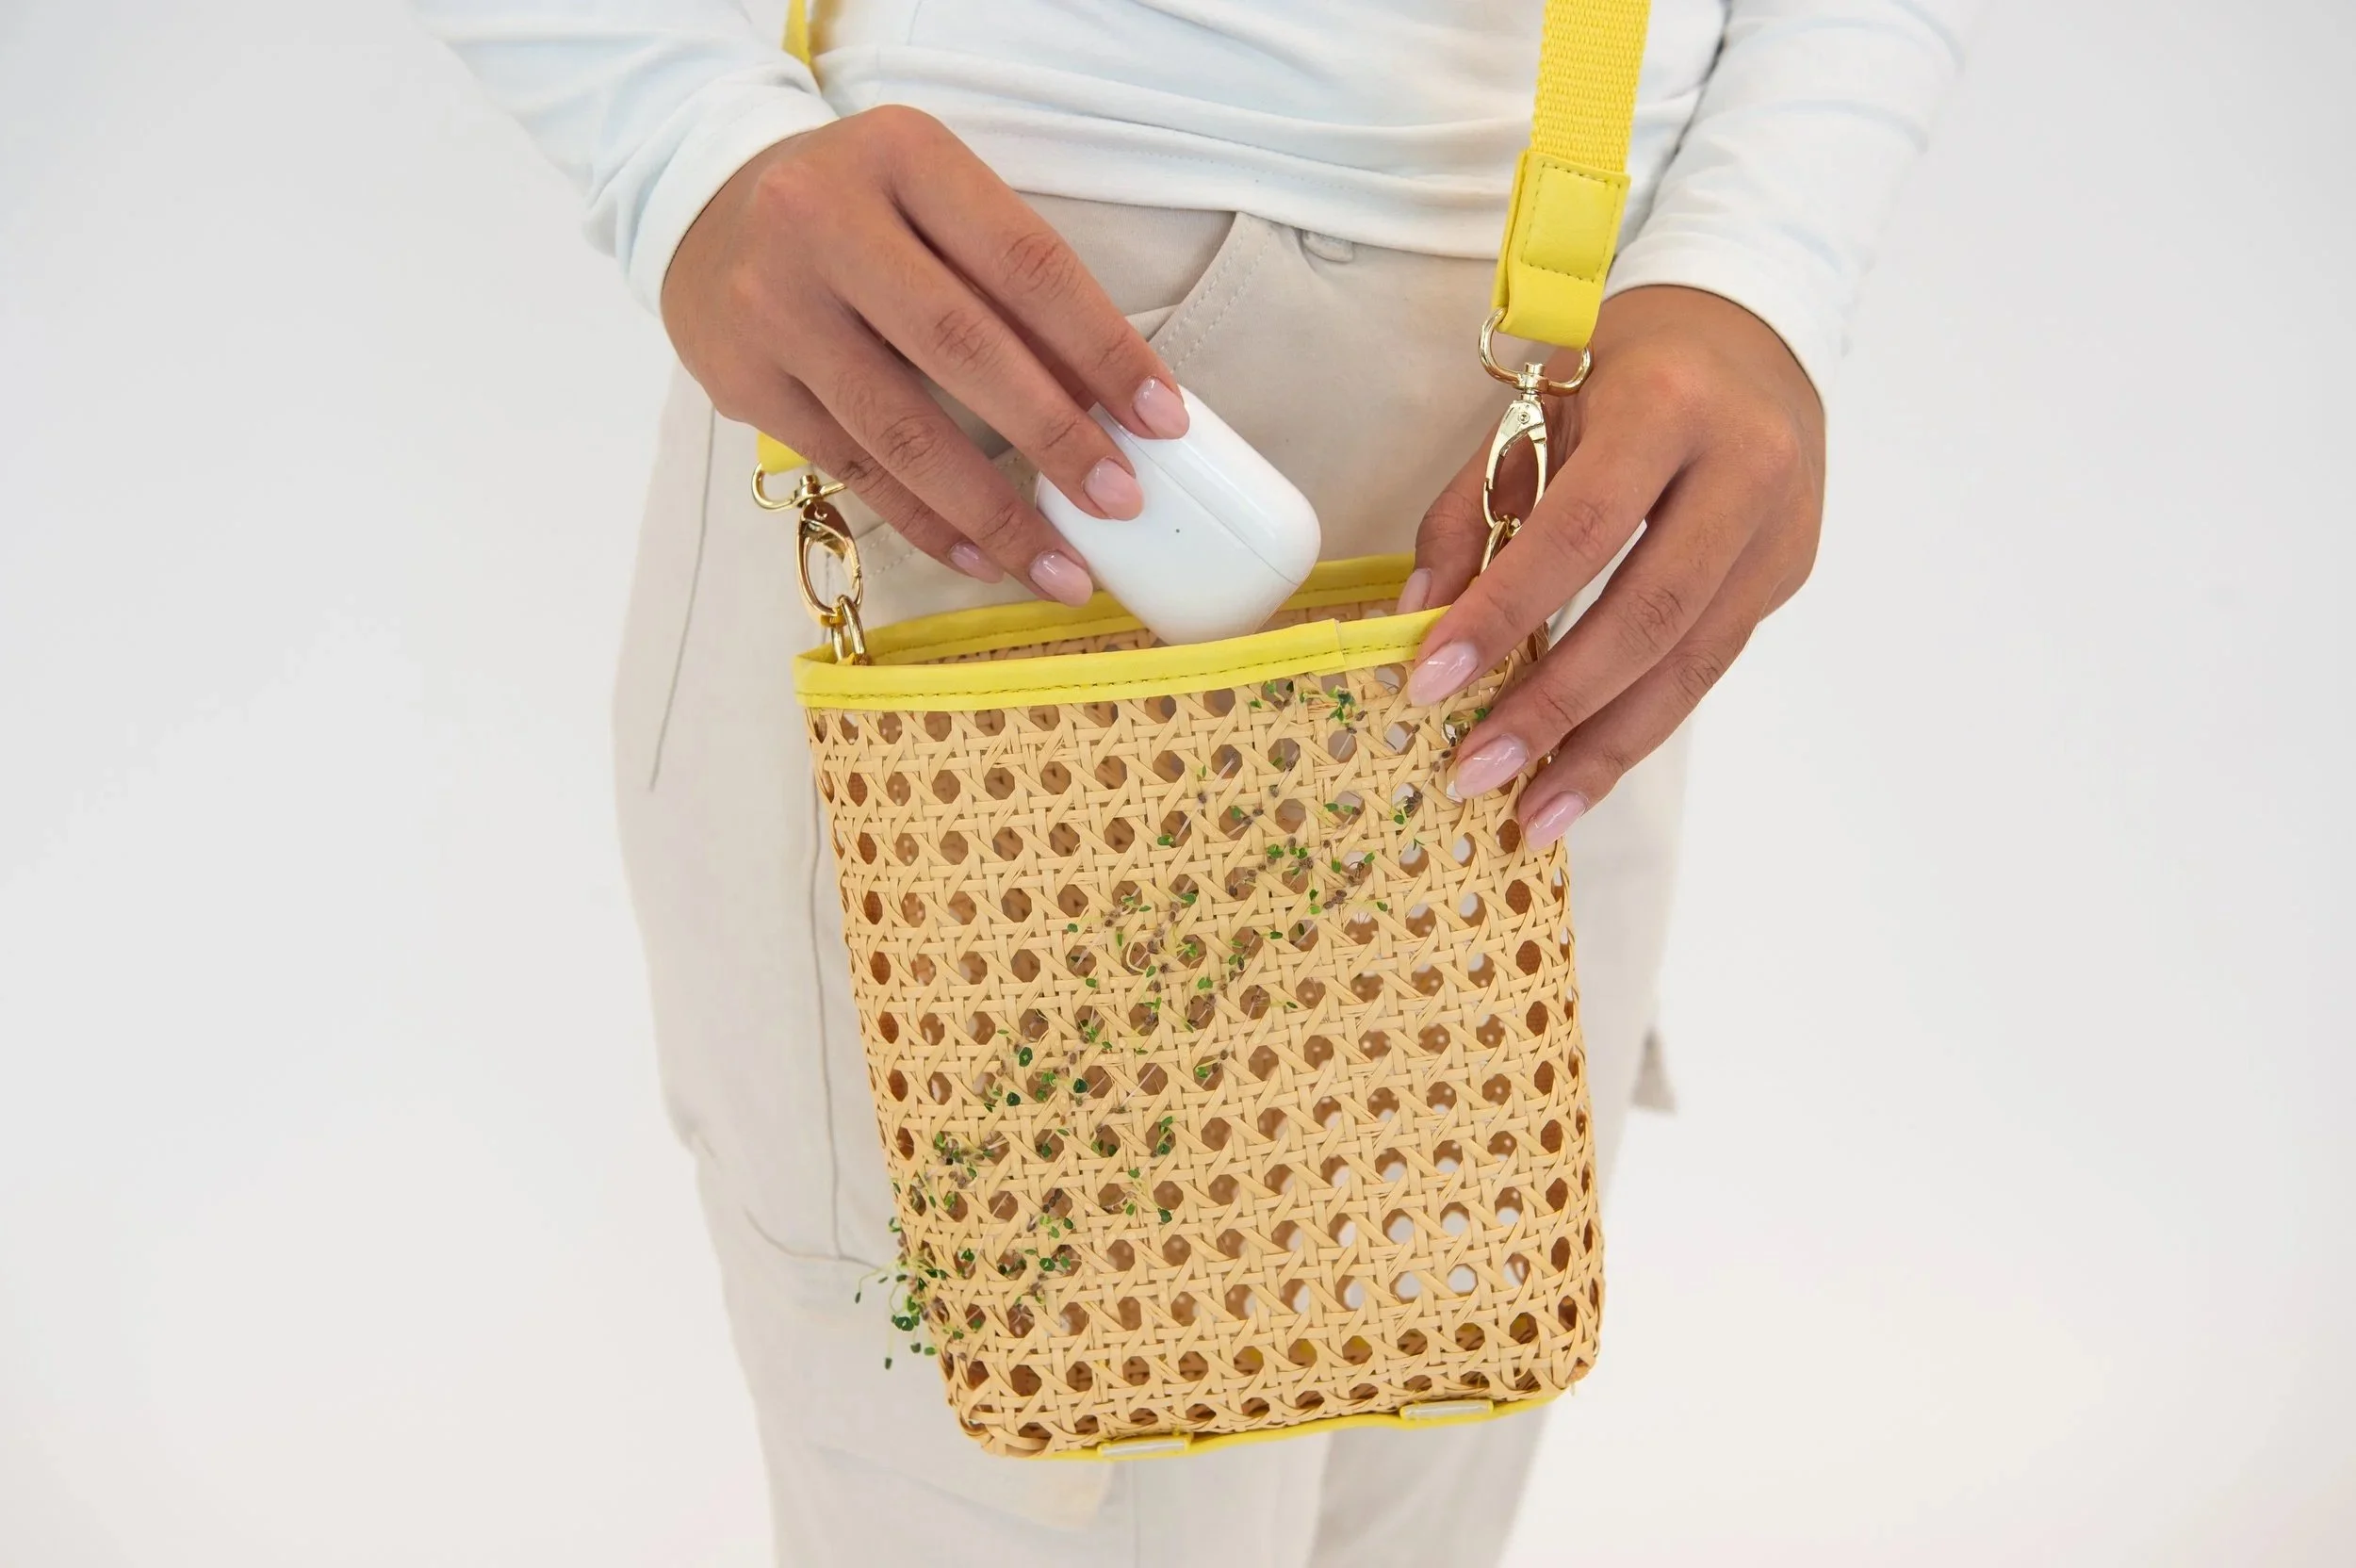
Rattan woven bag: This application uses structural interlacing to add seed-integrated hydrogel yarns into a pre-made rattan bag using basketry techniques. The rattan’s open weave allows good airflow and space for roots to grow, but since it does not retain moisture, the sprouts need frequent watering, or a water-retaining insert can be added.
Acknowledgement
This tutorial is based on the LivingLoom project, created at the Hybrid Body Lab at Cornell University, directed by Prof. Cindy Hsin-Liu Kao.
LivingLoom Research Team: Jingwen Zhu (Lead Researcher), Samantha Chang, Ruth Zhao, Prof. Cindy Hsin-Liu Kao (Lab Director)
Publication: Jingwen Zhu, Samantha Chang, Ruth Zhao, and Cindy Hsin-Liu Kao. 2025. LivingLoom: Investigating Human-Plant Symbiosis Through Integrating Living Plants Into (E-)Textiles. In Proceedings of the 2025 CHI Conference on Human Factors in Computing Systems (CHI '25). Association for Computing Machinery, New York, NY, USA, Article 773, 1–18. https://doi.org/10.1145/3706598.3713156 (Best Paper Award)
The tutorial is prepared by Hybrid Body Lab members Jingwen Zhu, Samika Agarwal, Megan Wu, and Emily Fan, advised by Lab Director Prof. Cindy Hsin-Liu Kao.
Also available on Science Buddies