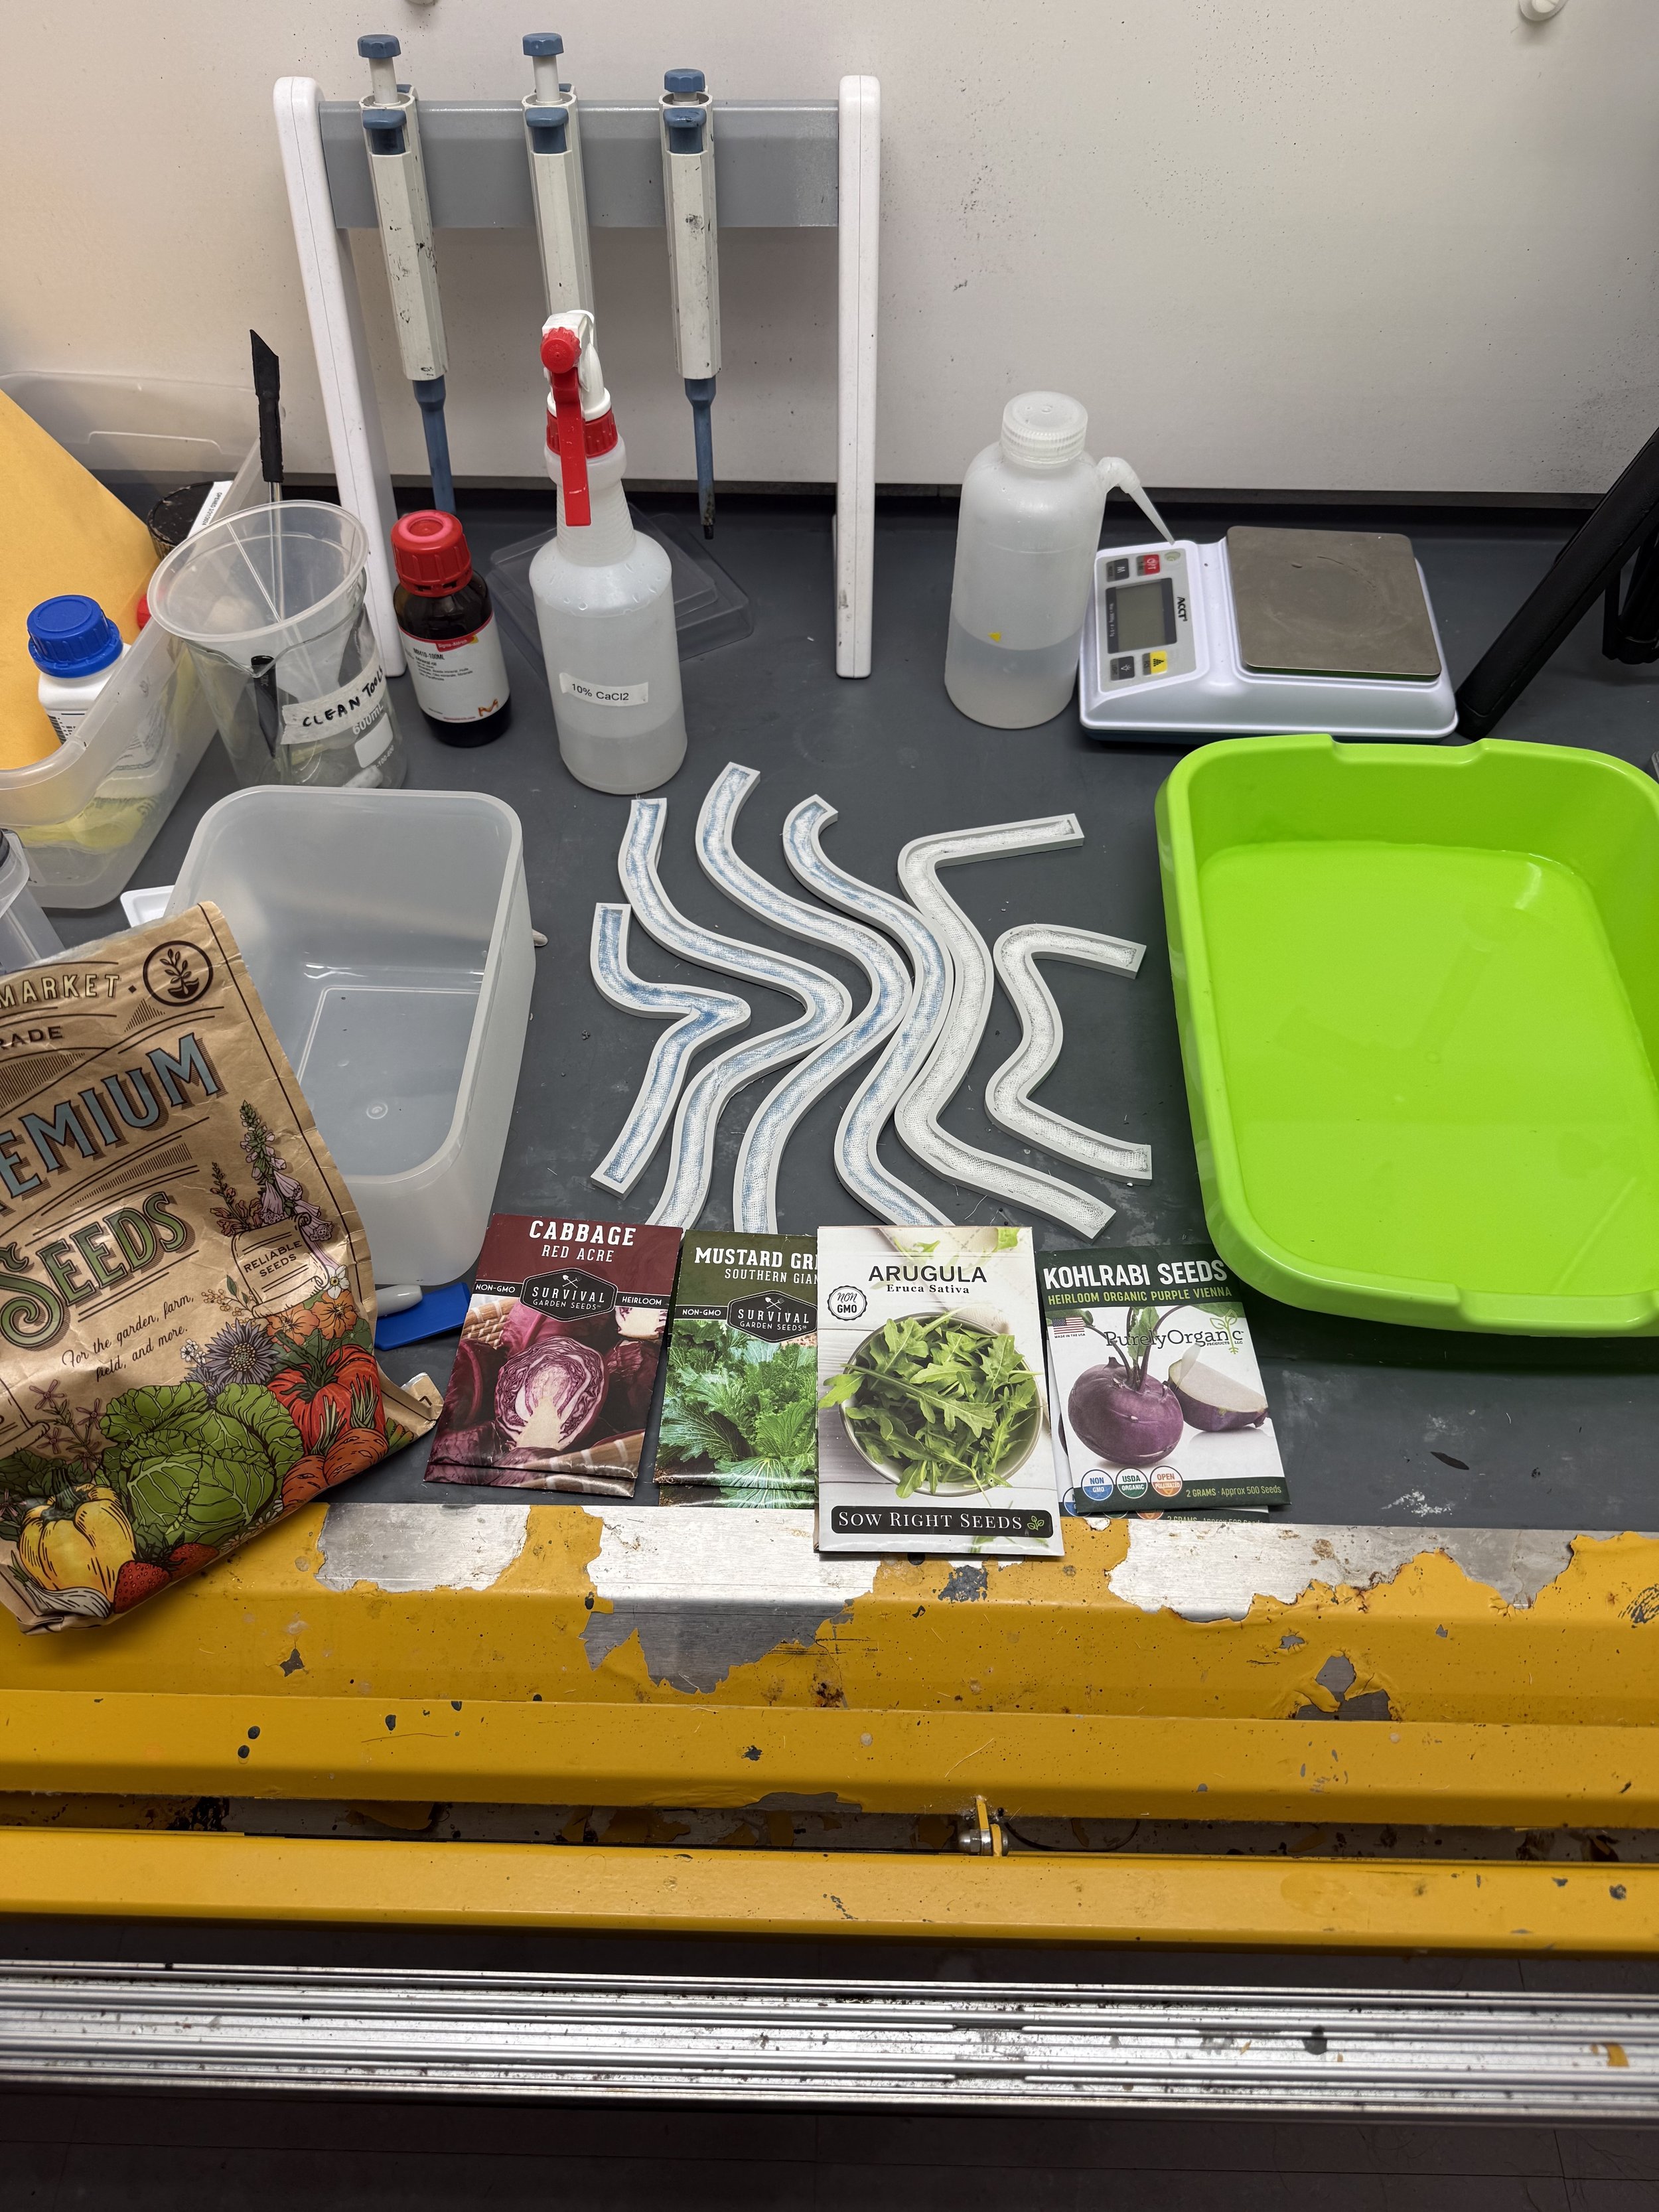
TOOLS AND MATERIALS
150 ml glass beaker
Syringe
4.5 g of sodium alginate
7.5 ml of glycerine
150 ml of water
3.75 ml of sunflower oil
600 ml of 10% calcium chloride solution
micro-green seeds (chia, arugula, purple cabbage, mustard, kohlrabi)
full lace human hair wig
cheese cloth
3D printed molds
food processor
vacuum sealer
a large liquid container for coagulation solution
Large plastic shower cap
Skin Safe Silicone Based Adhesive
CONSTRUCTION
Prepare 3D Print Mold
Download the 3D models and print them with PLA filaments.
Prepare Biofilm Mixture
Add the glycerine, water, and oil to the food processor.
Add in alginate, mix until all lumps are removed.
Put mixture in the beaker.
Heat the mixture in a 60 degrees Celsius lab oven for 20 minutes.
Place the mixture in a vacuum sealer for 30 minutes.
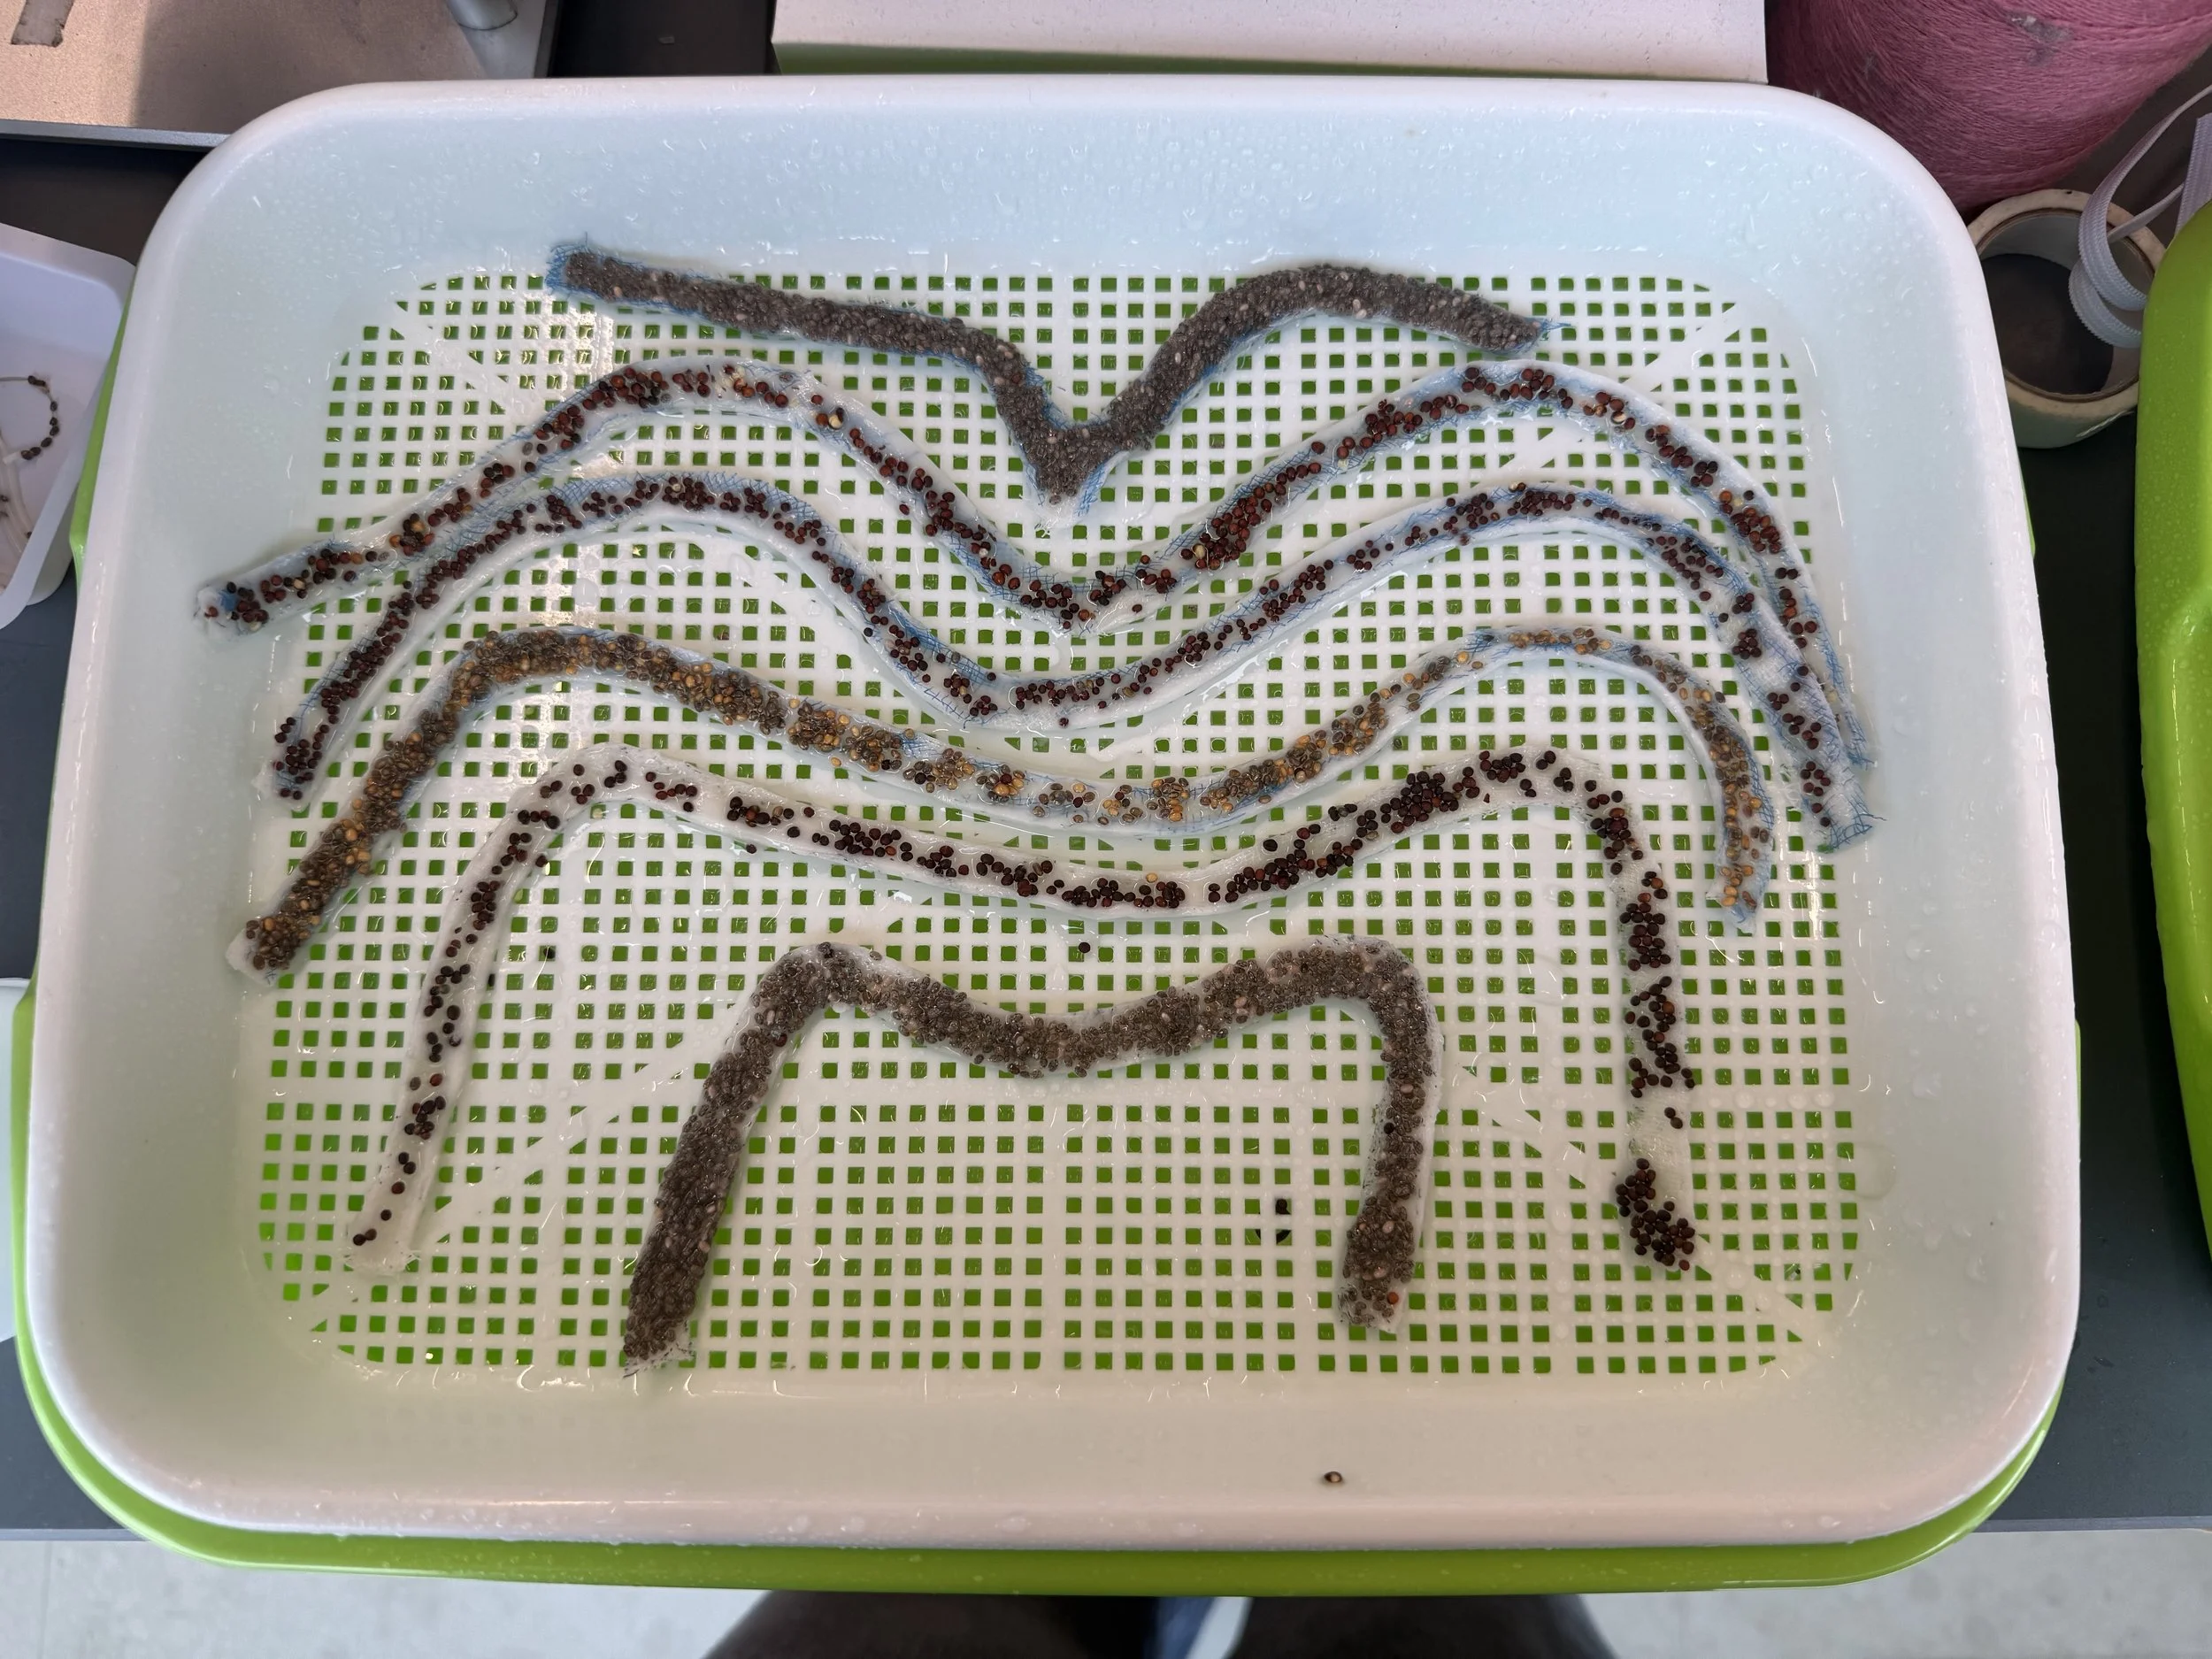
Casting & Curing
Cut the cheese cloth to fit in the bottom of each mold.
Add the mixture to the syringe, and fill each mold with the mixture.
Sprinkle seeds on top of mixture, one type of seed for each mold, two molds for chia seeds
Spray each mold with a generous amount of 10% CaCl, and place the lids on them.
Put 500ml CaCl in a large container, dip each mold with the lid attached inside the solution.
Growing & Assembly
Place the biofilm in a dark and humid container for 3 days.
Wash, shampoo, and blow dry the wig.
Part the hair in 6 sections based on the 6 biofilm shapes.
For each braid, part each section in half, place biofilm in the center, then begin corn rows braiding.
After all braids are completed, spray the hair generously with water.
Cover wig in shower cap and placed in sunlight for 7 days.
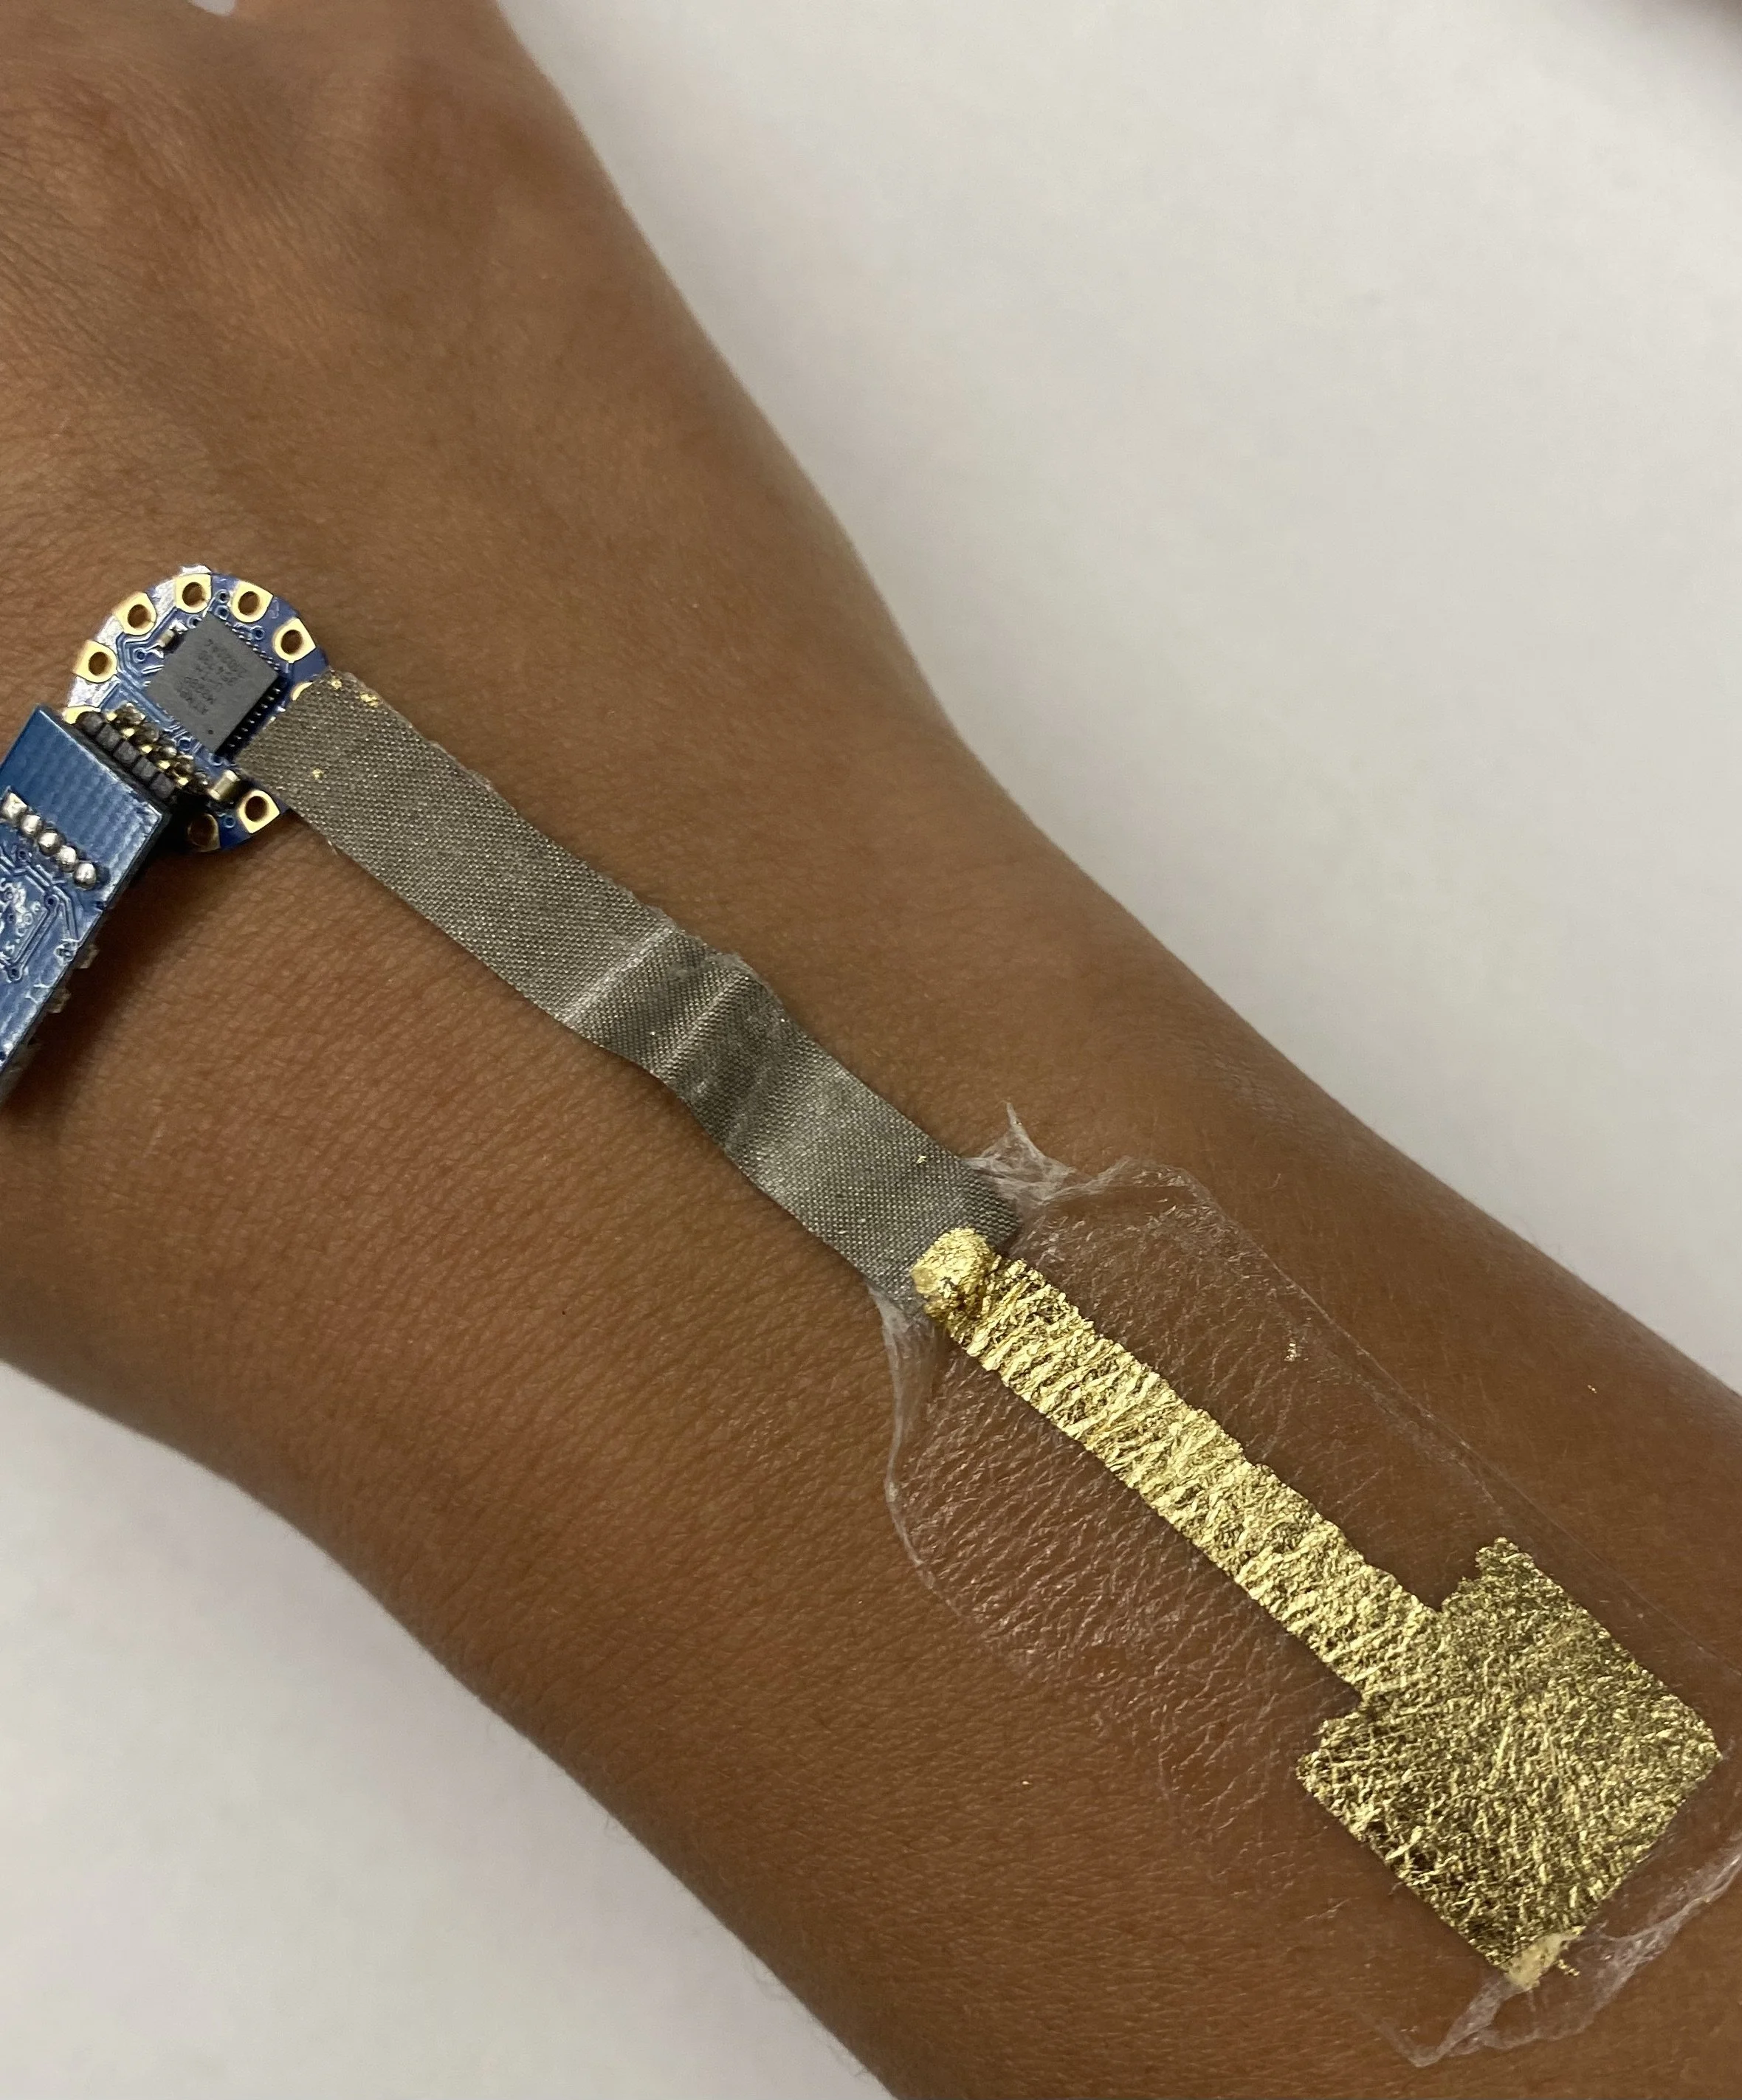
Hair APPLICATION
Braid models hair into 2 french braids and wrap around the head
Wrap hair with plastic wrap
Place wig cap matching the model’s skin tone over plastic wrap
Cut excess lace from the wig.
Apply skin safe silicone adhesive all around the hairline and allow to become tacky. (Blowdryer helps)
Apply the wig and stick to adhesive one small area of the hairline at a time (hold firmly in place for 30 seconds.)